
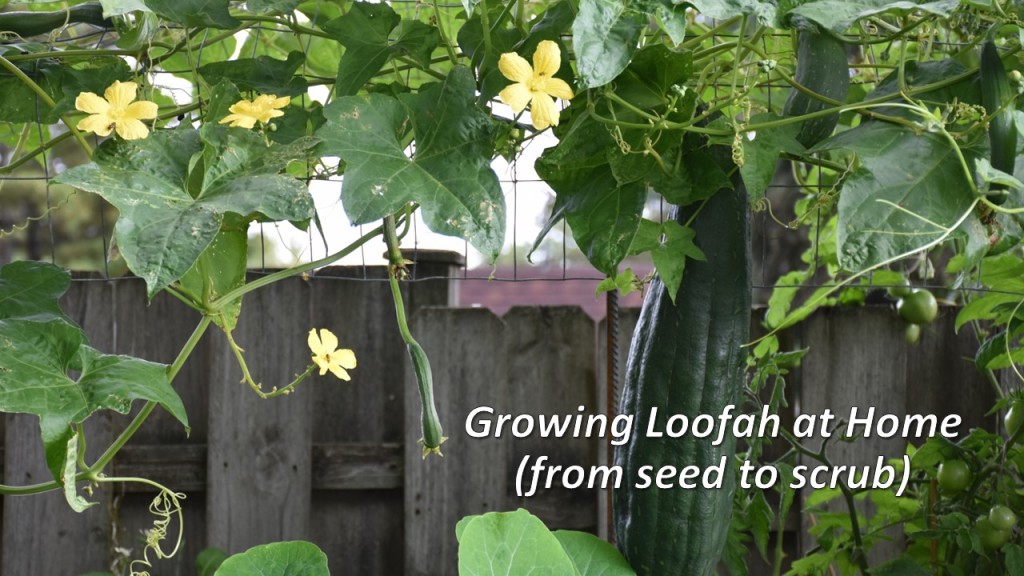
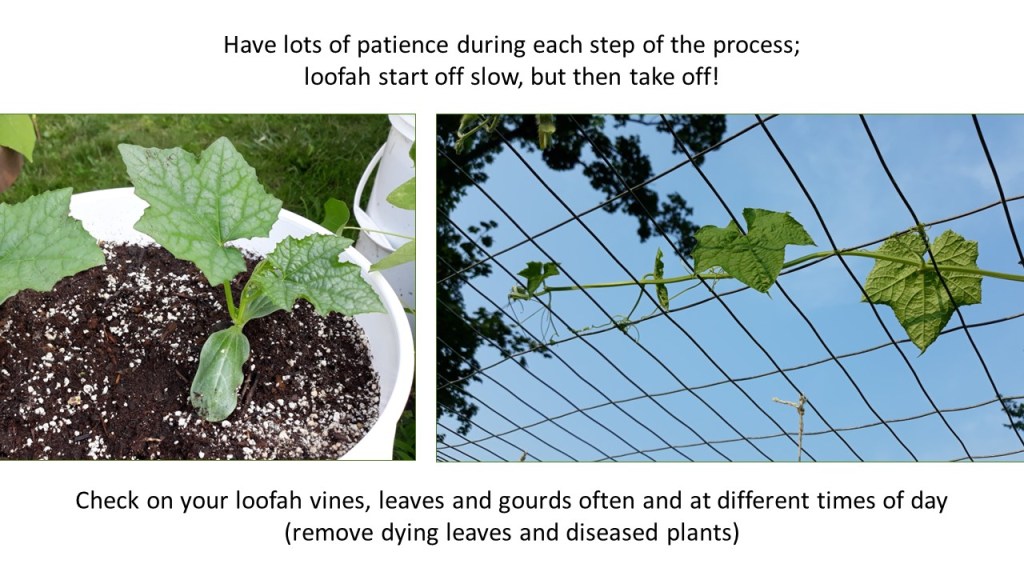
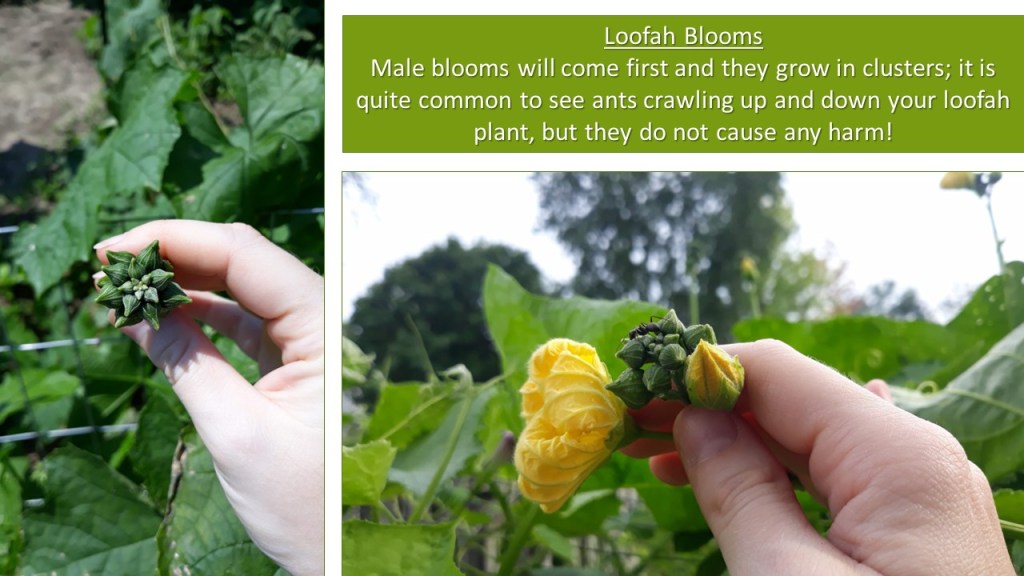
{2/22/24} ••• THE GREAT SEED EVENT PRESENTATION: Earlier this month, I was fortunate enough to give a presentation on all things loofah! This was at the first annual Great Seed Event hosted at McHenry County College. More than 50 guests showed up, eager to learn how to seed, grow, tend to, harvest, process and use loofah, and I couldn’t be more grateful for the experience! I had seed packets, sample loofah rounds and an in-depth growing guide to give out to everyone. It was a lot of fun! Definitely a memory for the books! I am going to share below the slides to this presentation, in hopes that others who continue to find this page will be delighted and inspired by these amazing gourds. Enjoy!


In-Depth Loofah Blog From 2021 ↓↓↓↓↓↓↓↓
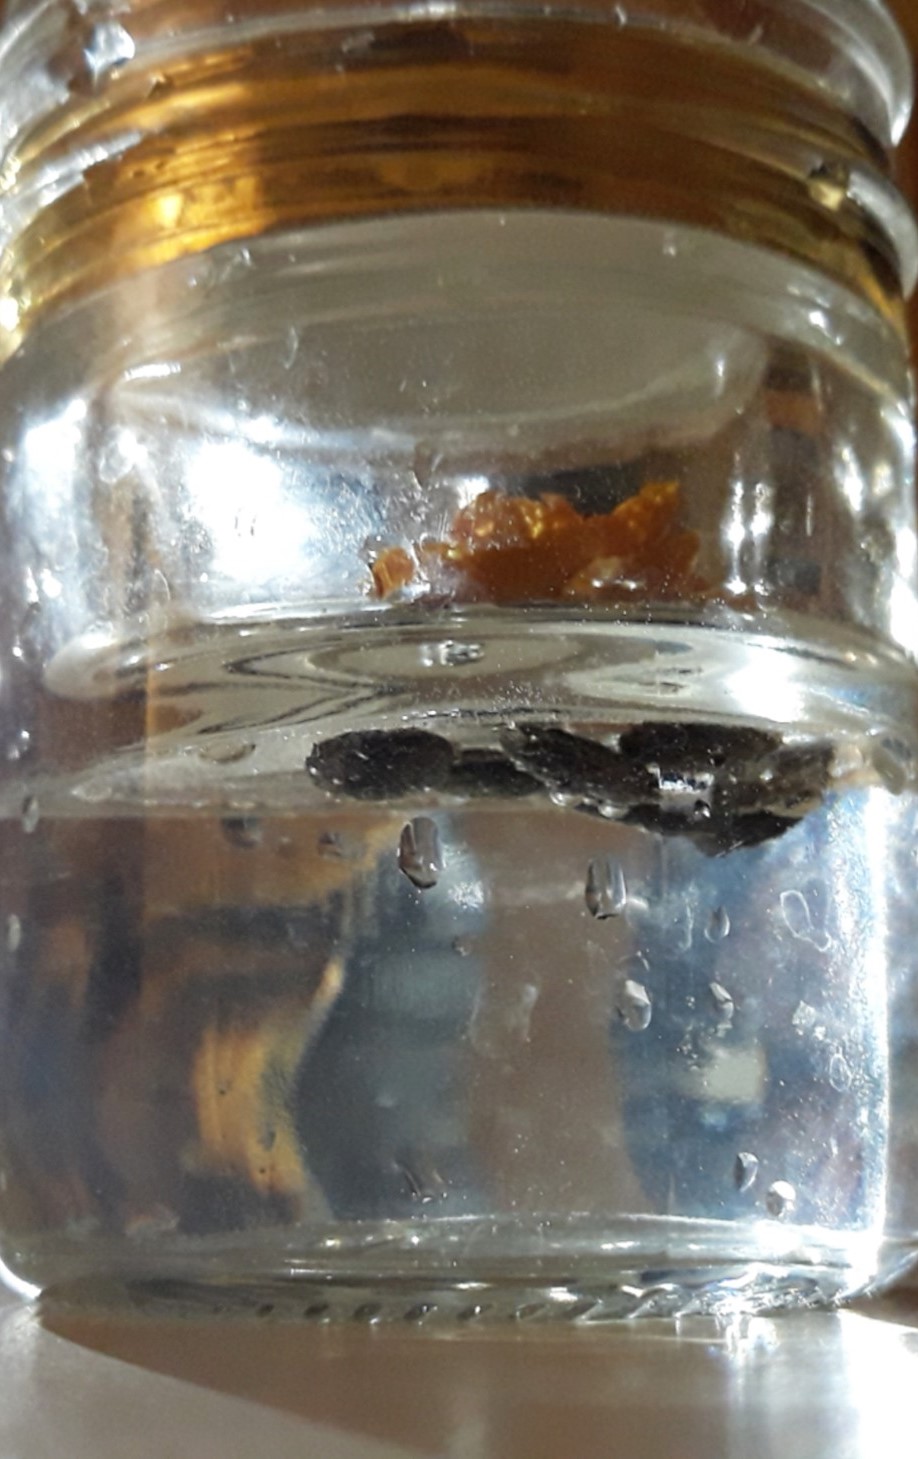
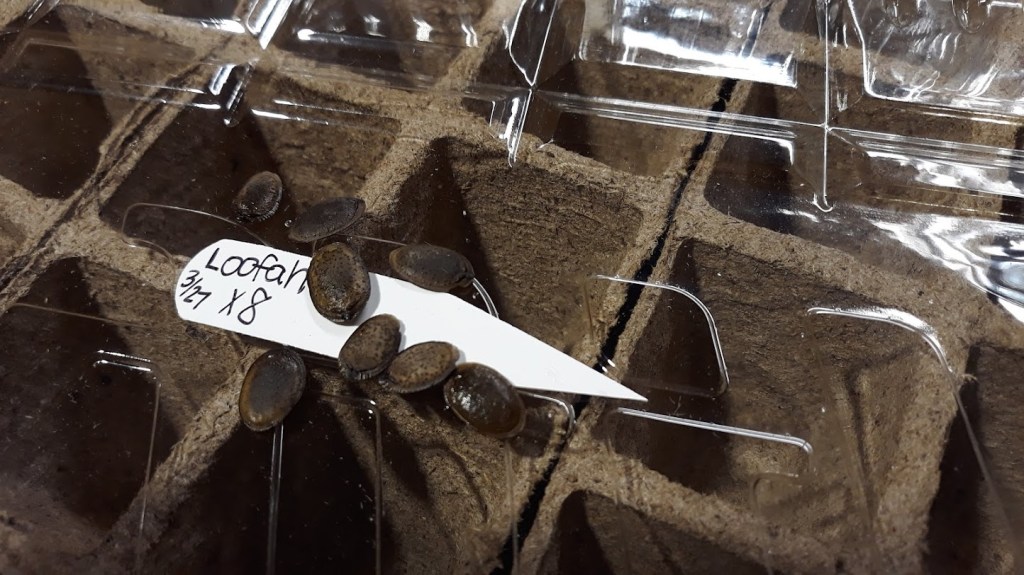
{3/27/21} ••• LOOFAH UPDATE #1: Last night I started soaking eight seeds on the counter in lukewarm water. This aids in germination, softening the outer part of the seed. I’ll be giving updates all along the way, and I hope they’re helpful to anyone who may be starting their loofah seeds now, too! Cheers!
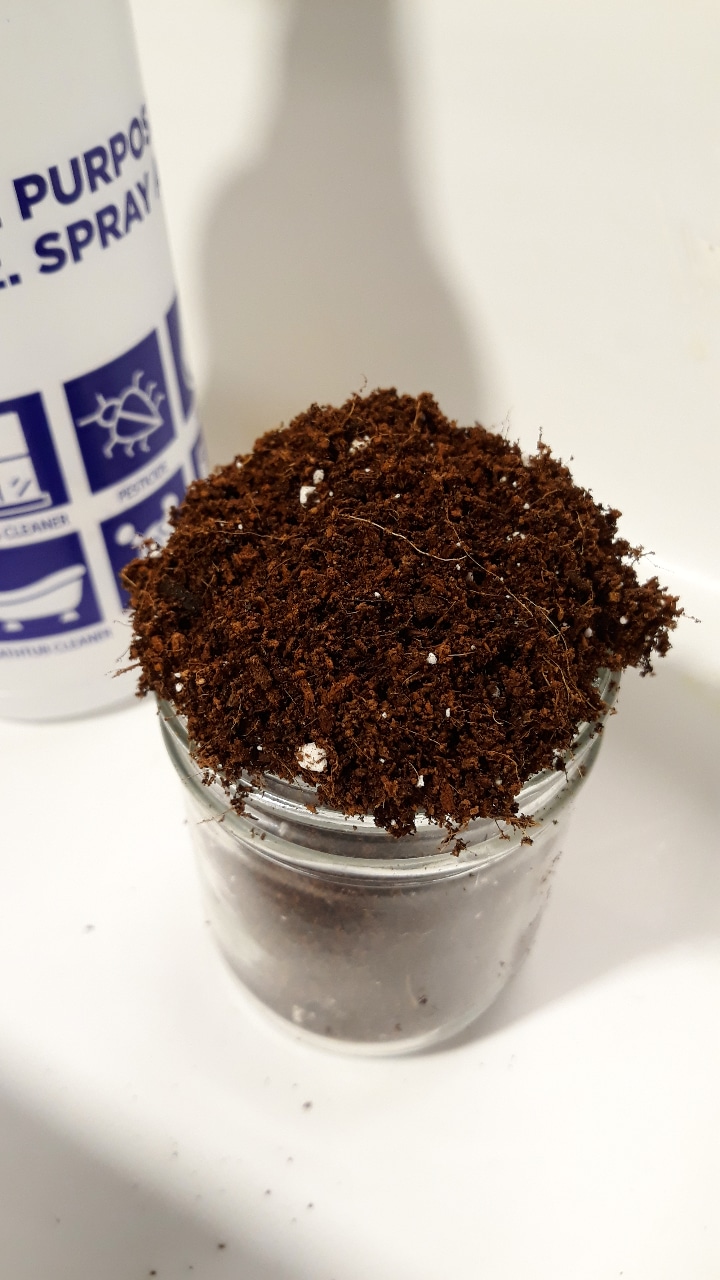
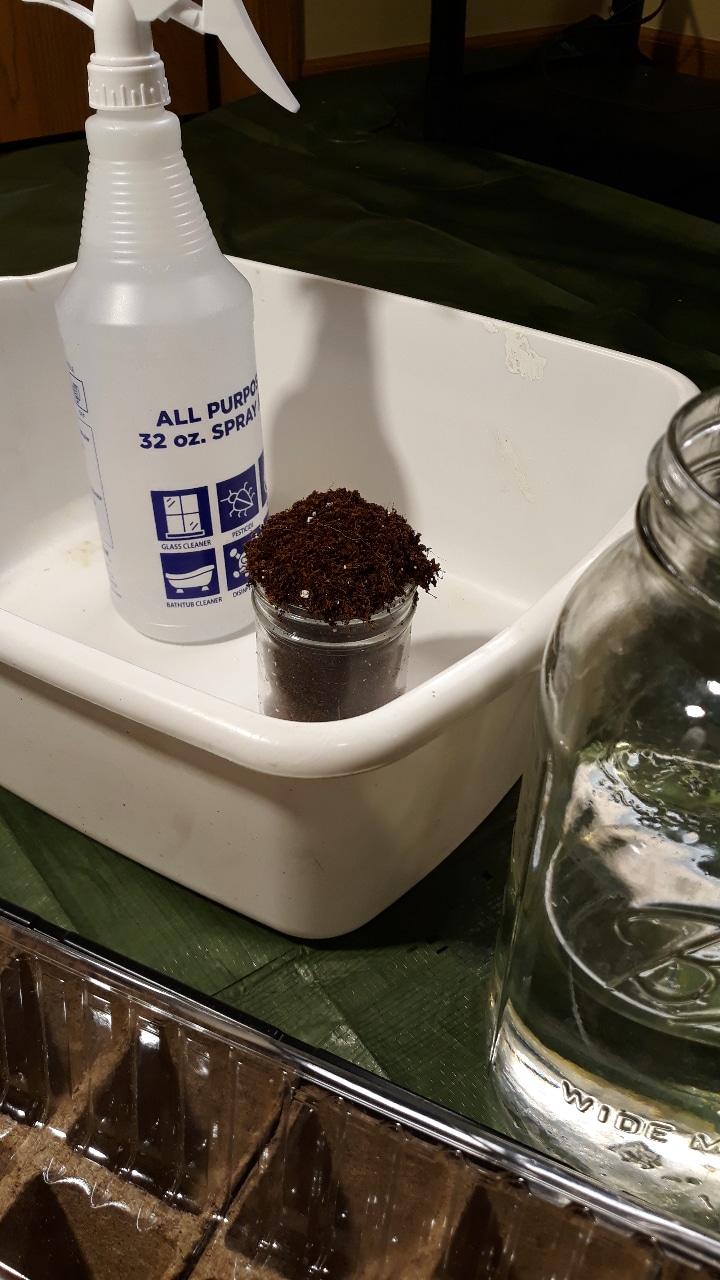
{3/28/21} ••• LOOFAH UPDATE #2: Prepping soil trays and sowing pre-soaked seeds. I find this process works best with moist seed starting mix, as opposed to planting and watering into dry starting mix. I made a hole about .5″ deep to place one seed per cell. I covered seeds and gave a gentle pat. Then I lightly watered in my seeds, solidifying a cozy place in its new temporary home.
What I’ve used:
1. Seeding tray (10″ x 20″, or 1020)
2. Biodegradable peat pots
3. Labels
4. Pen
5. Seed starting mix
6. Water
7. Seeds
8. Spray bottle
9. Nail clippers*
*added 4/6/2021


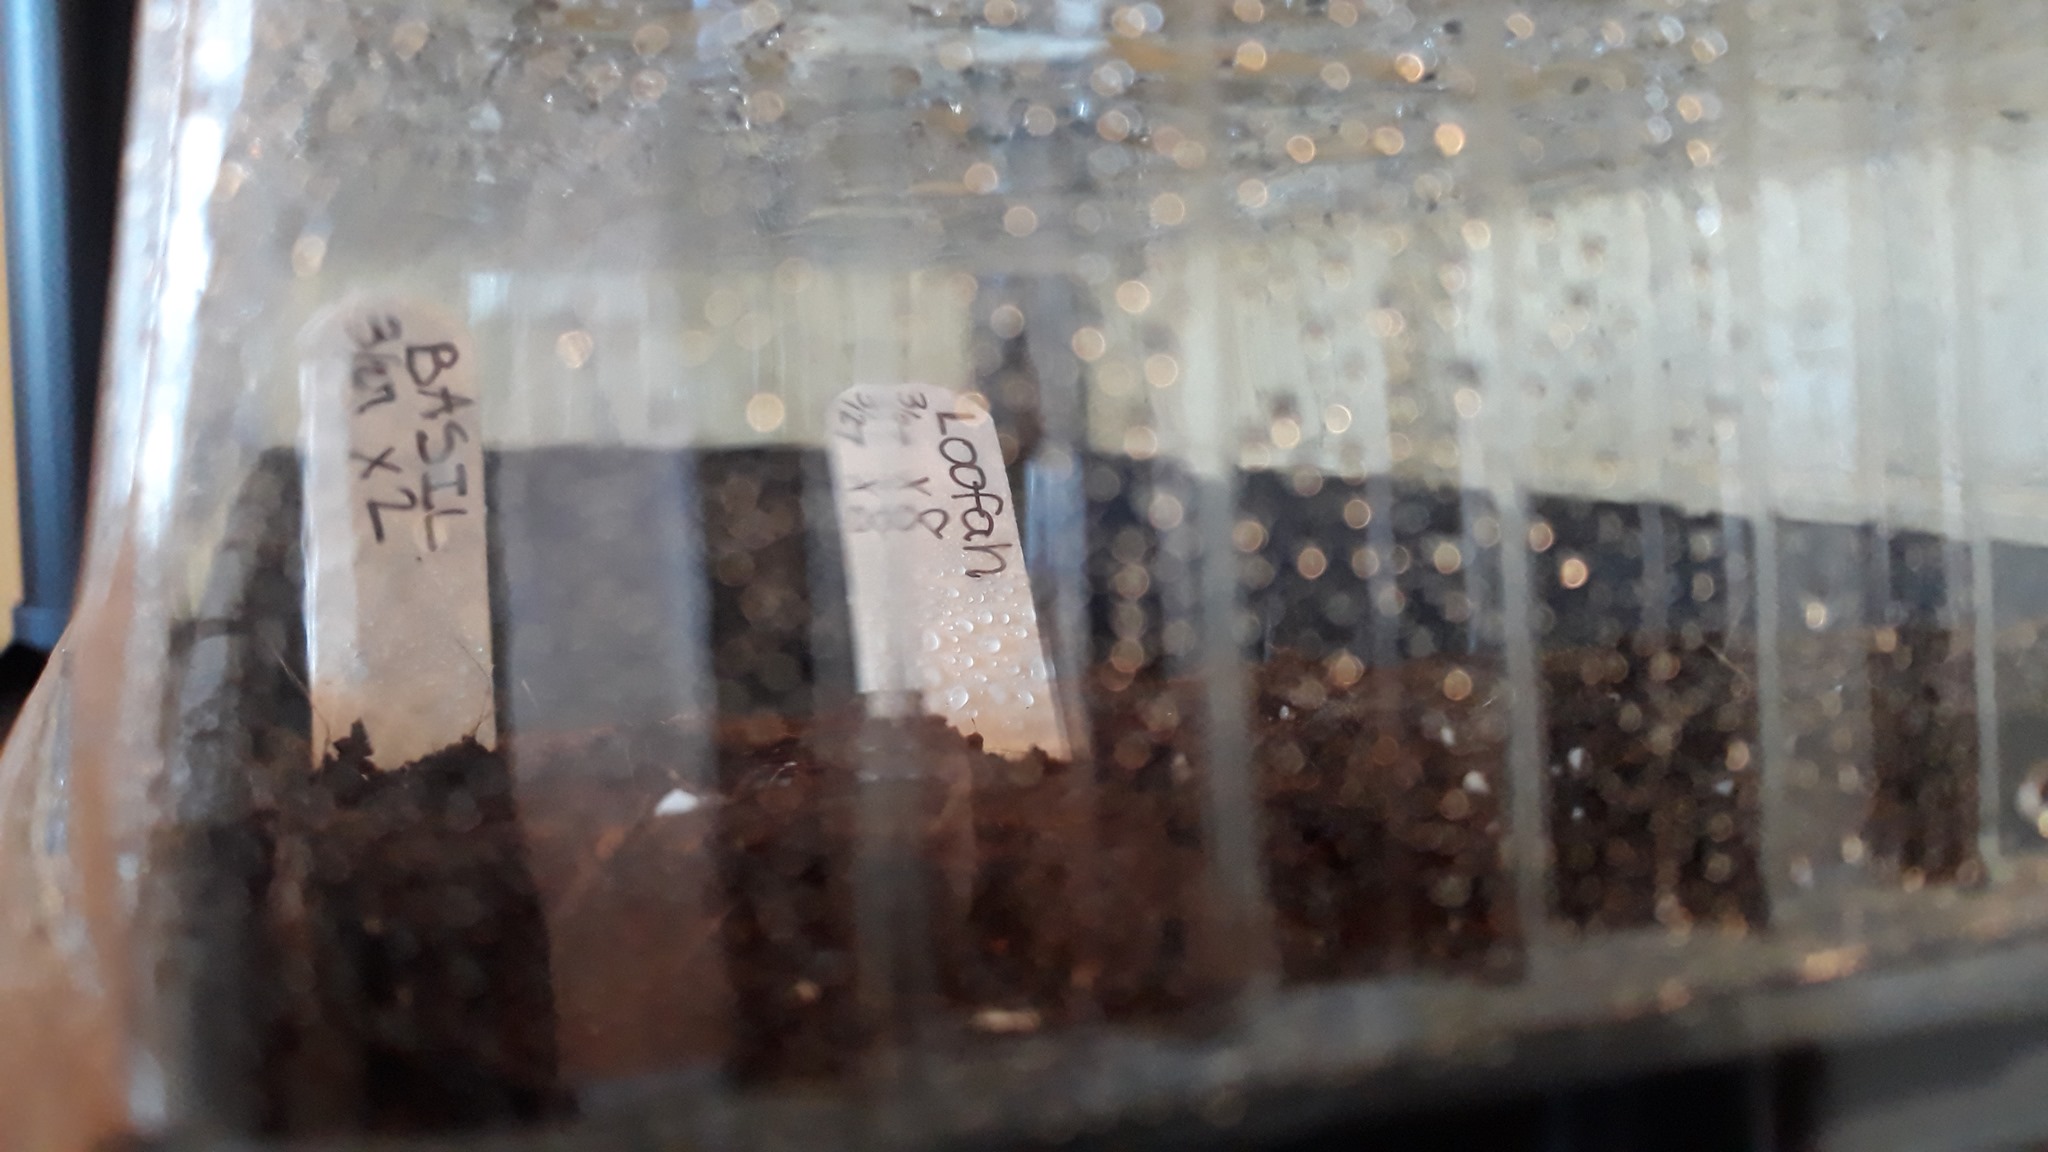
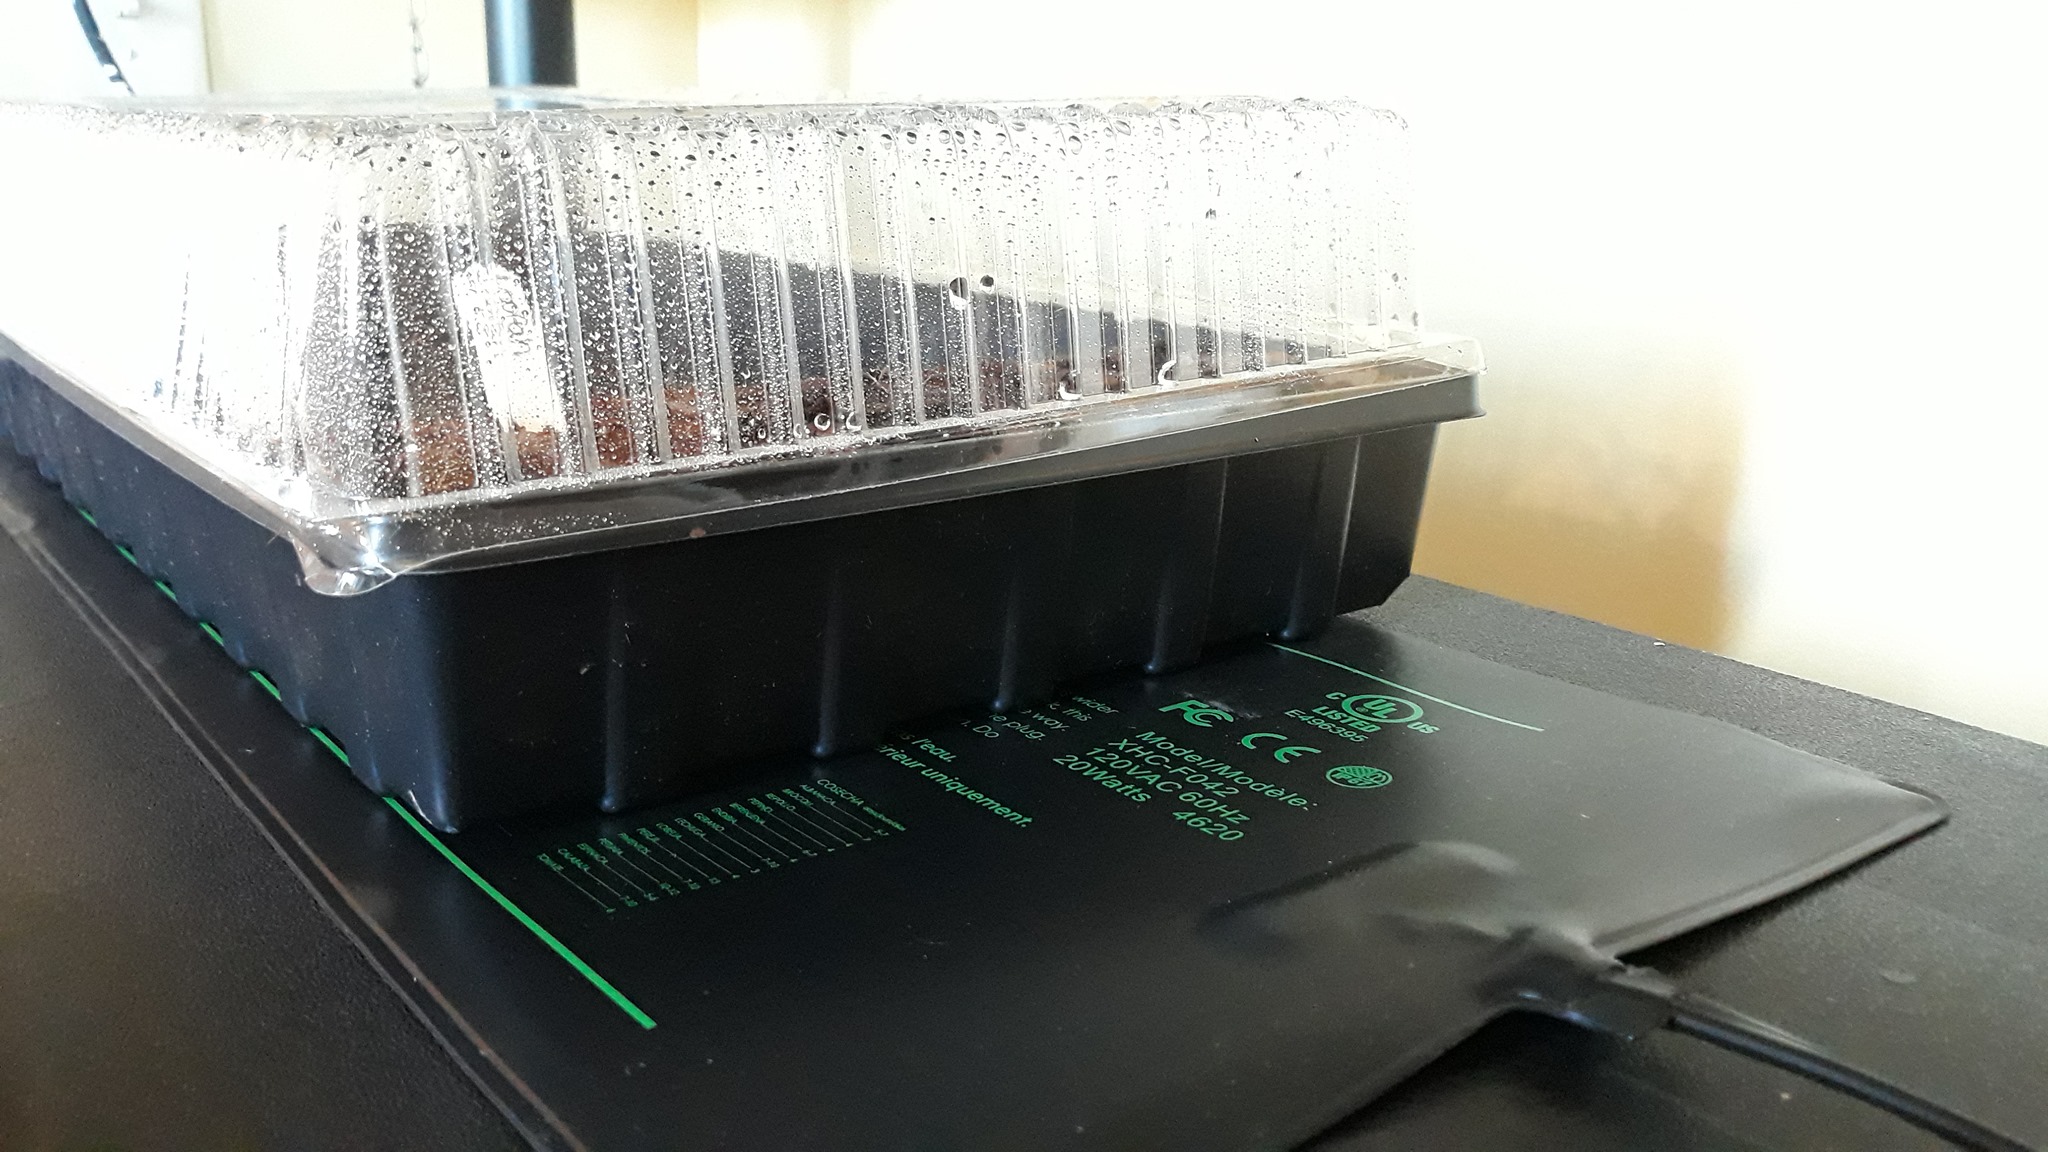
{3/29/21} ••• LOOFAH UPDATE #3: After sowing and watering in my pre-soaked loofah seeds in the moist, organic seed starting mix, I covered with a humidity dome and placed the entire tray on a waterproof heat mat. Heat mats increase the overall soil temperature, bettering germination rates and early plant growth. Many heat-loving crops, such as peppers, tomatoes and flowers get by with a little help from the heat mat! ![]()
![]()
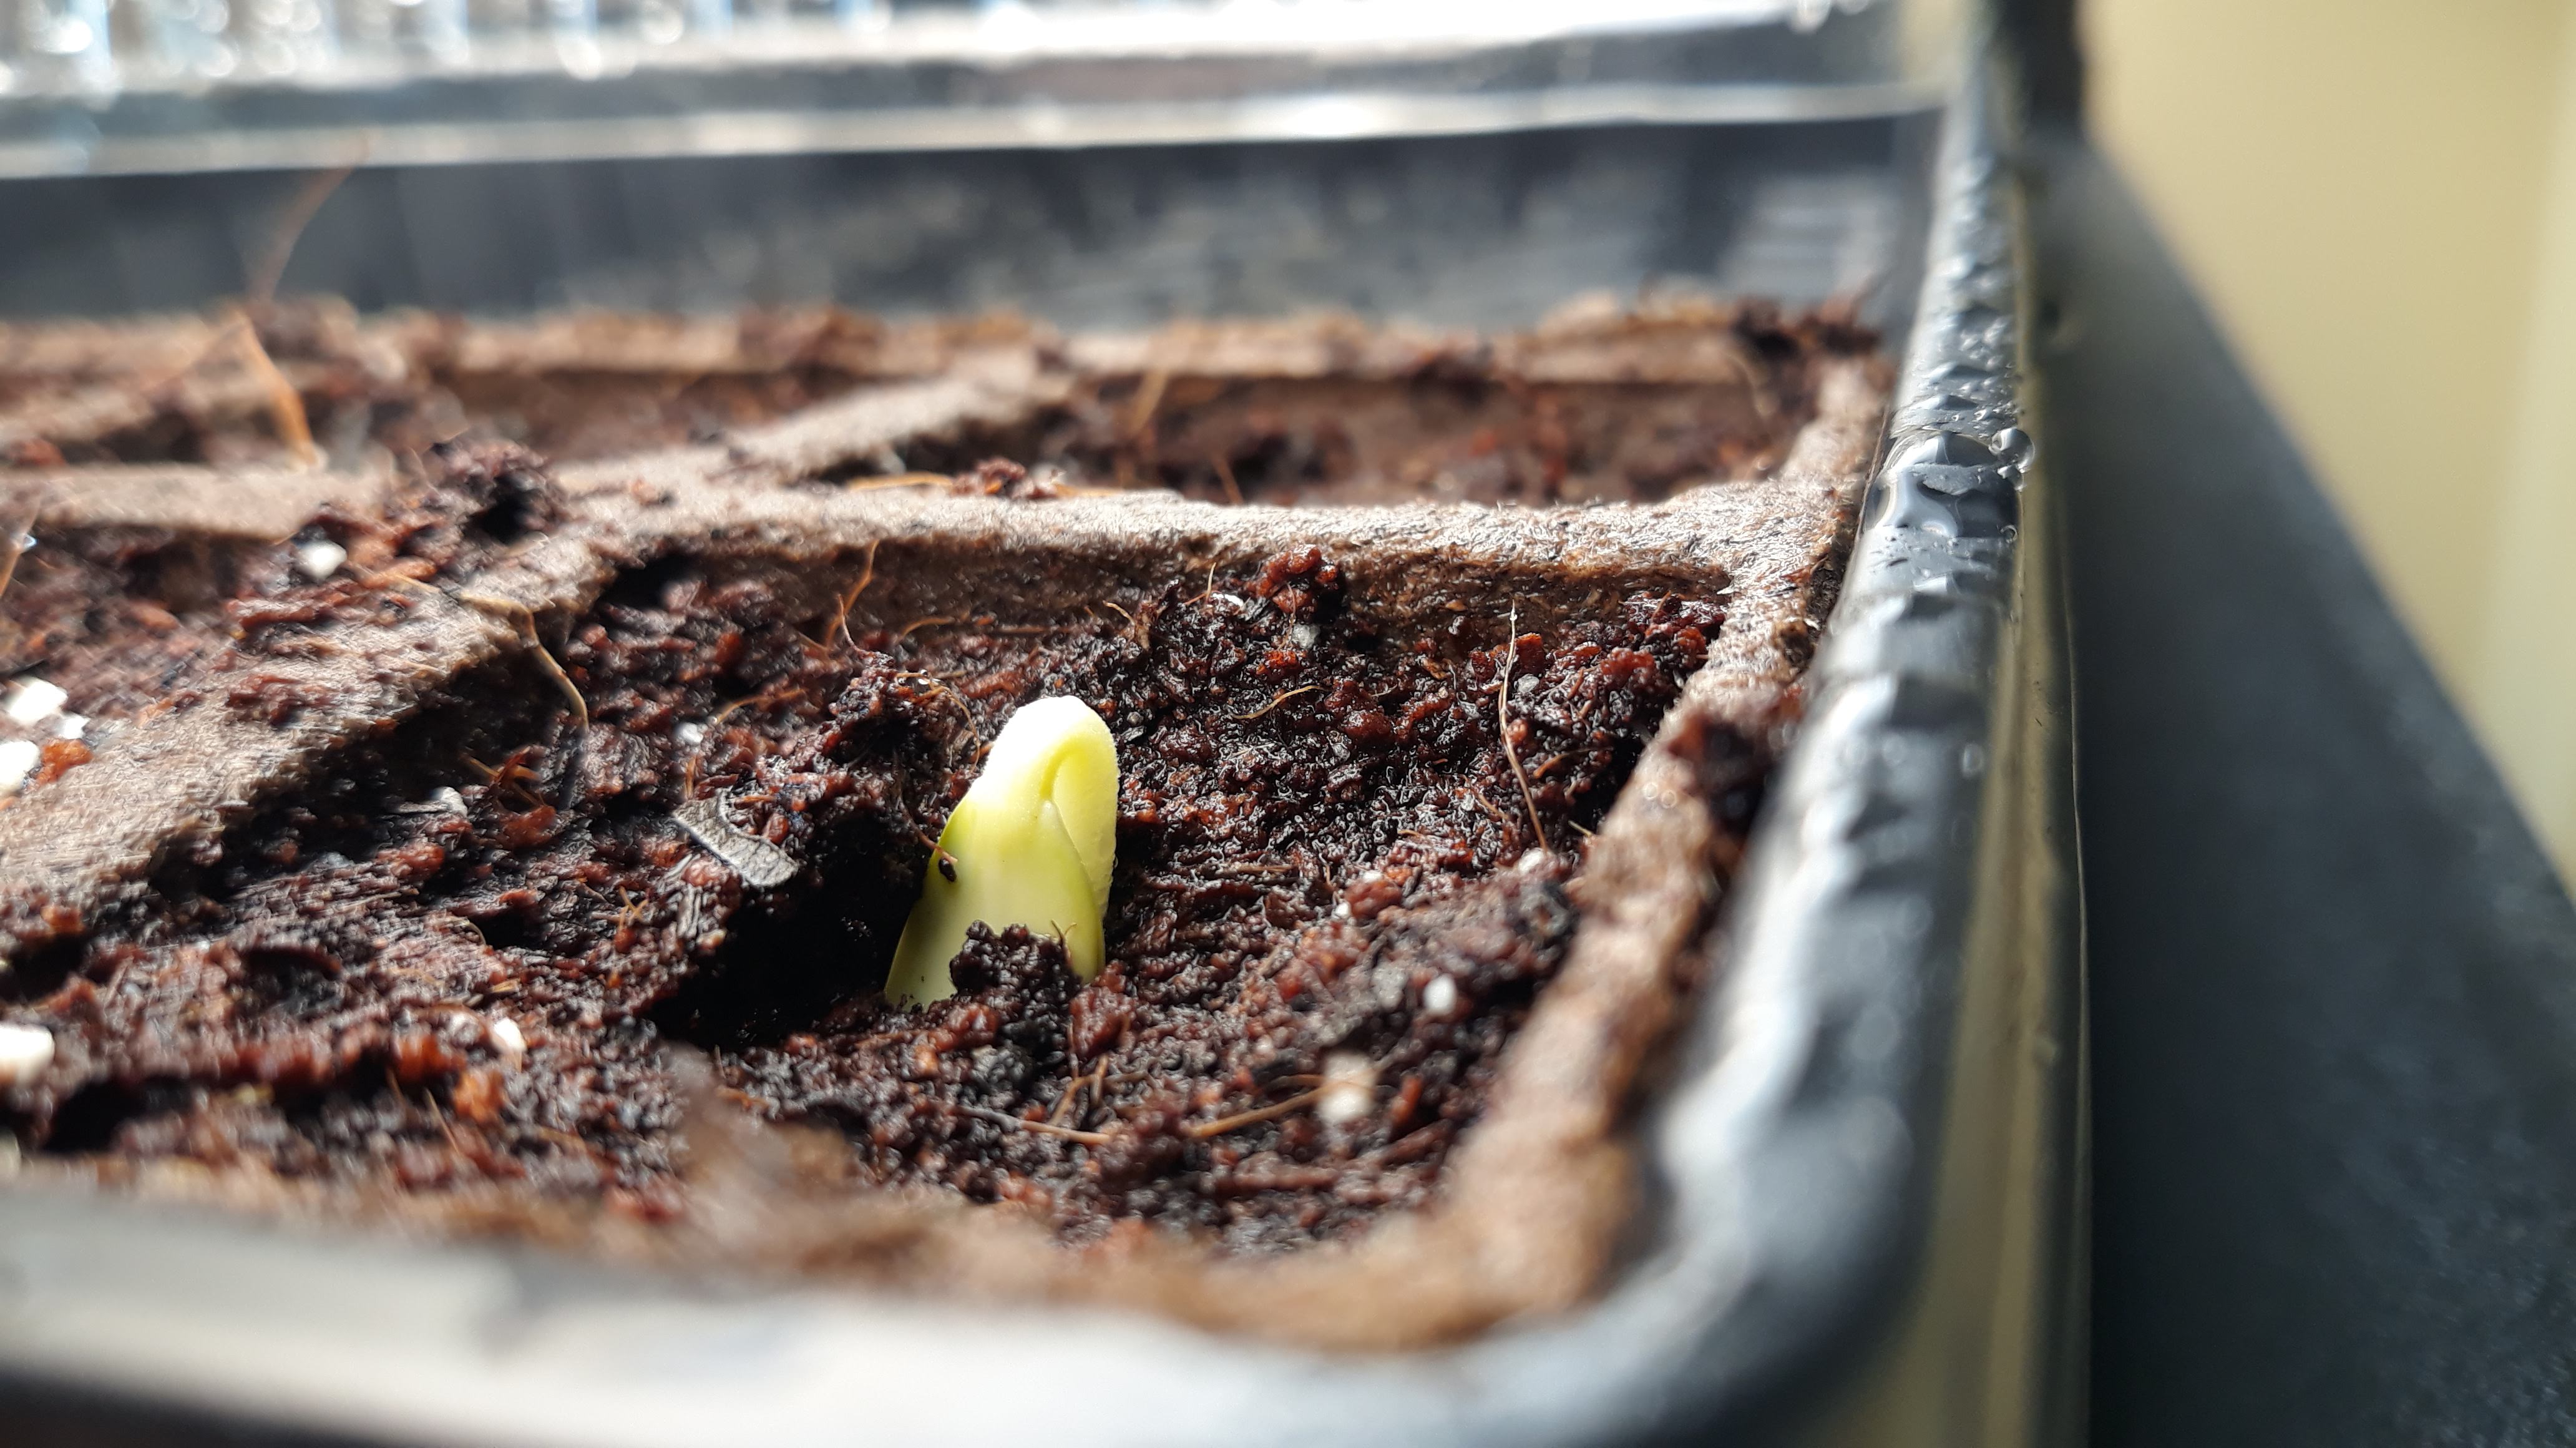
{4/2/21} ••• LOOFAH UPDATE #4: WE HAVE GERMINATION! Just one loofah to start, but I am hopeful the other seven will be popping soon! I’m overjoyed to say the least! I’ve turned on the grow lights (standard florescent shop lights – one warm and one cool – no need to get fancy) so this little seedling can grow to its full potential!
Curious… has anyone else had germination? ![]()
![]()

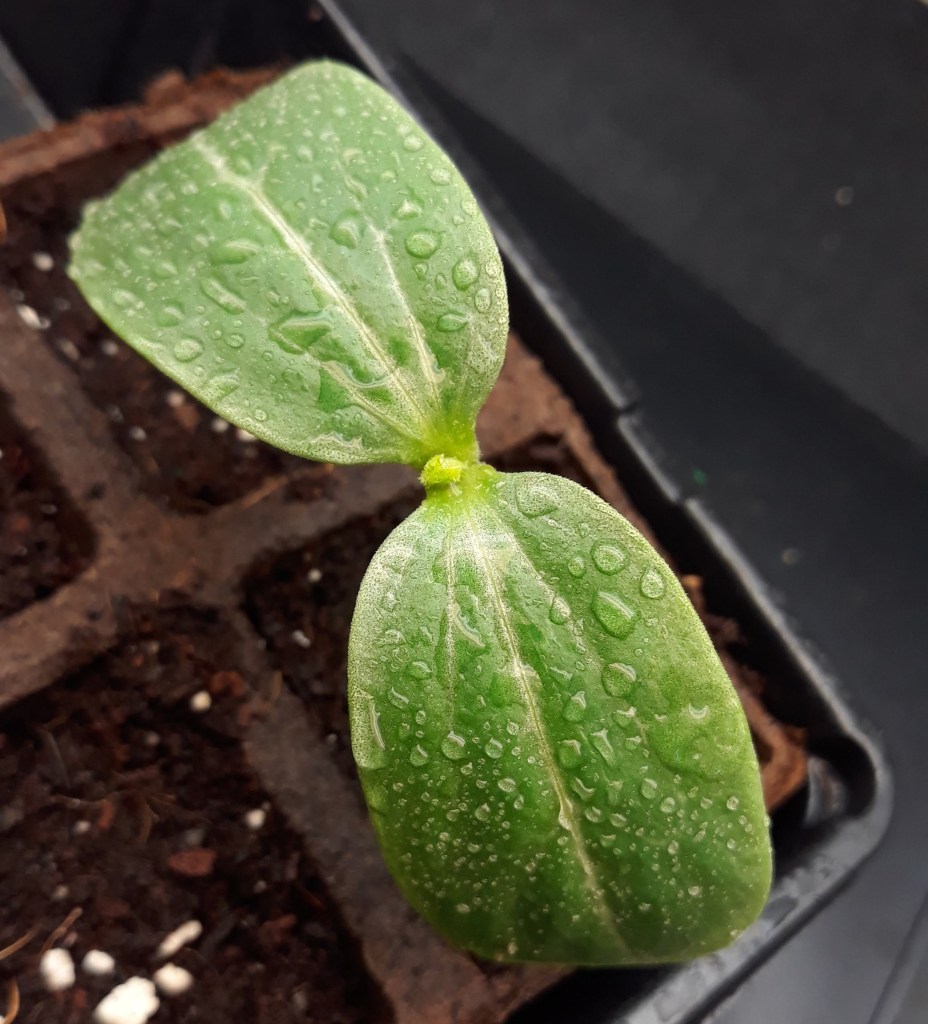
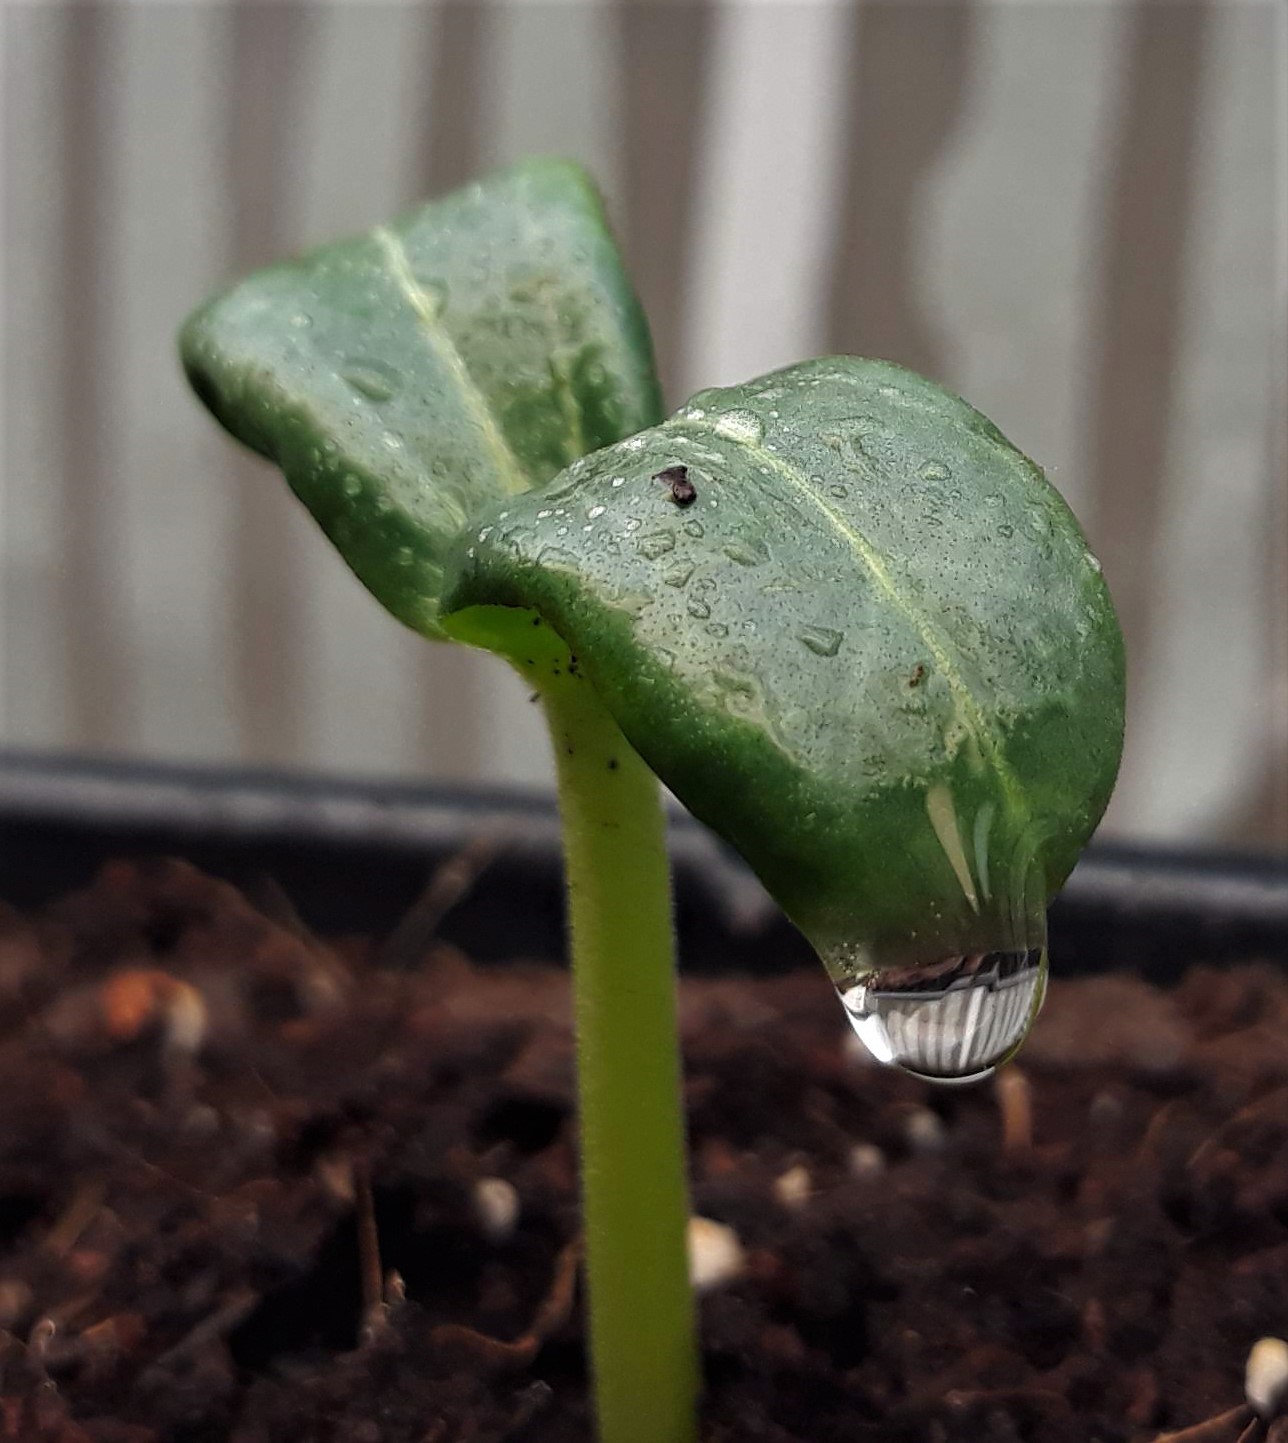
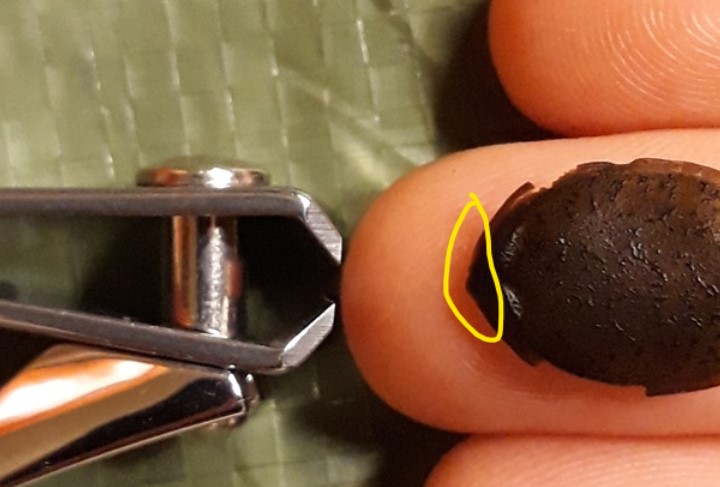
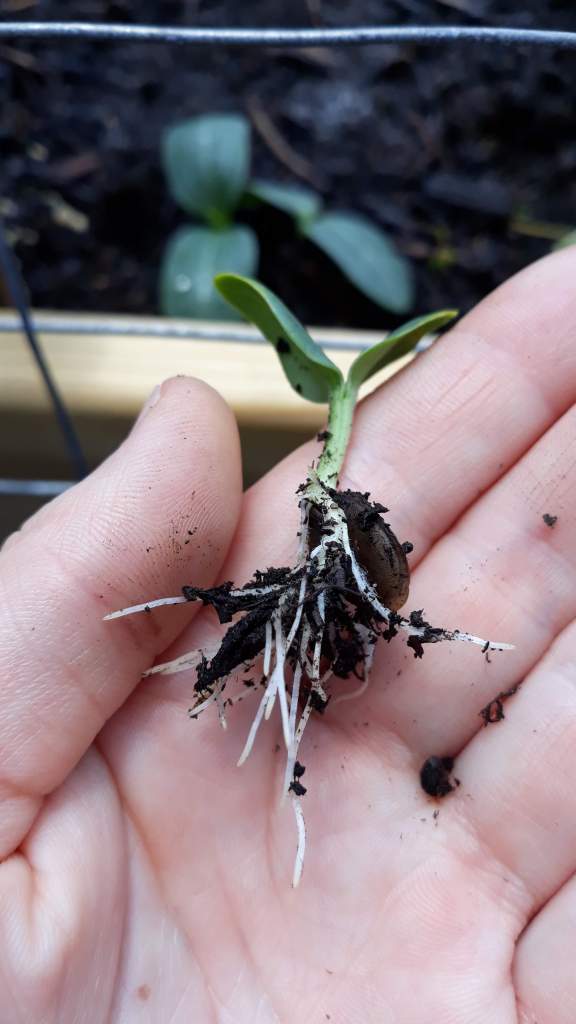
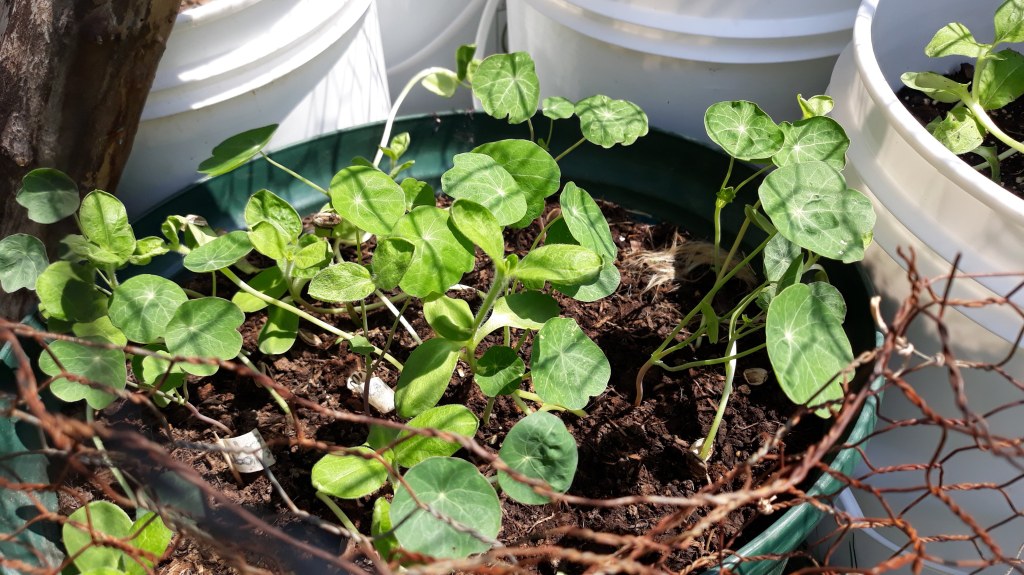
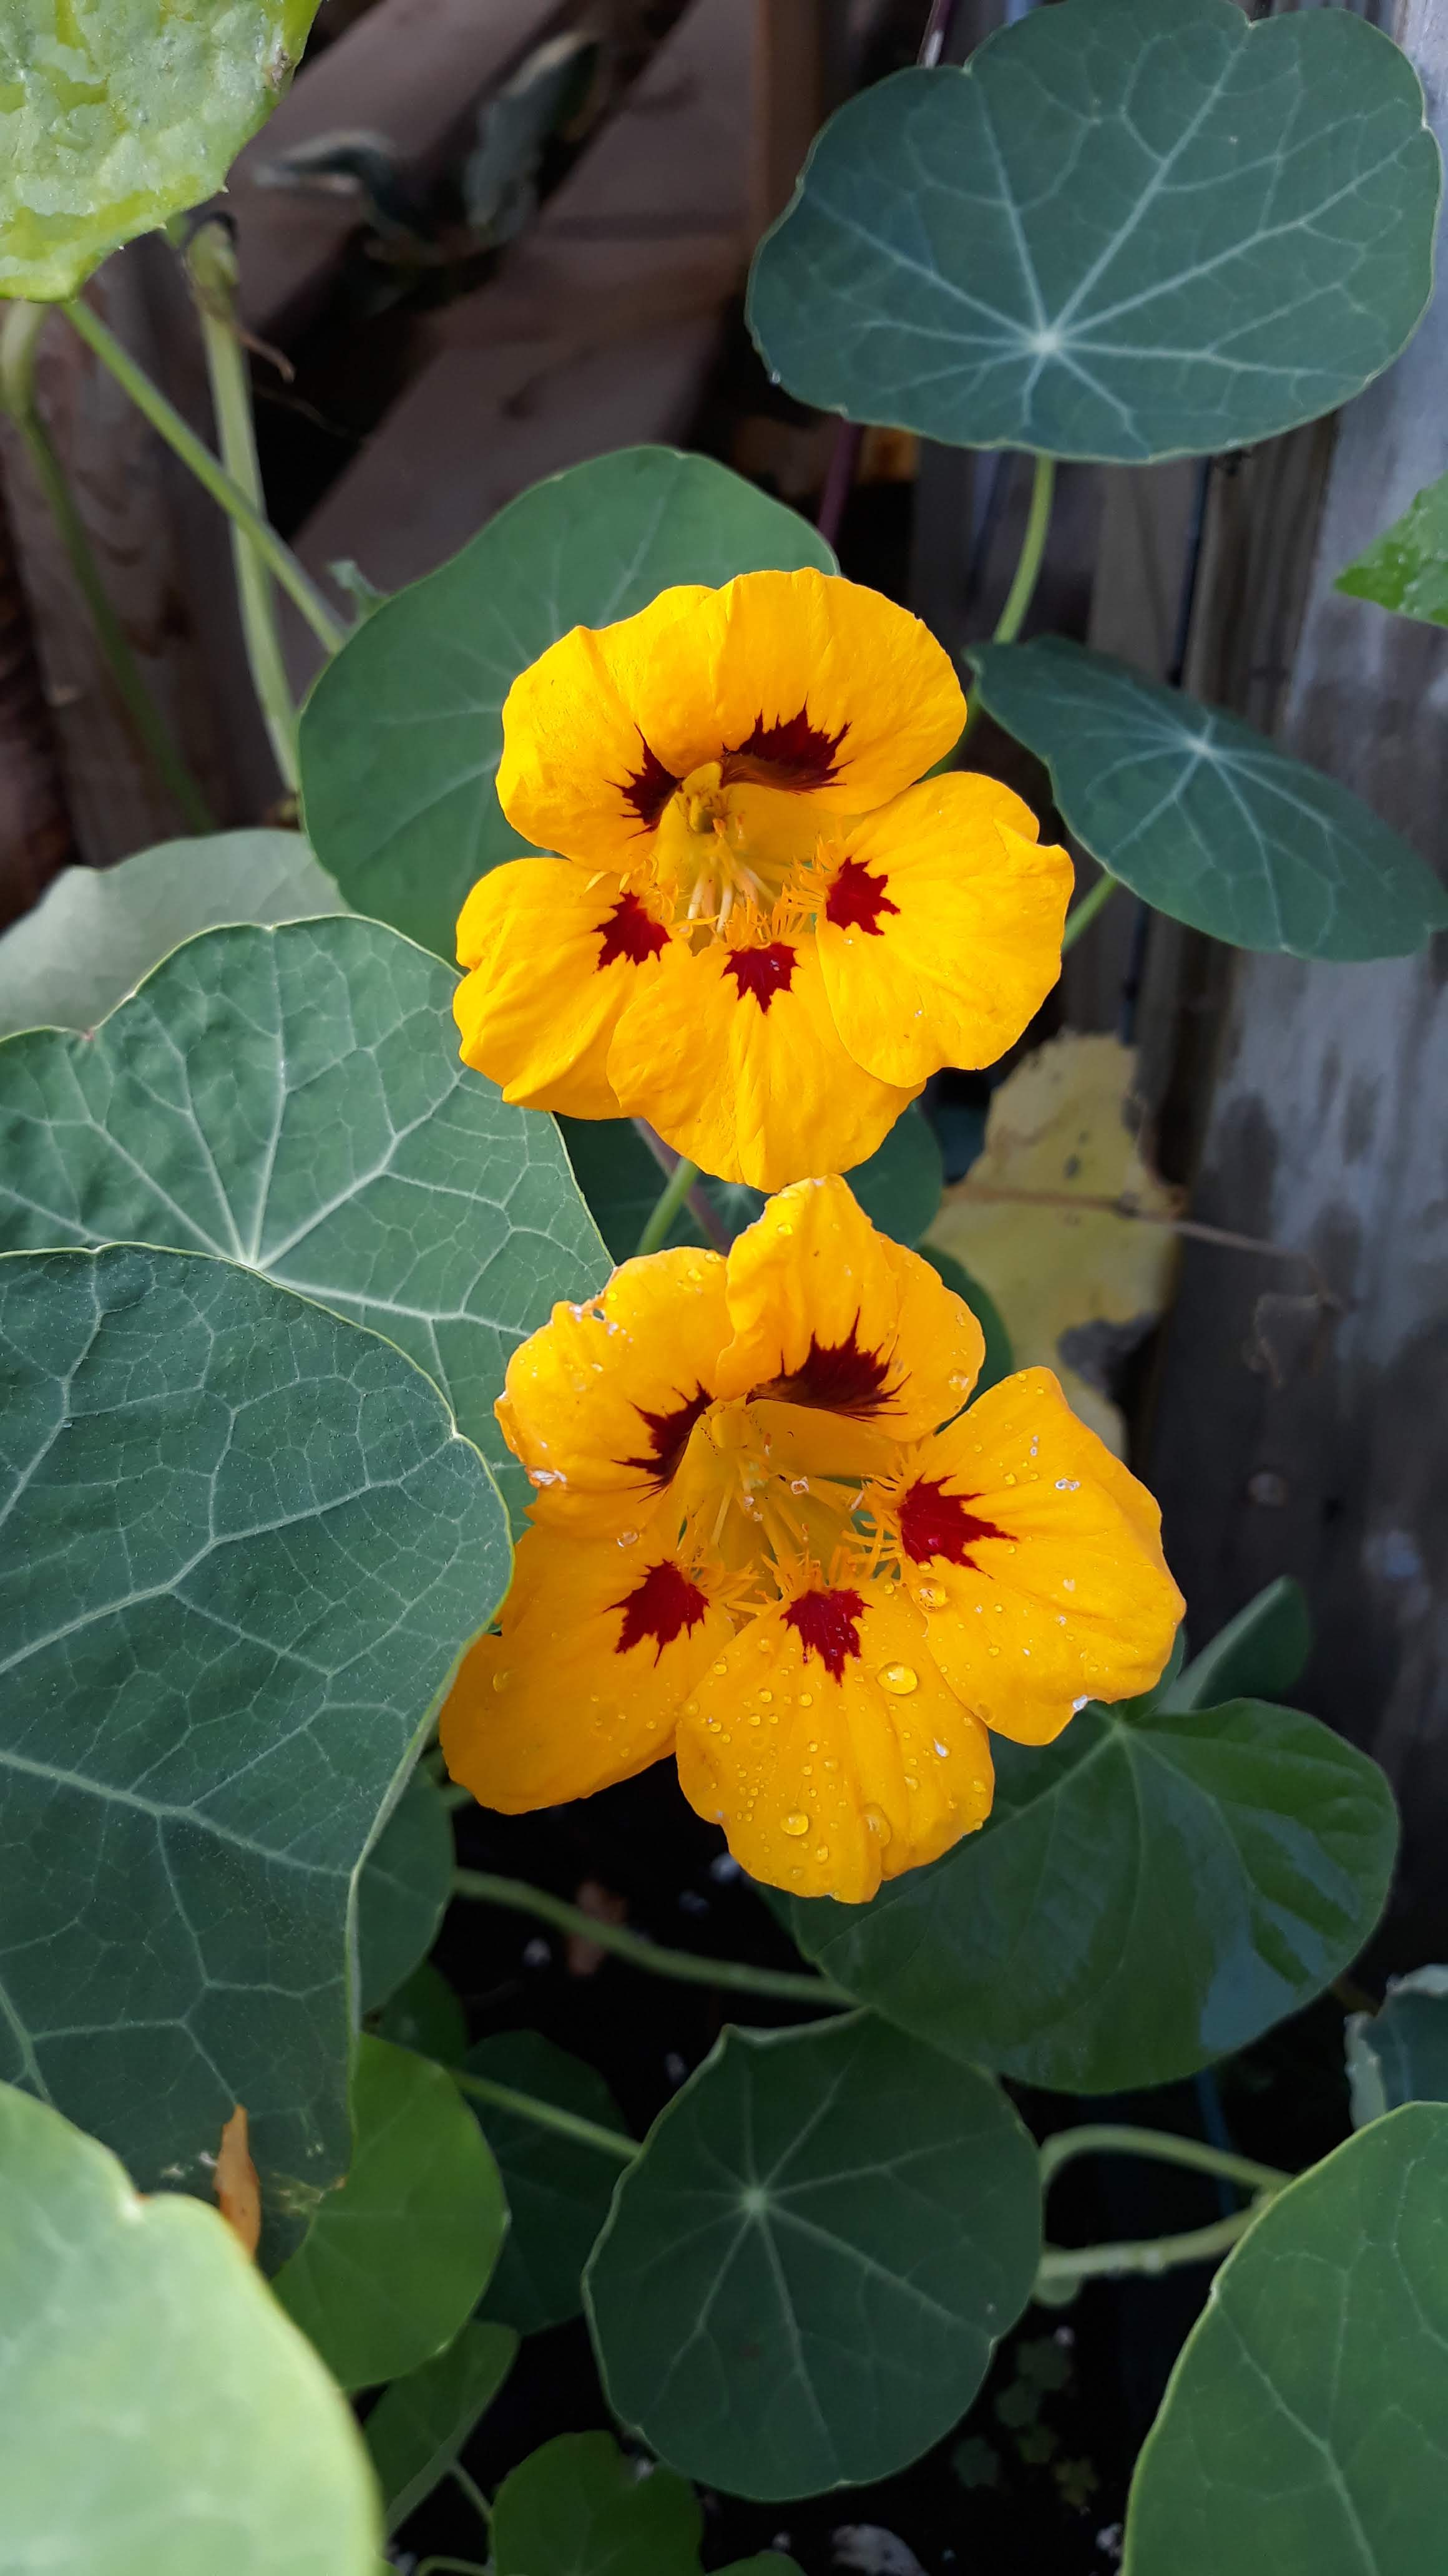
{4/6/21} ••• LOOFAH UPDATE #5: My one lone loofah start is taking off! Can you see the first set of “true leaves” emerging? I’ve got plenty more seeds soaking for another round in case the other seven in the tray don’t pop – though it can take up to two weeks to germinate loofah seeds. These new seeds I’m going to experiment with and clip the outer part of the seed (the seed “coat,” or seed “jacket”) to aid in germination. You can also rough up the seed with a little bit of sandpaper. THE FARMER BEAT TIP: you can do this process (called scarification) with all gourds, nasturtiums, and any larger or harder seed.
Once the true leaves begin to grow, I’ll move this plant to a larger pot to continue growing! Once temperatures are a bit more consistent in the high 60s and low to mid-70s, I’ll harden them off, meaning I will put them outside during the high sun hours, and bring them inside at night. This prevents major “transplant shock” to the young seedlings, and prepares them for the elements! After all, they did get a pretty cushy start, so they will definitely need to be hardened off.
Love the process!
{4/9/21} ••• LOOFAH UPDATE #6: I officially have seven healthy loofah seedlings above soil! Soaking and performing scarification on the seed (clipping the soaked seed with a nail clipper at the pointy base, just before the meaty center) helped immensely! The first seeds, which were only soaked, took nearly five days to germinate, compared to these pampered newbies, which only took three days! I also kept the first round off the heat mat the very first night, where as with this new round I put them on the mat directly after sowing. Yay! Awesome! Now I know how I’ll be starting all my loofah seeds moving forward. Streamlined and smoothed the process. I know loofahs can seem fickle, and they are, but you learn to grow with them, not against them. I love to tend to these seeds, this life, as if it were something of my own. It deserves the best start, and following these guidelines will definitely contribute to that very kind of start! I love the way gourds germinate. They are buried in the dark soil, then push their way out into the fresh air… moving the soil as they reach. It’s fascinating how quickly they come up, too! From the morning until afternoon they grew well over an inch, no joke! The loofah seedling that germinated first of its class will be up-potted tomorrow already.
They grow up so quick! 😄

LATER THAT NIGHT: at least nine seedlings are up!

{4/21/21} ••• LOOFAH UPDATE #7: The loofahs are growing bigger and stronger every day, and I’ve even up-potted three so far! I keep these seedlings under the shop lights with the heat mat on. I water daily, sometimes twice. I check the soil by sticking my finger down into the soil and seeing how it feels. Does it feel dry? Slowly soak them. Kind of moist, but not too much? Just give’em a little splash. It’s a practice, but basically, listen and observe. Are the leaves drooping? Is your plant reaching too far to get to a light source? Our plants speak to us in many ways, we just have to be open to learning what they need.
Giving these seedlings the best possible life in the beginning will help them grow into lush, high-yielding vines later in the summer. They’re fickle, but once you practice the art of observing and tending, you’ll be surprised how well you can tend to your plants! How are your plants doing? ✨
Today’s lunch break and after work goals include:
• Up-potting at least five or six more loofah seedlings into 4″ pots
(THE FARMER BEAT TIP: I purchased a flat of 18 pre-filled pots at Hubbs Greenhouse in Marengo for $6)
• Soaking a few more seeds to sow tomorrow
• Updating my inventory spreadsheet
• Packaging up and sending out more seeds


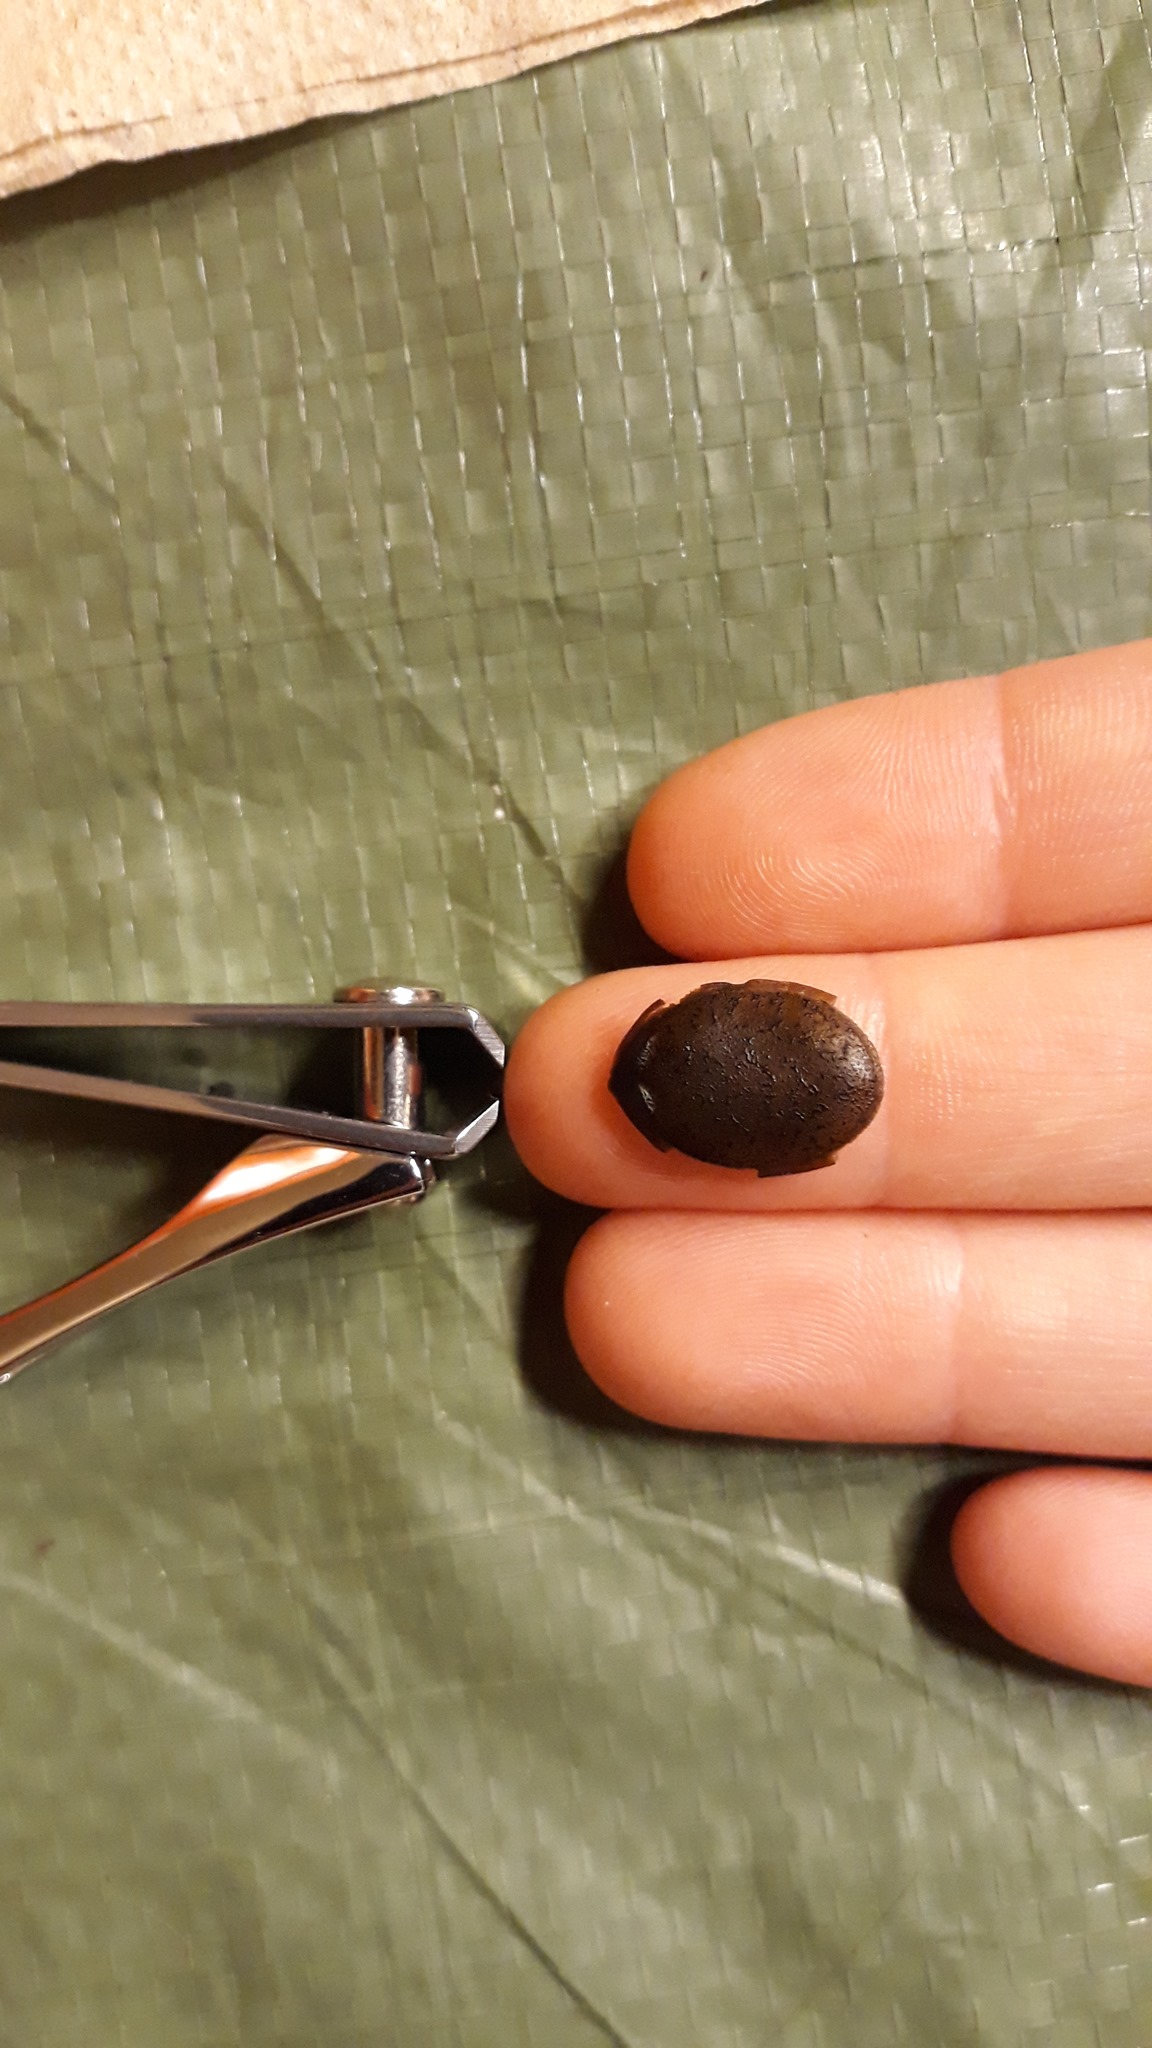
{4/23/21} ••• LOOFAH UPDATE #7.5: I’ve had a few questions in regards to clipping my loofah seeds after soaking and before sowing… what am I clipping? Where? ✨ I’m clipping the thin, outermost layer of the shell on the pointed side. I’m clipping just enough to open the seed shell, but not clip the “meaty” insides where the seedling emerges. I hope the photos help!
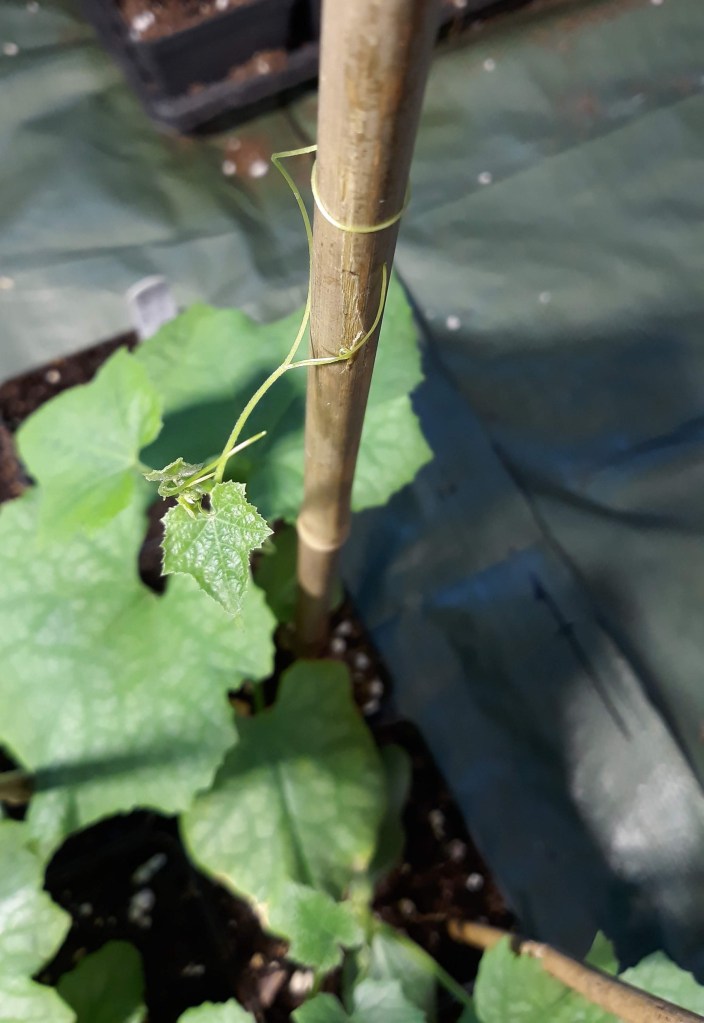
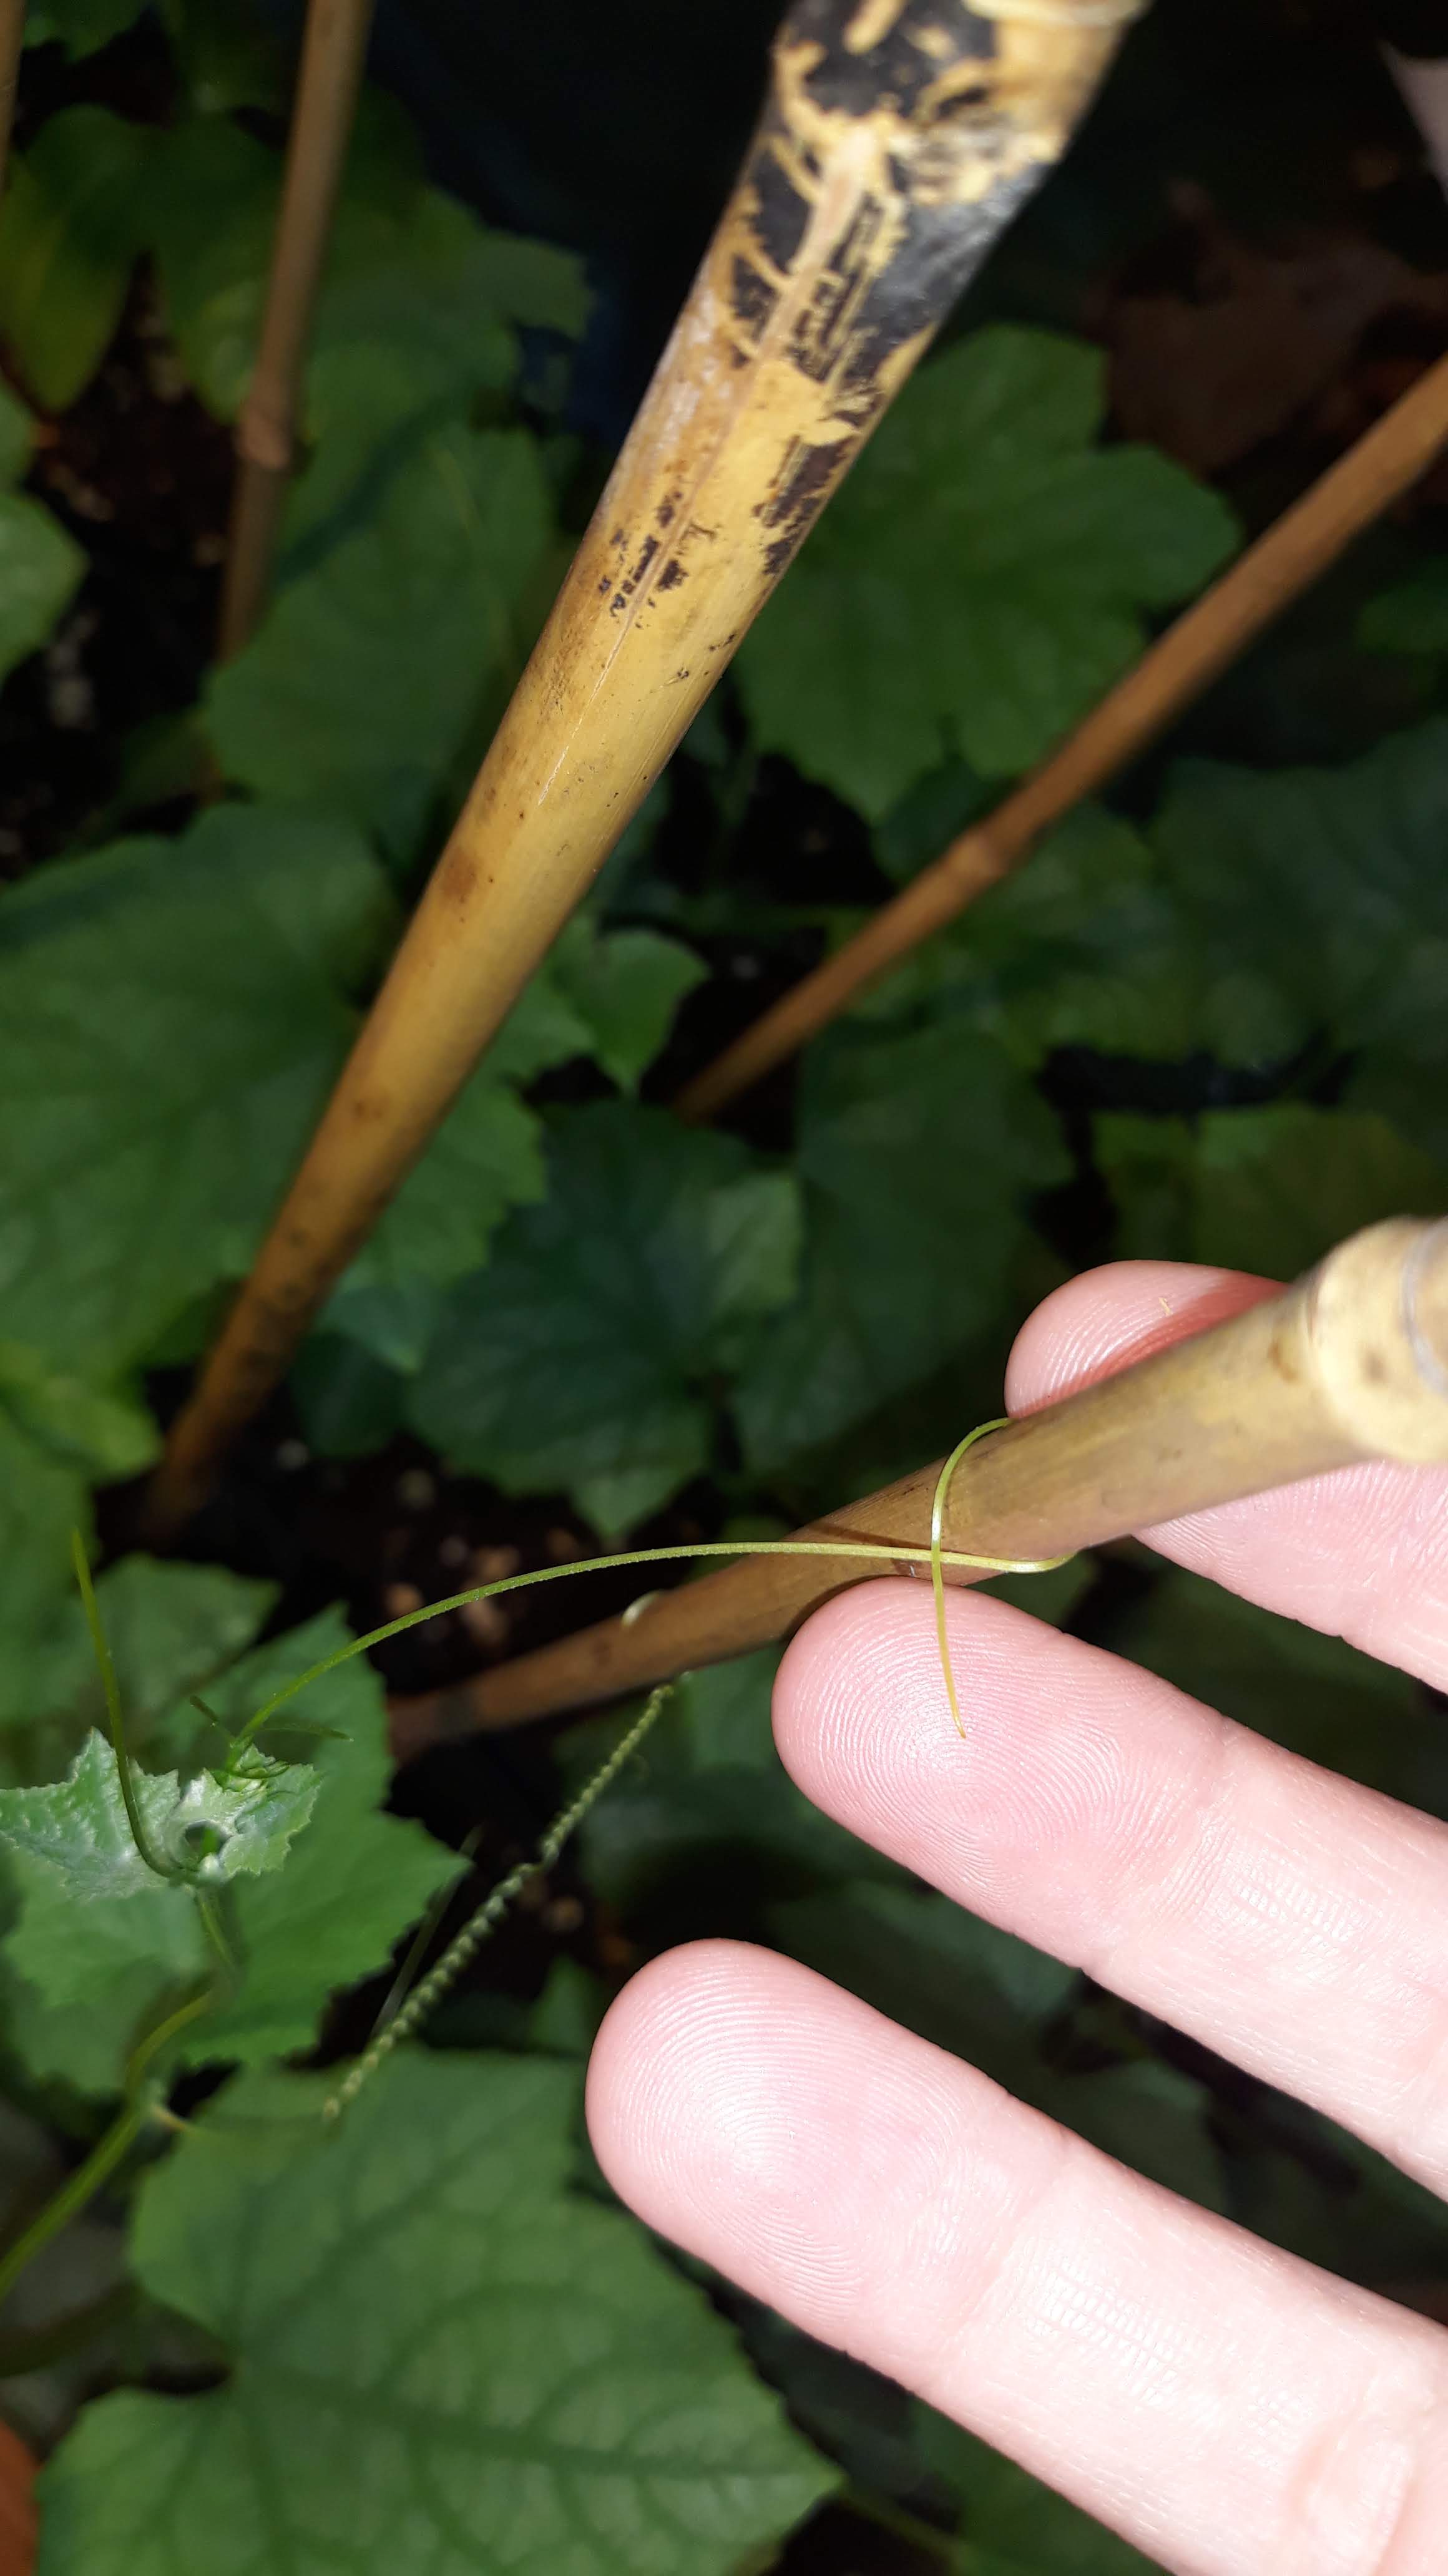
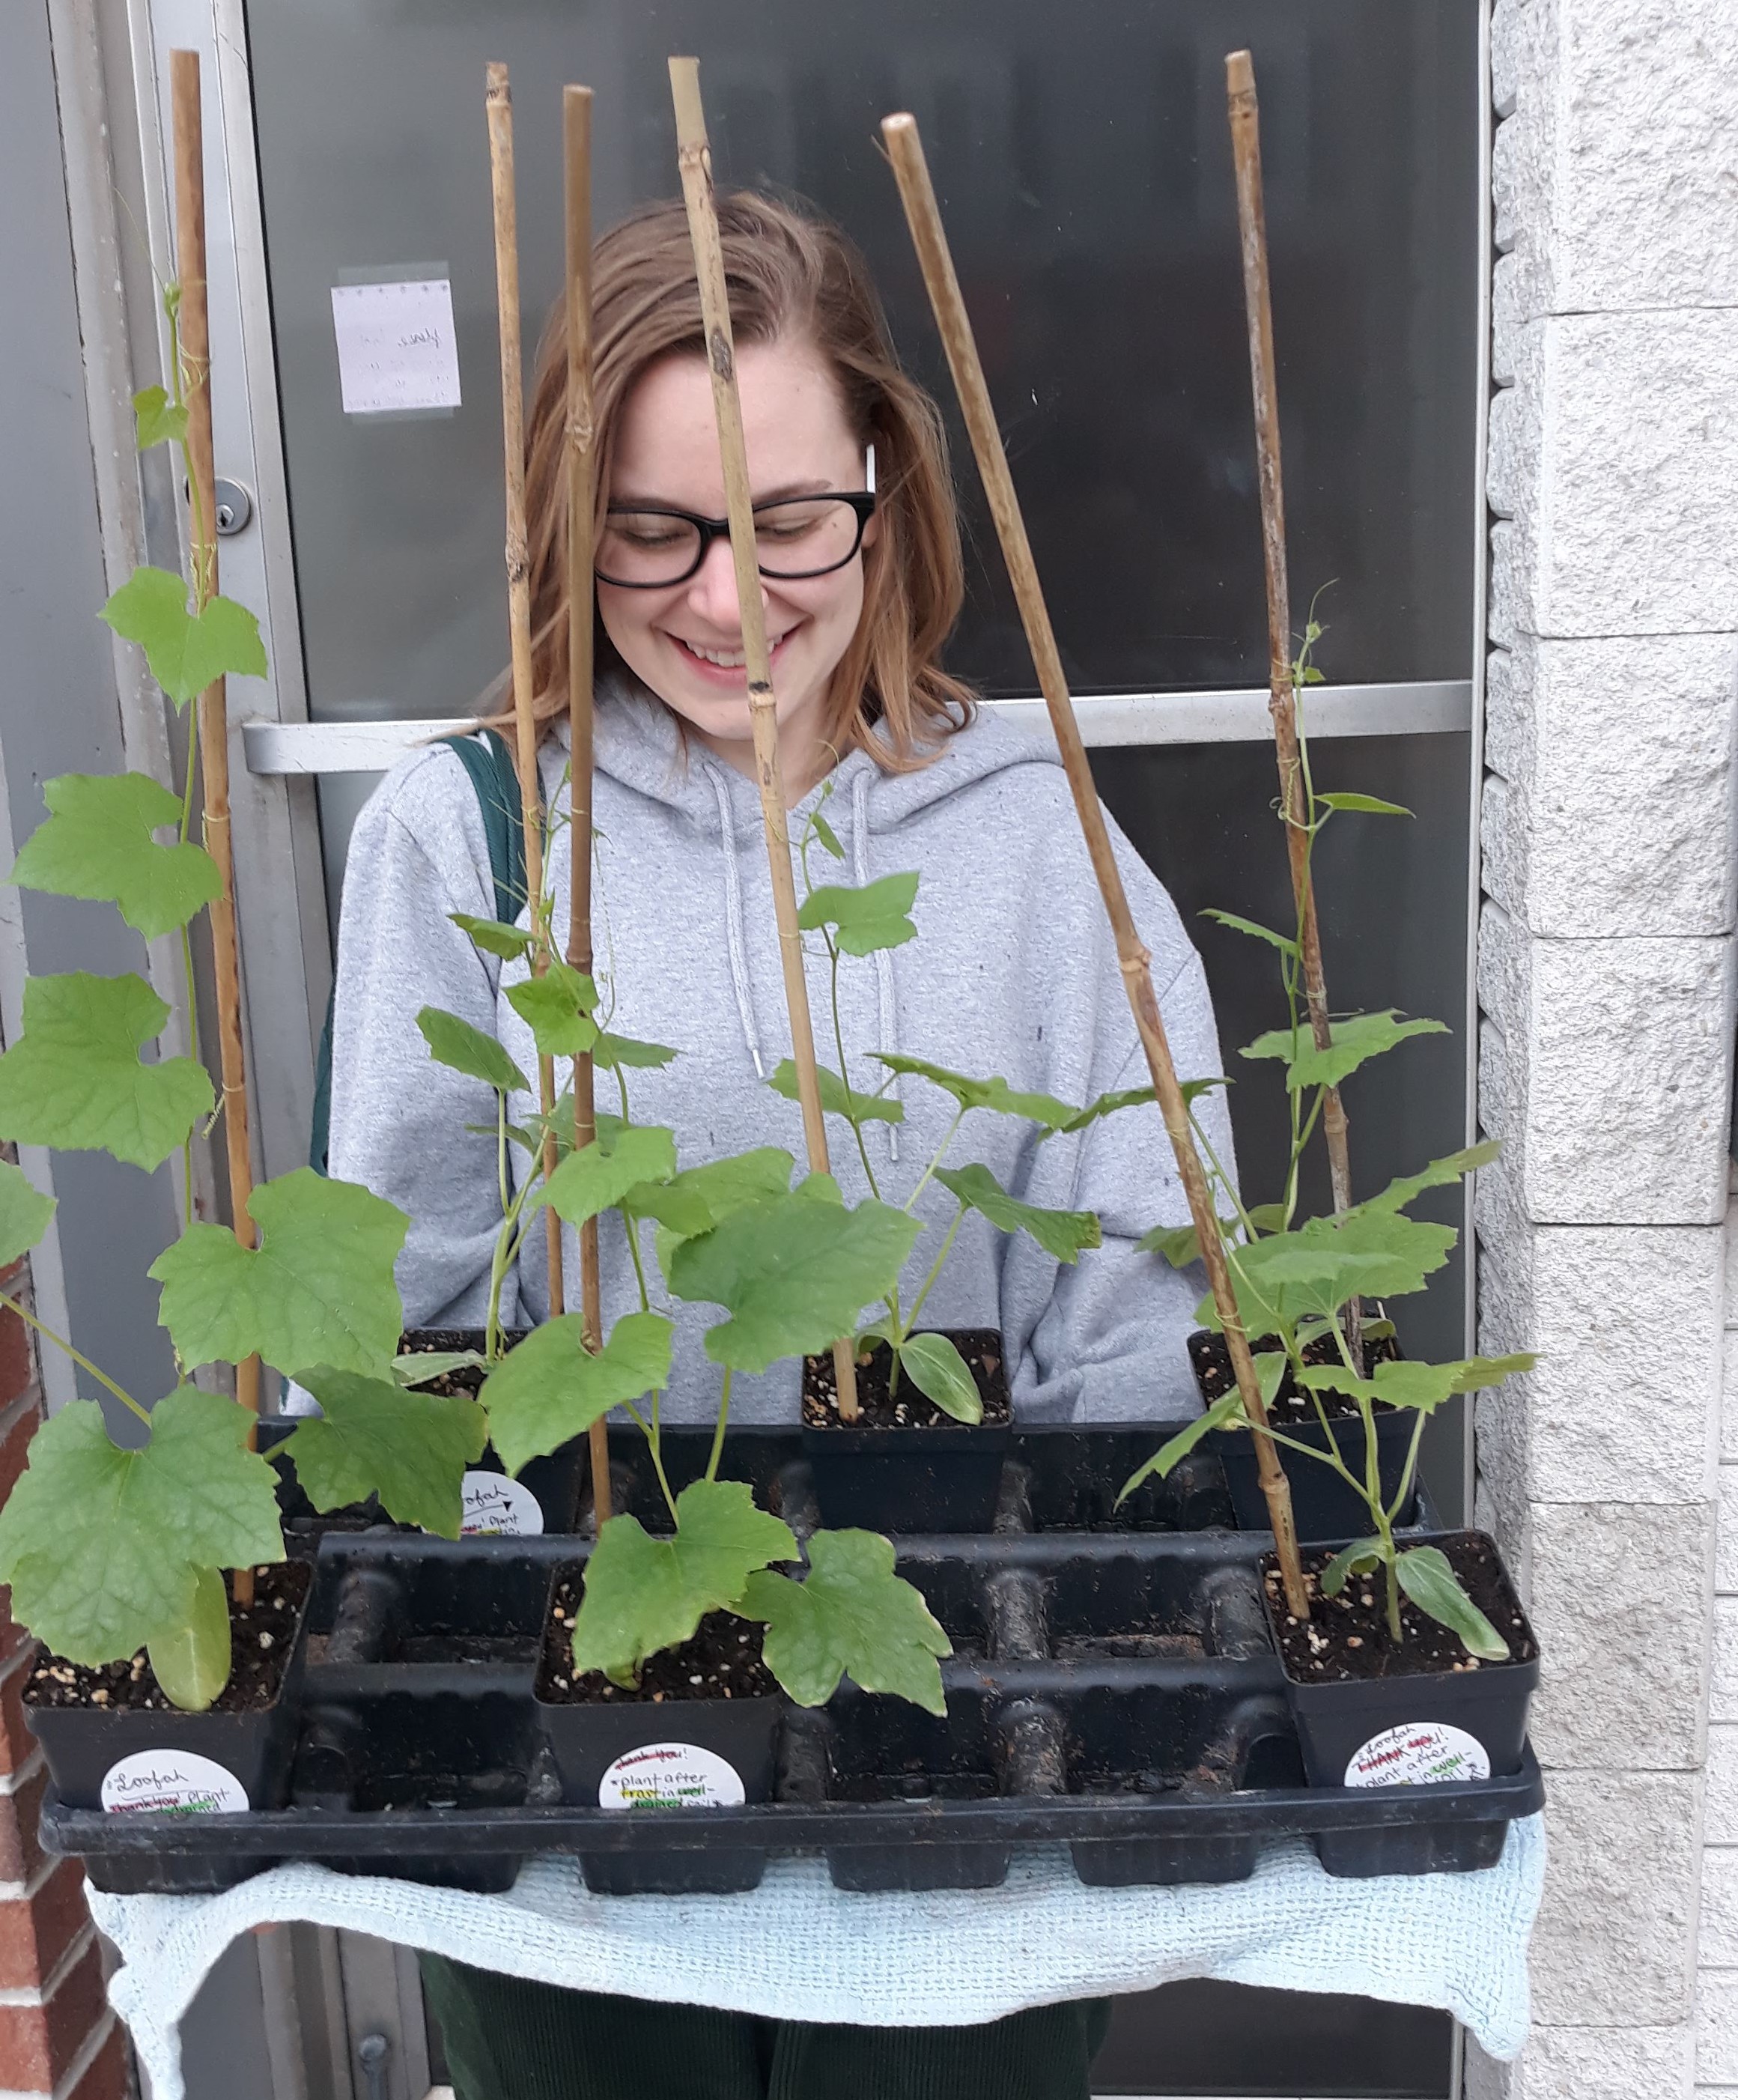
{5/3/21} ••• LOOFAH UPDATE #8: Happy May, plant friends! Been so busy lately that I haven’t had a chance to update on all the wonderful loofah happenings. And oh, it’s happening! As of today, I have 22 healthy loofah plants! Six plants already have tendrils reaching and wrapping around 2′ bamboo stakes placed in each individual pot. The seeds I saved from last year germinated very nicely and I’m happy to have grown “extra” in case I loose any in the transplanting process. At least 10 plants will be dropped off to those in the surrounding area, and I’m really excited about that!
P.s. something I want to mention that I believe I accidentally omitted previously is that I have been keeping the heat mat on at all times for the new seedlings; and I keep my grow lights on at least 16-18 hours a day. This ensures the plants are receiving as close to equivalent natural light as they can. They all look very healthy and vital! I’m getting an extremely nerdy amount of excited for the next few weeks of preparing my garden site for these loofahs to be transplanted into, then soon take off and explode!

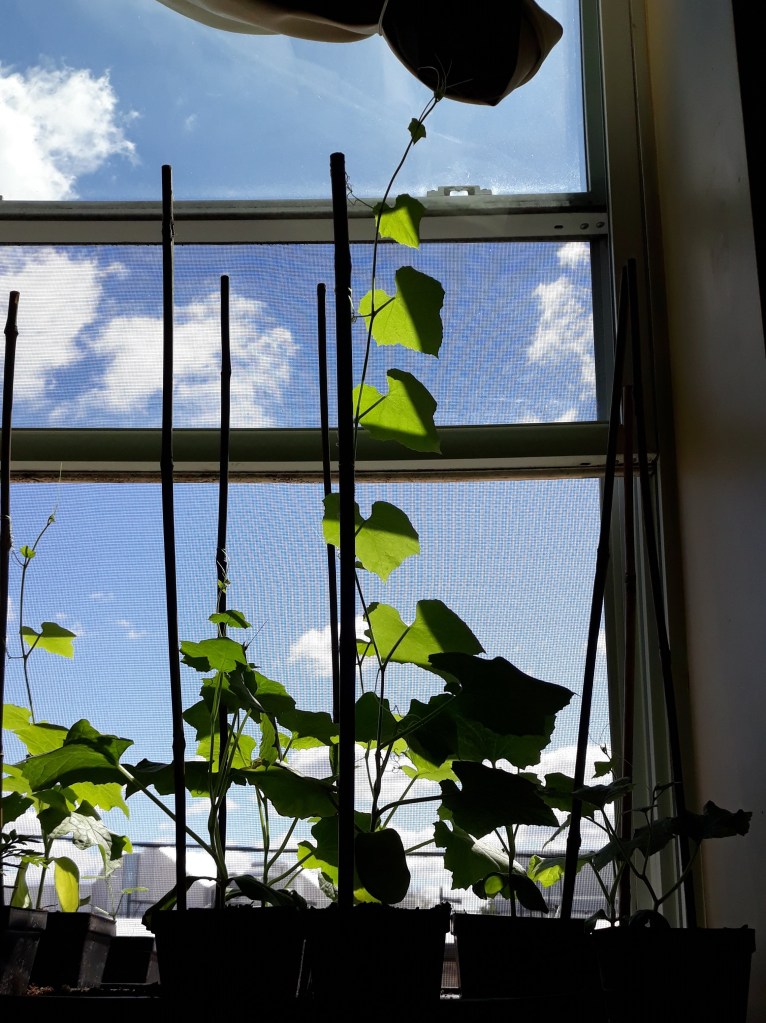
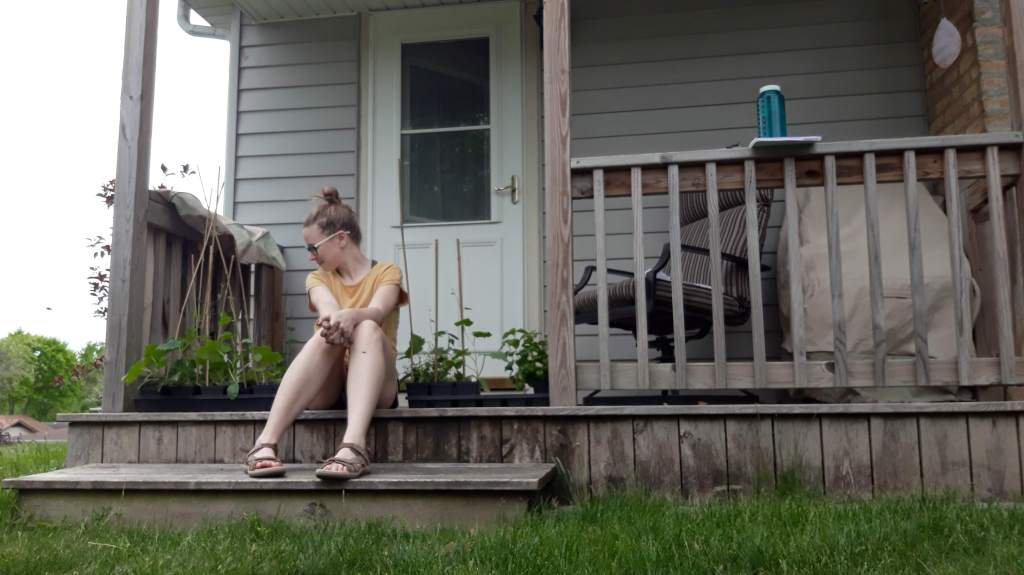
{5/11/21} ••• LOOFAH UPDATE #9: This week I am beginning to harden off my loofah transplants. Each day I’ll expose them to more natural sun/weather. This will continue until frost is gone for the season and the starts are planted in my garden boxes. It’s a very exciting time, and I’m even a little anxious! I’ve given them the best start, though, so I’m looking forward to seeing them take off – in my garden and yours!
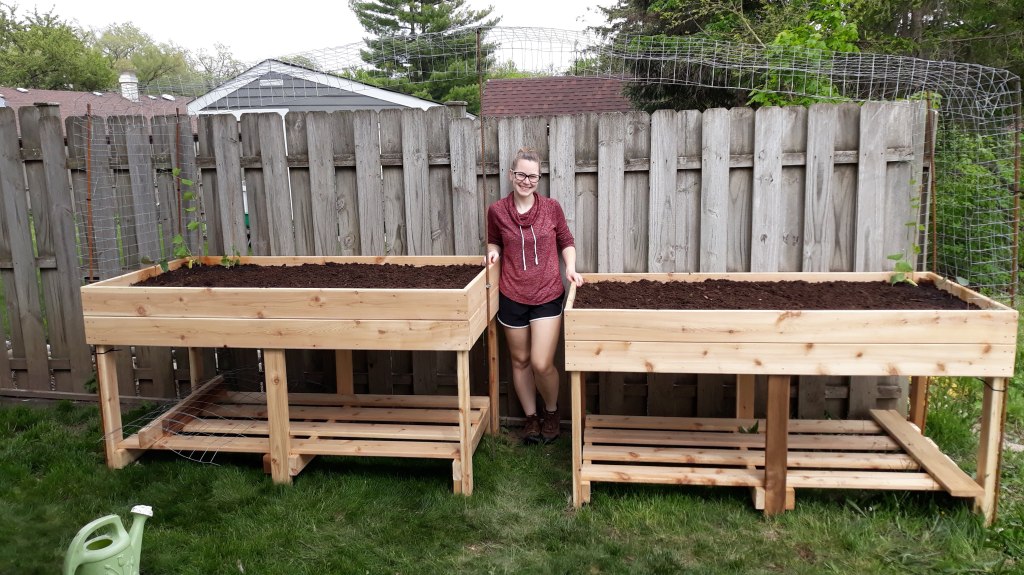
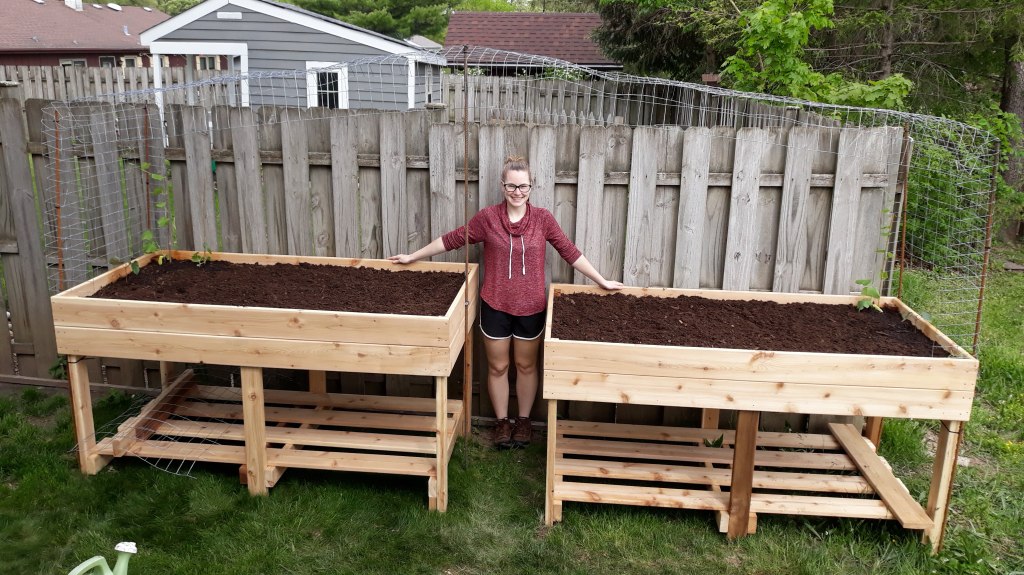
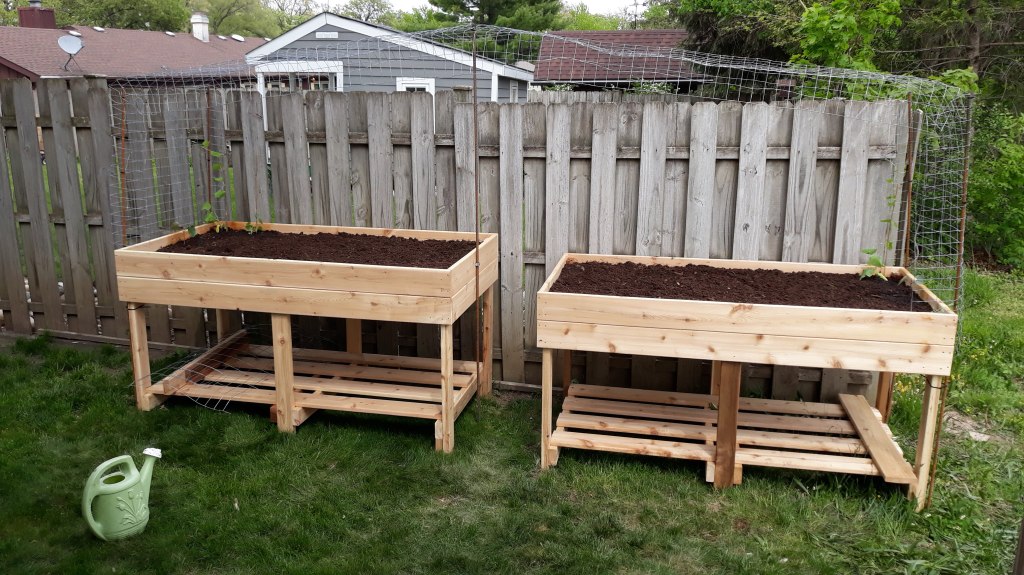
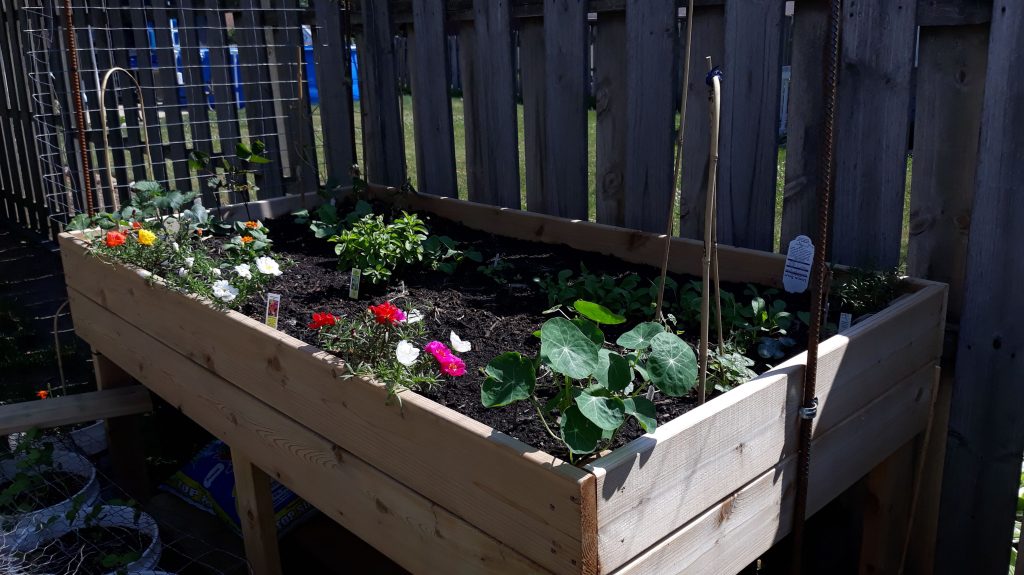
{5/24/21} ••• LOOFAH UPDATE #10: Wow! Time is flying, though we’ve only just begun the outdoor season! I think it’s a great day for a loofah update. Since hardening off in my apartment window, I’ve transferred a few of my loofah starts first to the back porch for a few days, then into my new raised beds! This garden design was an idea I created in a notebook earlier this year, and with the help of JMBJ Remodeling (he’s on Facebook) I was able to manifest it to life! John was super professional, had awesome communication and did a fantastic job with these raised beds. I believe they’re going to be perfect homes for my loofahs, flowers, etc. I cannot wait to see the vining plants reach for the sky, spanning the length of the trellis, growing green and lush with pops of bright flowers: yellow, pink, and purple!
My raised beds are filled with:
- mushroom compost
- cow manure
- top soil

P.s. I also got loofahs out to my community last weekend, which was a real treat! Thank you to anyone who donated to this project in exchange for a healthy loofah transplant. I cannot wait to walk around my town and surrounding towns to look at all the blooms!
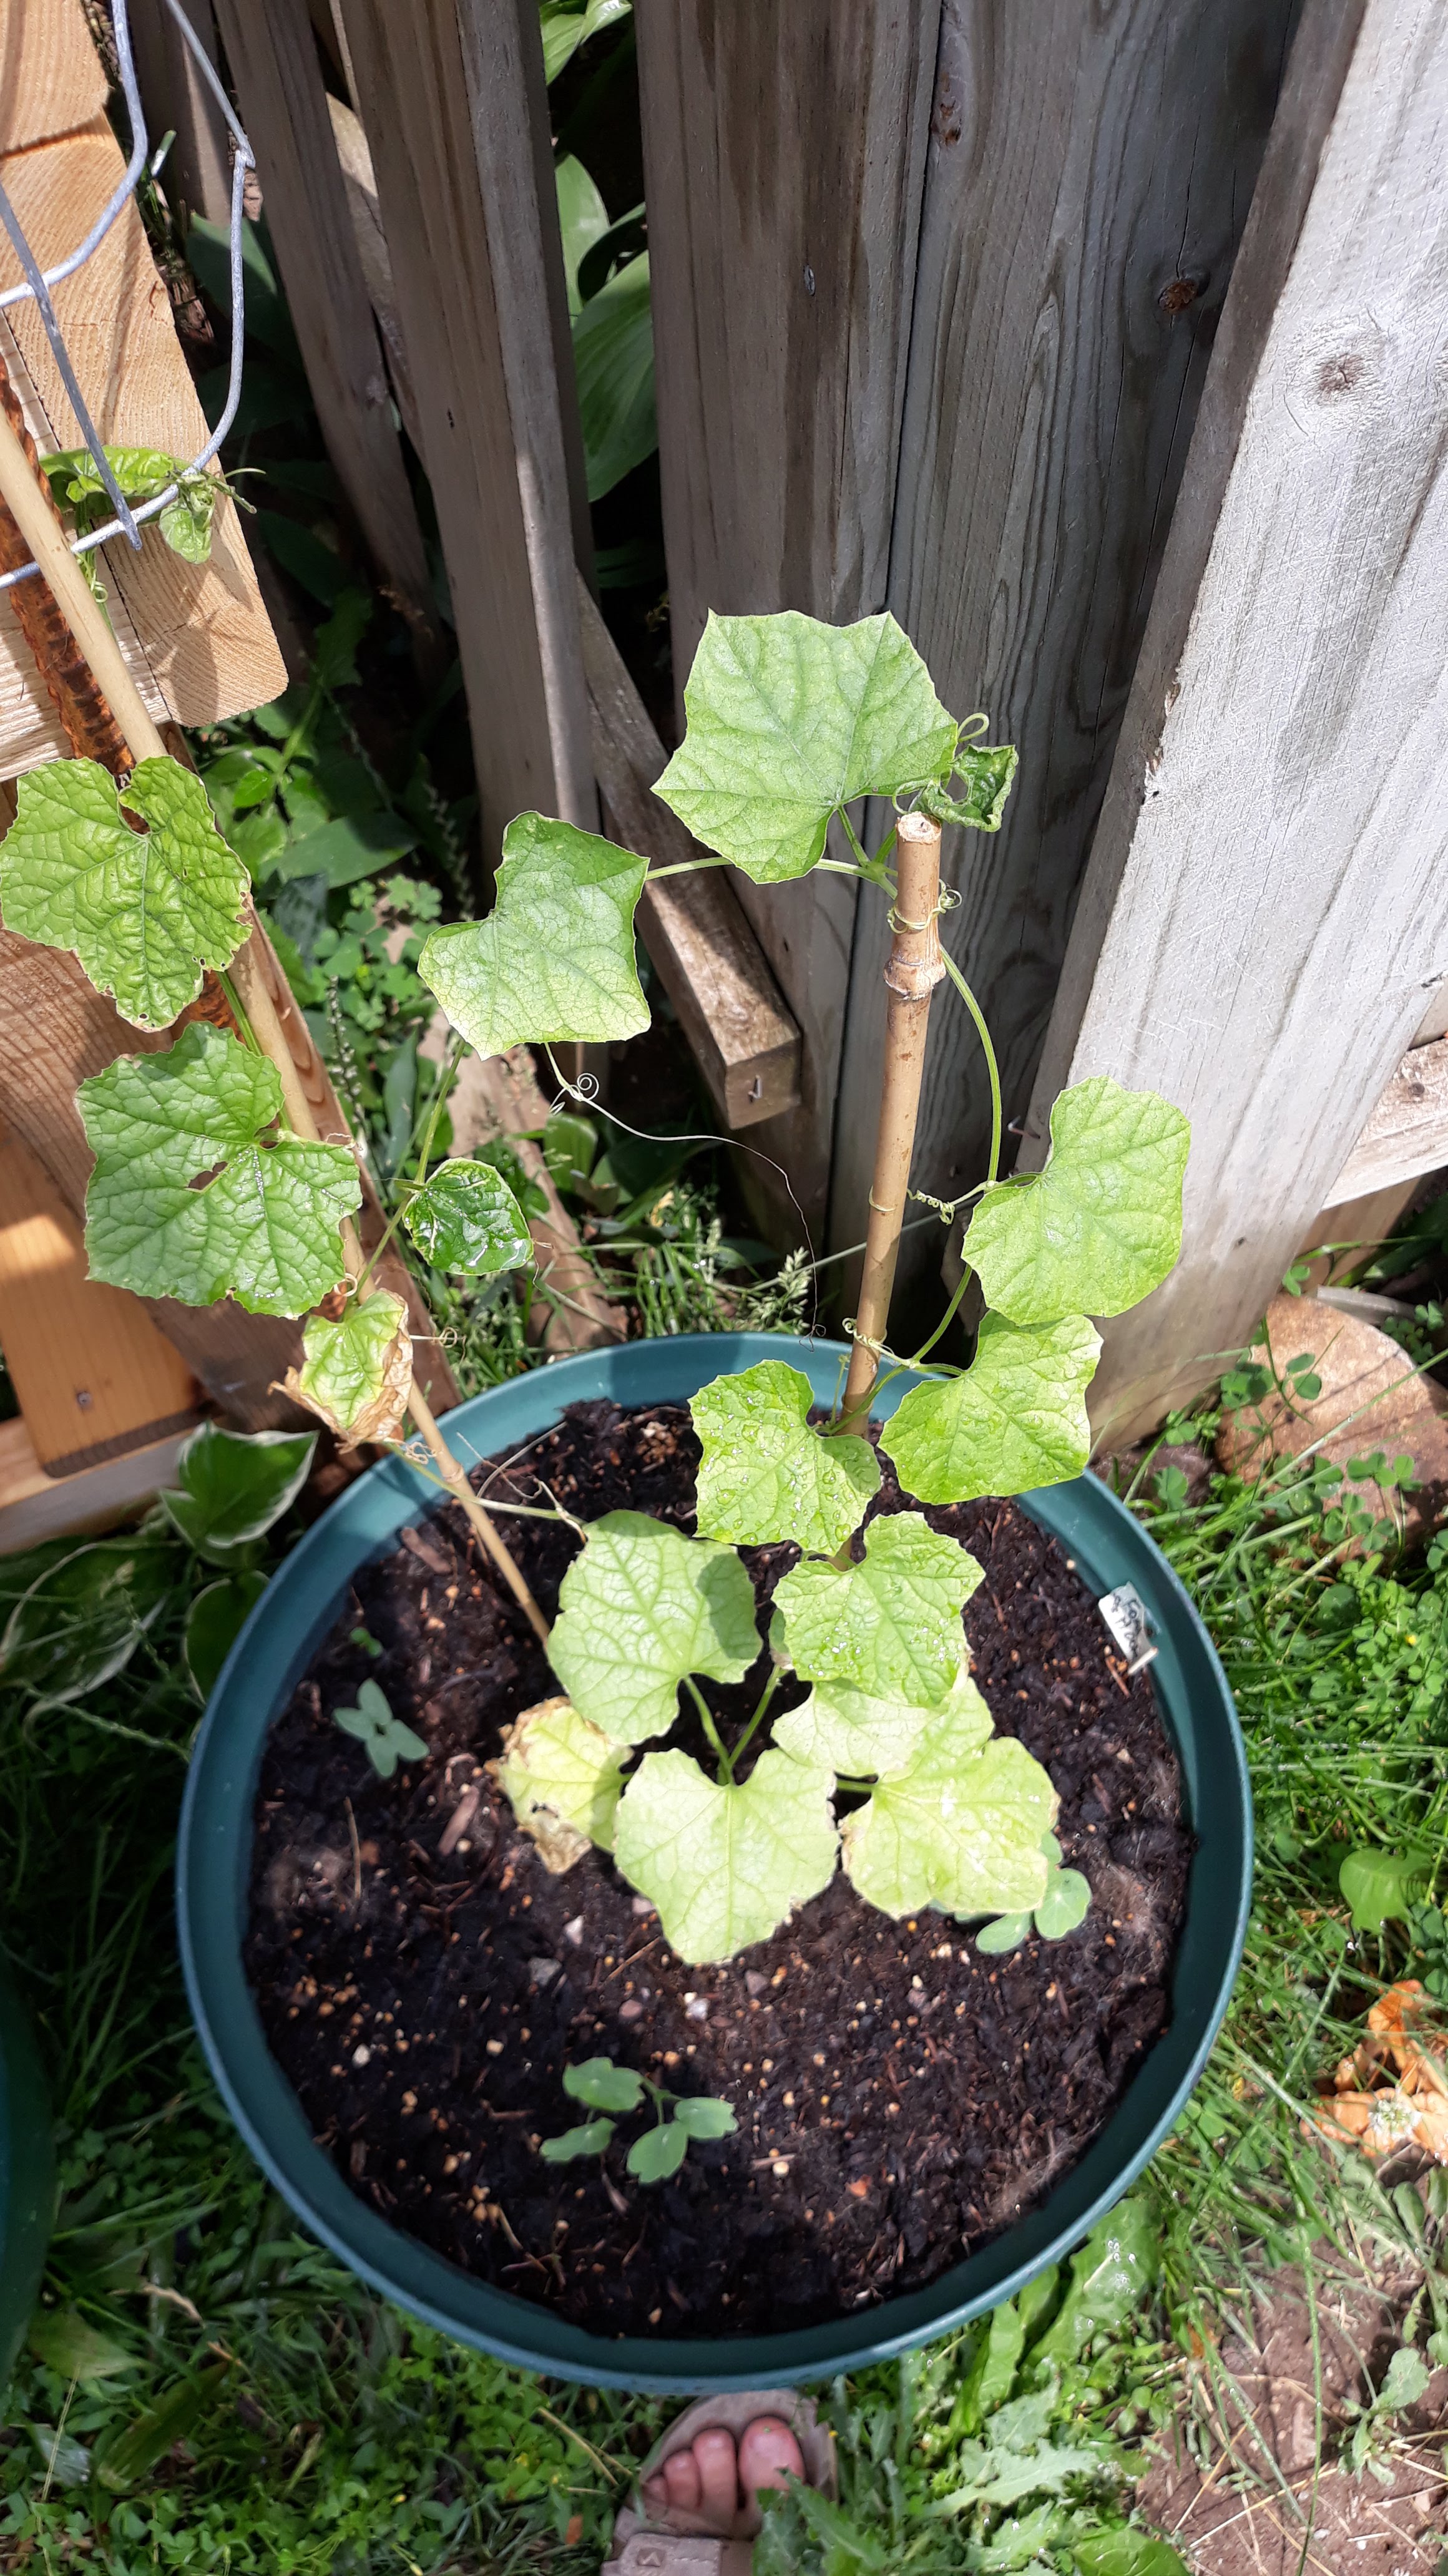
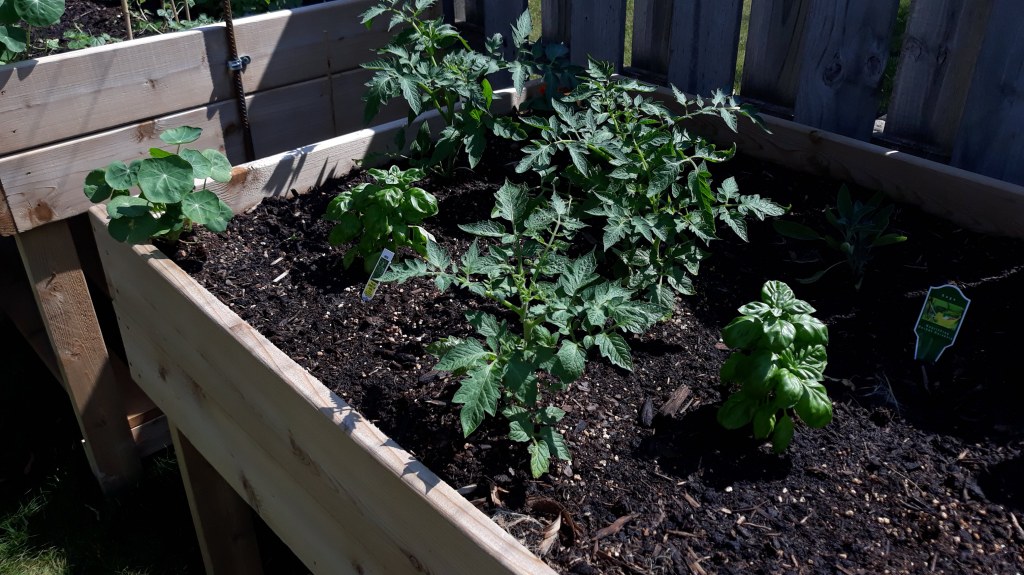
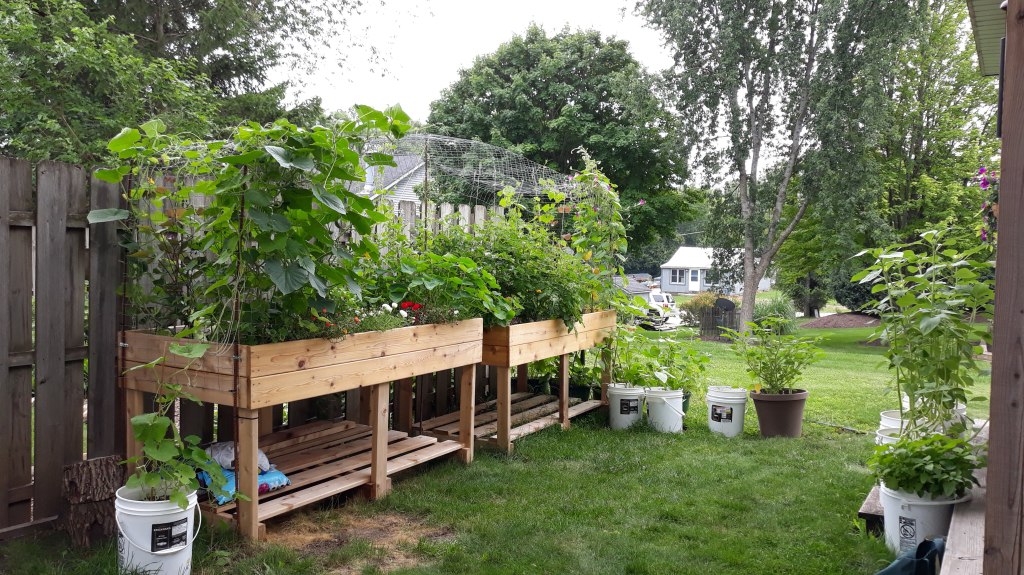
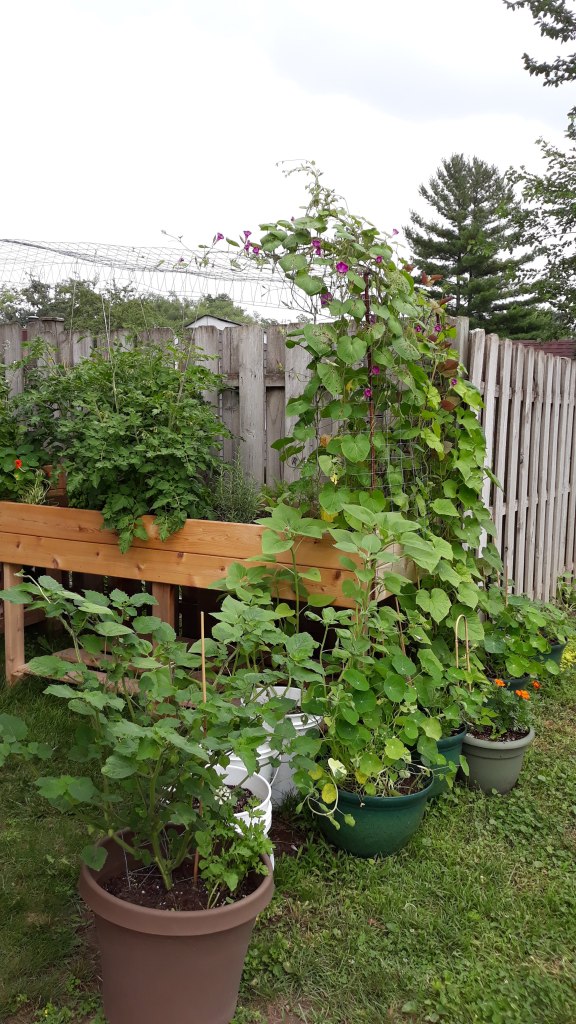
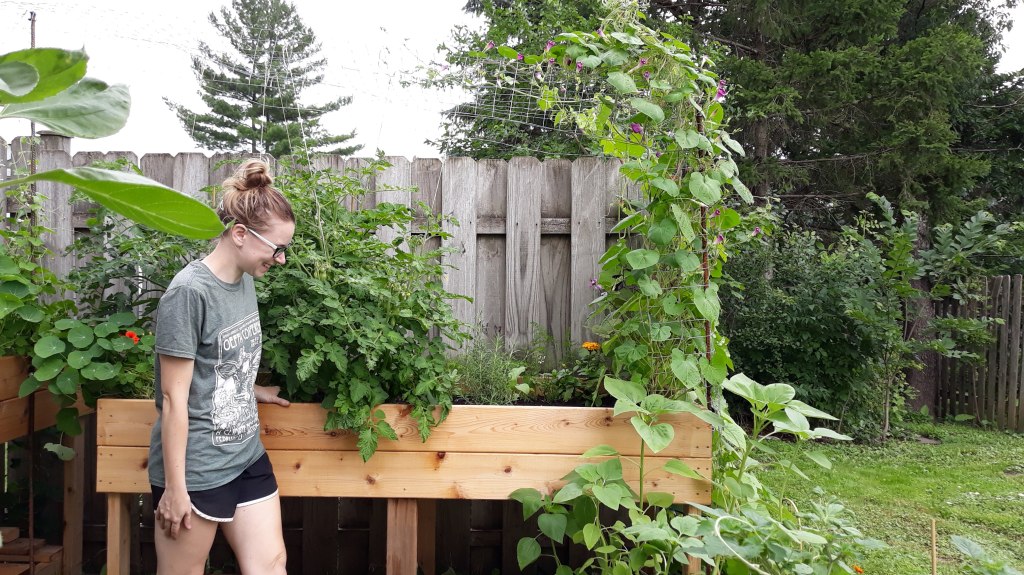
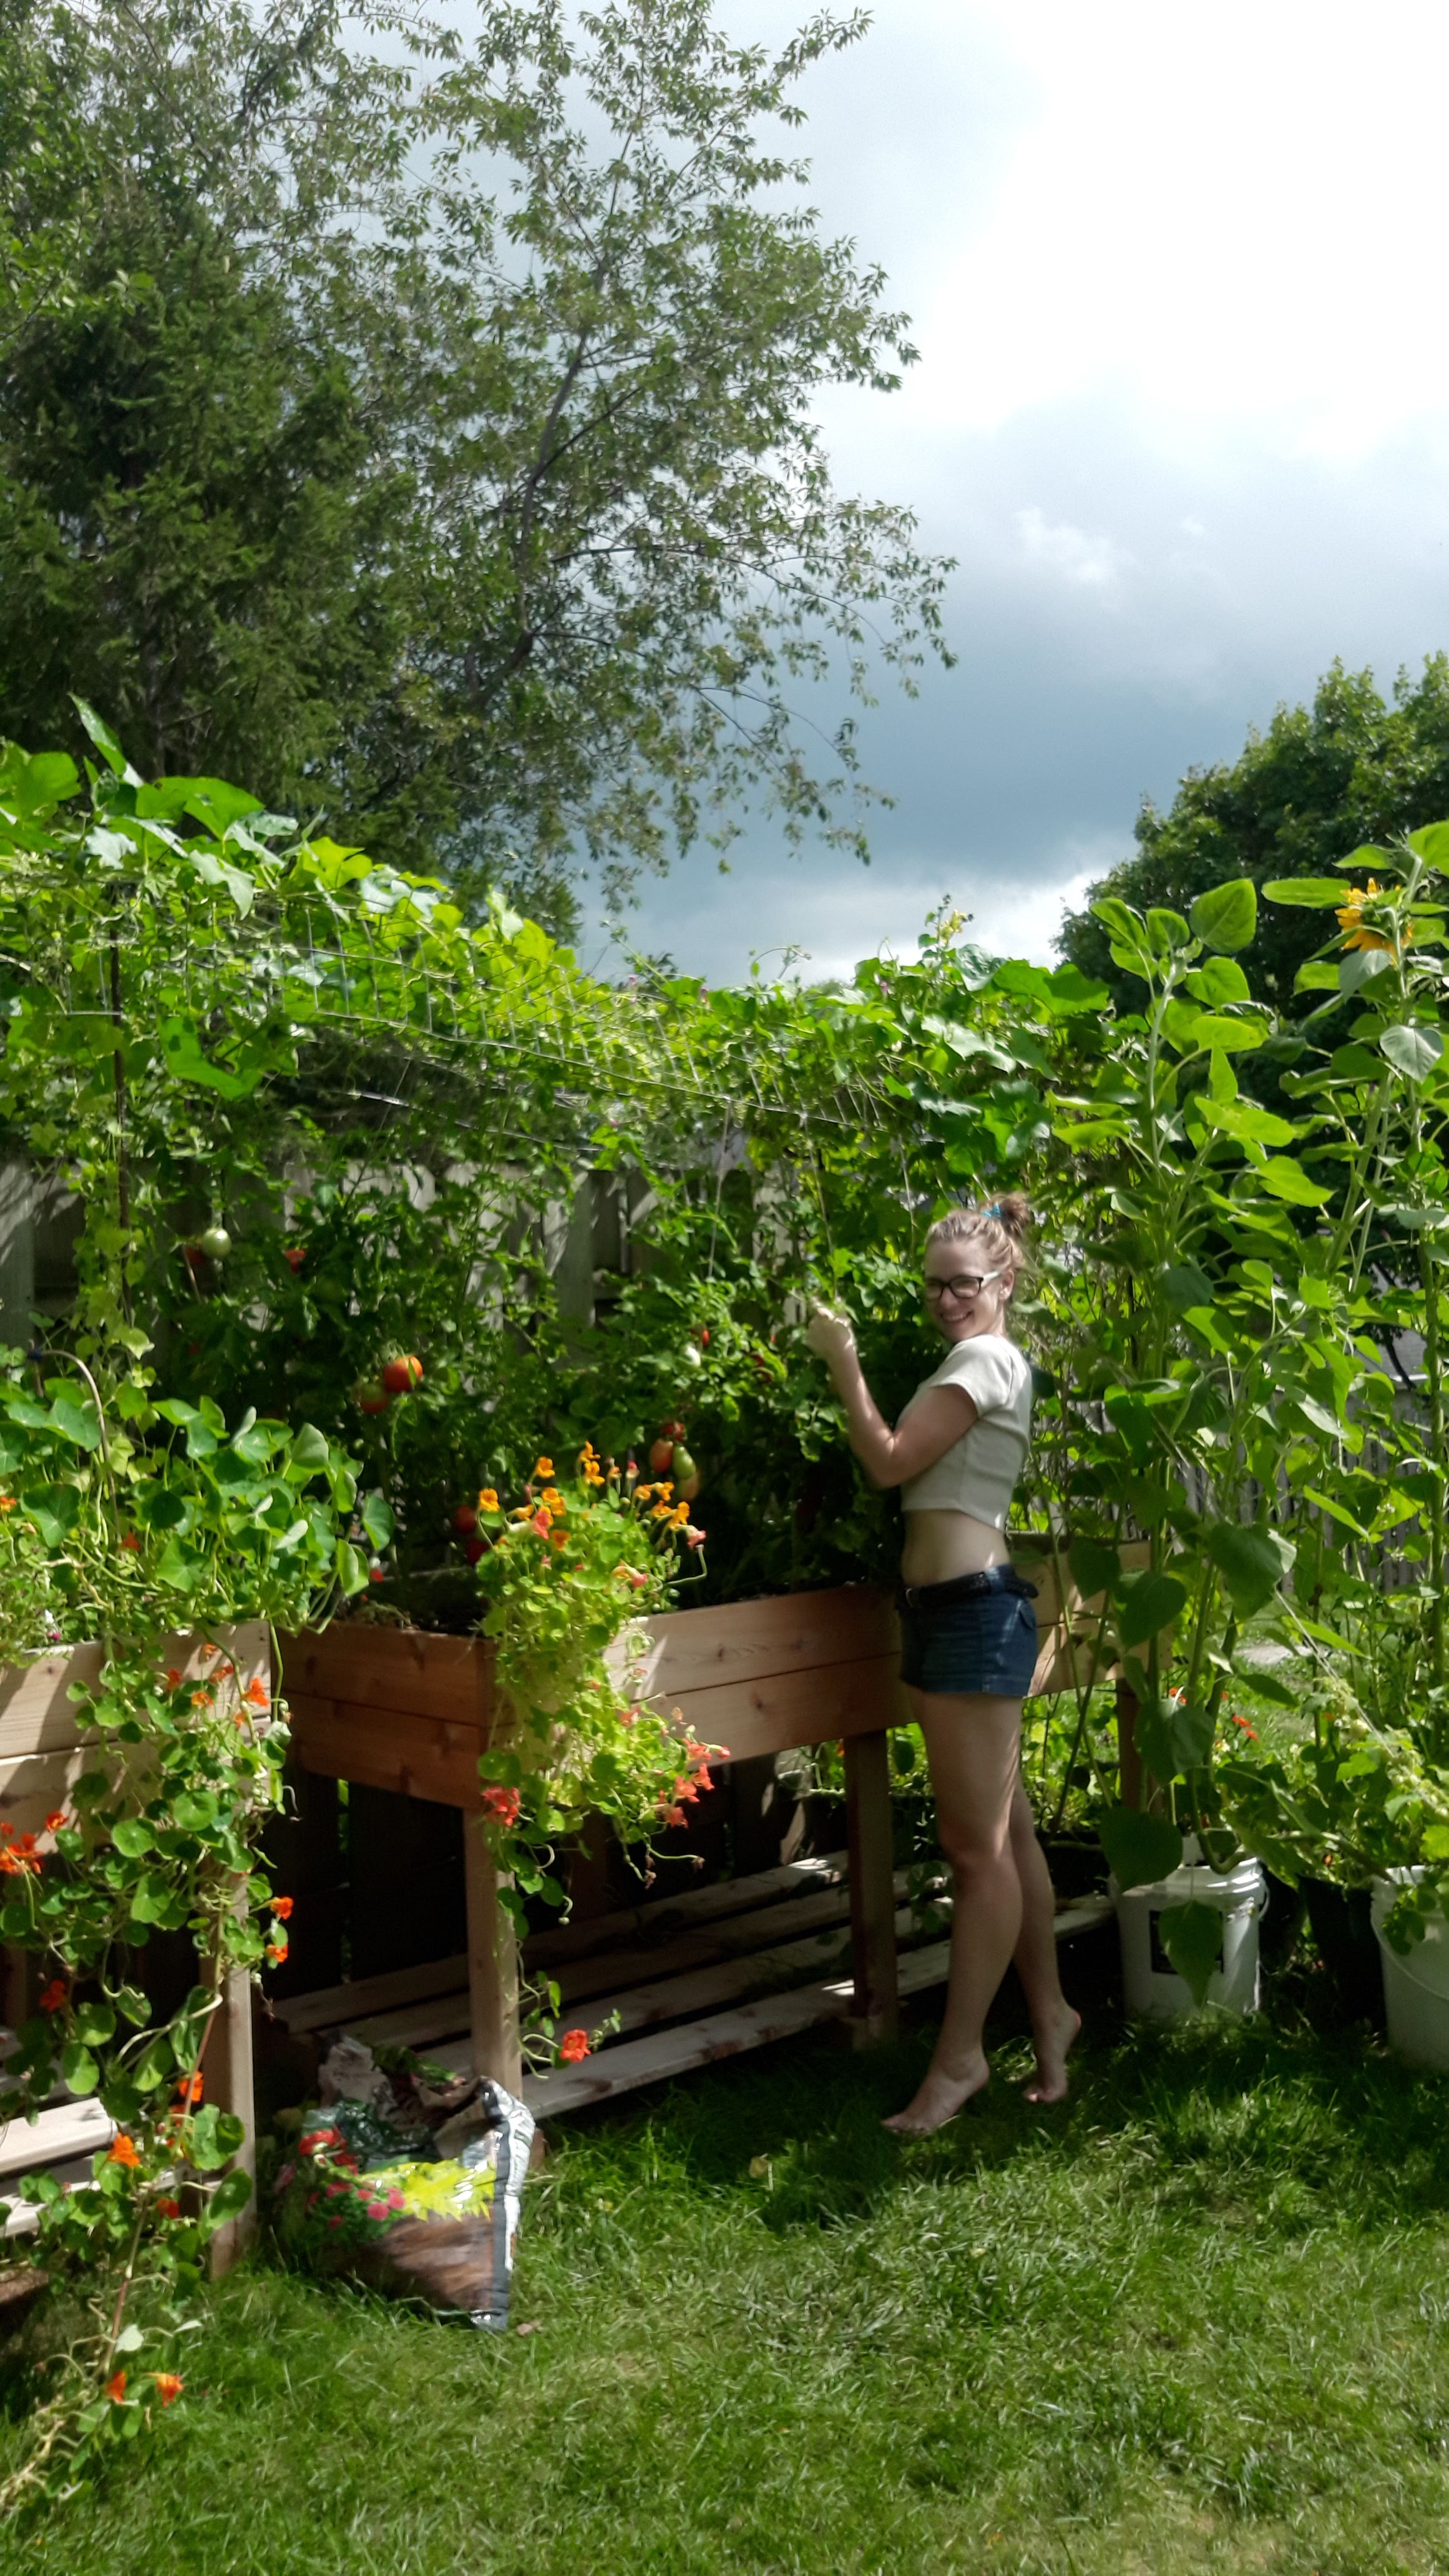
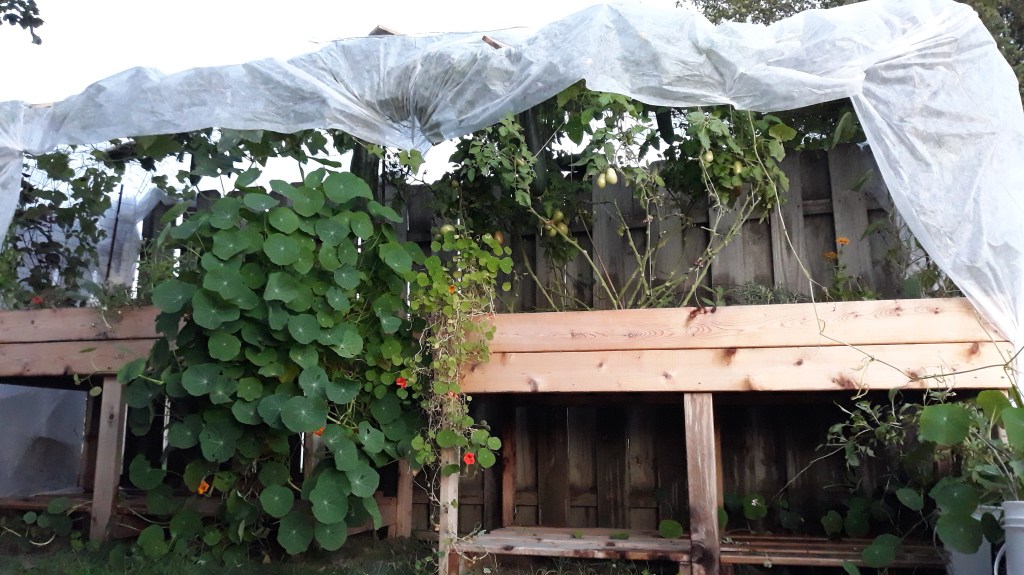
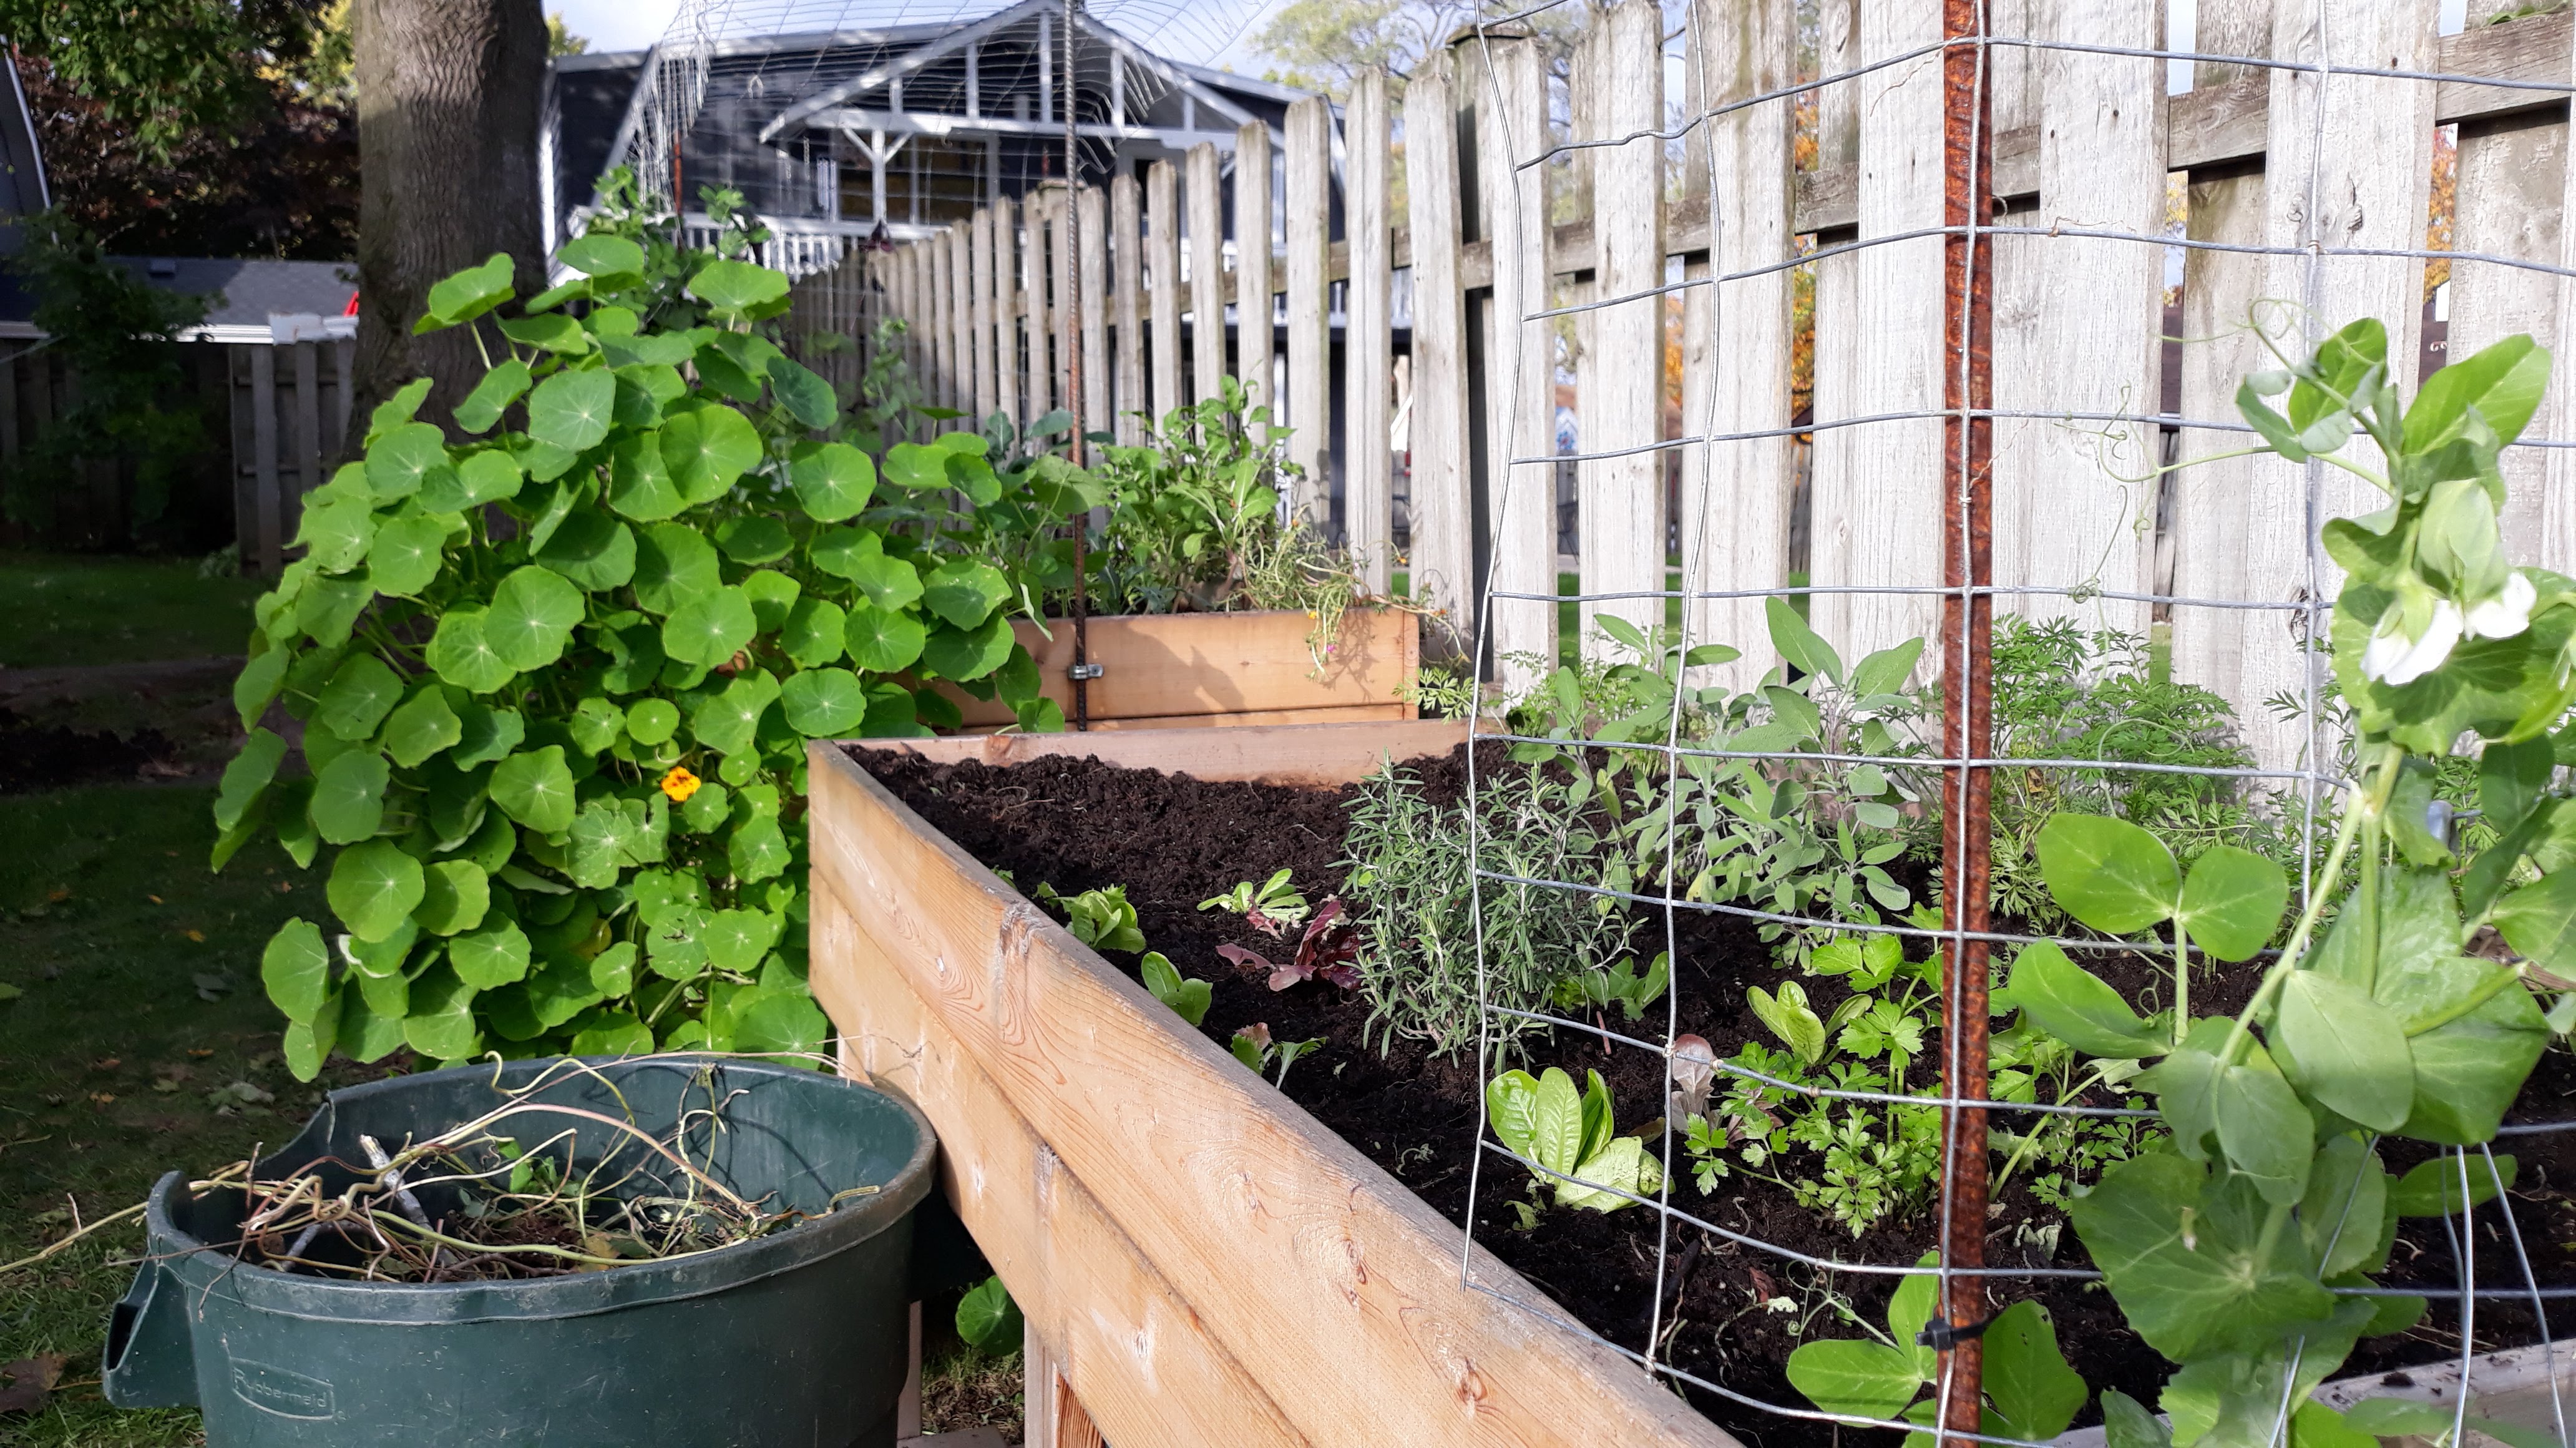
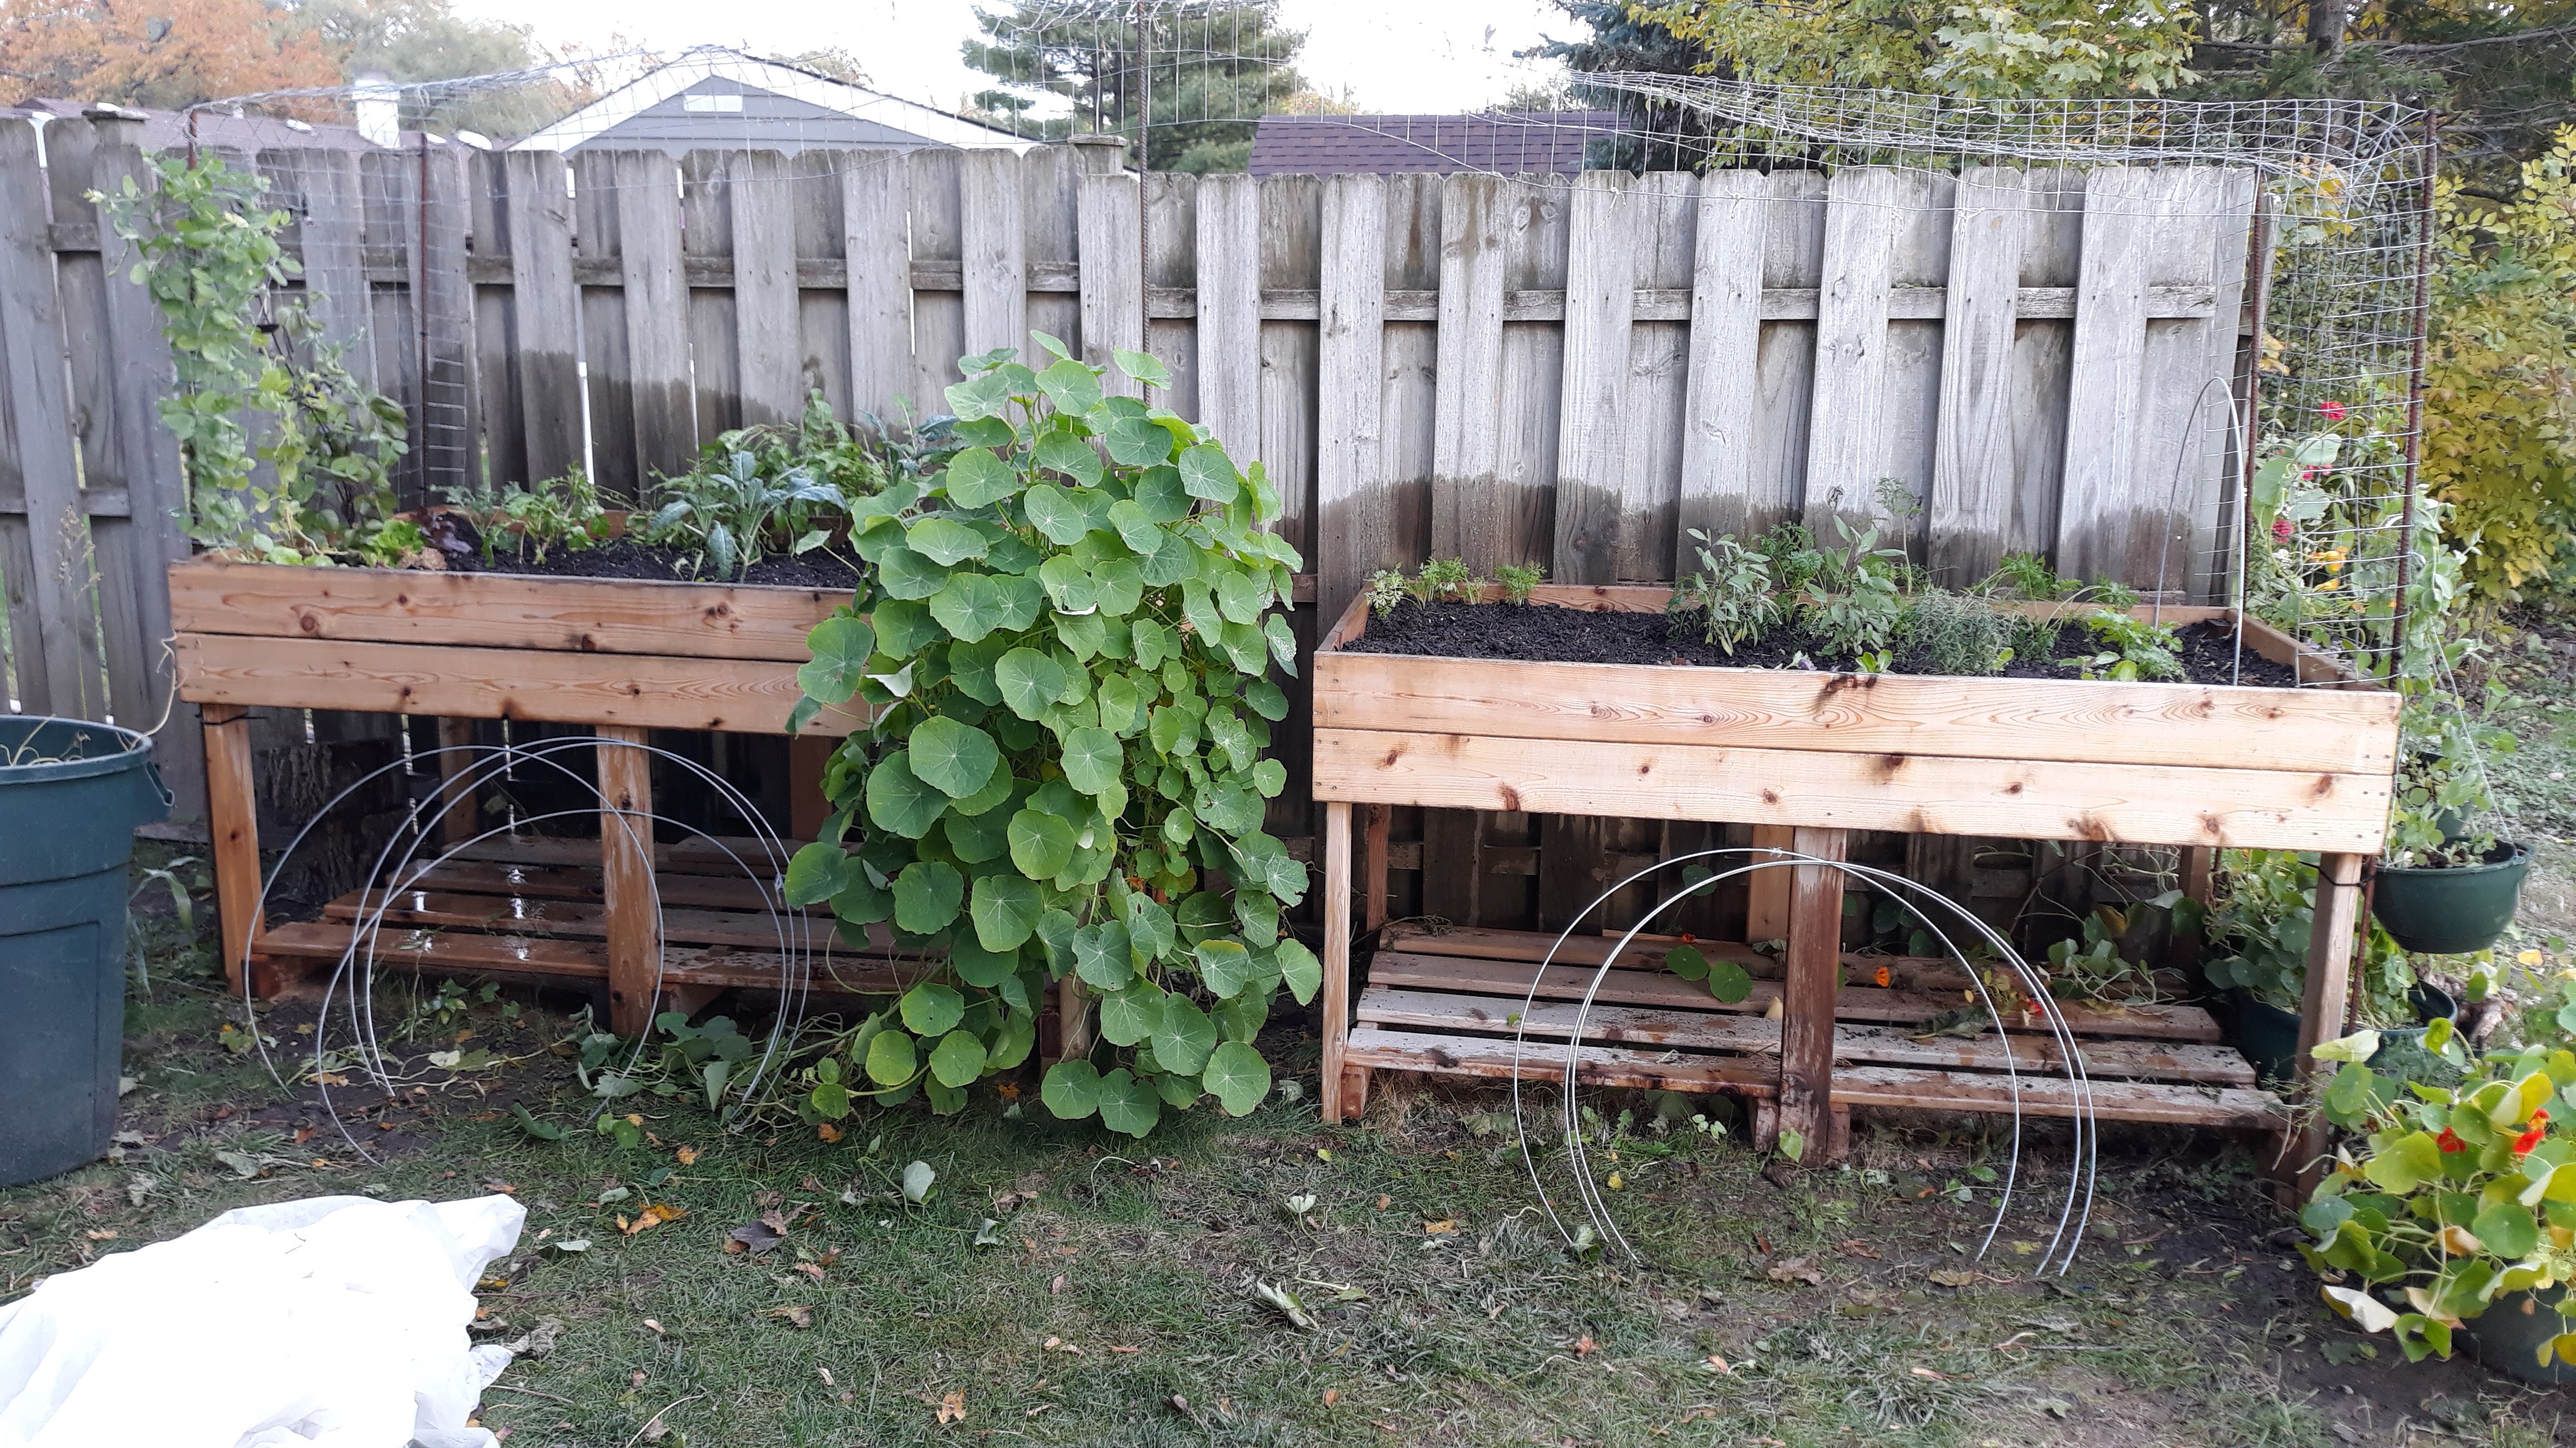
{6/12/21} ••• LOOFAH UPDATE #11: What seemed like maybe a bleak few days a few weeks back — with unbelievably low temps and a light frost, transplant shock, wind, and then a drought — has come back around to a lush and hopeful place, and I’m really excited to give an update! We’re watering a lot and seeing great growth/re-growth happening with the plants affected by the cold snap/transplant shock. One loofah transplant got lucky, as I waited until early June to get her in the soil, and now she’s thriving and reaching her tendrils far and wide – more and more each day! I started four mounds with three seeds each on May 30th, and the germination has been great! I transplanted a few of those seedlings to a bigger space. I believe nine came up in total. I have a feeling these loofahs, which will have full sun, consistent rain and hose water, tons of nutrients from the soil, and no transplanting, will far surpass the loofahs that I’ve already planted in the beds. I can’t wait to watch them race high to the sun! As you can see in the photos below, the beds have really filled out, as well as various buckets and a small wildflower plot along the south side of the fence. I’m tending a variety of herbs, beans, tomatoes, arugula, radishes, flowers and more. I’m feeling excited to finally get to see the vining plants reach and weave and wind their way up the trellis.


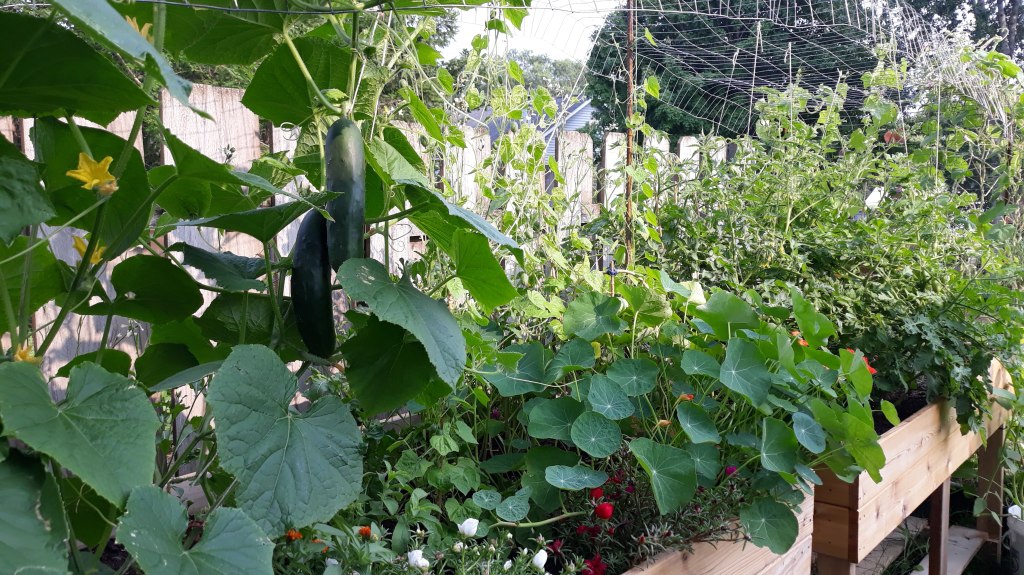
{7/22/21} ••• LOOFAH UPDATE #12: Hello, hello! How’s it growing? (hehe) I figured it would be a great time for a quick update. Over the past month the loofahs have really bounced back from their transplant shock; however, I did notice right away that, just as I had hypothesized, the seeds sown right into the beds far surpassed the transplants. As the loofahs climb the trellis, I try not to intervene too much, but I do weave them back and forth as needed.
I’ve been giving the beds and pots a good soaking each time I feel the soil is dry. Of course, rain water is always best, so thank goodness for a little of that over the past few weeks! The raised beds hold moisture really well, and I’ve been so pleased with how my garden is growing in them. Soon I will add a top layer of straw to the beds and pots. This is done to help retain moisture and keep weed pressure down. Although, aside from pulling easy weeds the first few weeks, this setup has been amazing for a former farmer who is so done working in the weeds, pulling weeds, watching weeds overtake….
These days, I am just so much better suited working in a way that doesn’t overdo it, mind, body and spirit.
I’m really soo happy. This experience, this year and all the consecutive years I’ve gardened since 2014, creating something in my mind, then putting it to a drawing, then manifesting the inspired action to make it happen… then tending, caring and rooting for, admiring… then the blooms… then the growth, the harvest, the process, the first bite, or sip, or smell!? My GOD! There’s truly nothing like it, and I’m so, so happy we’re growing together! And if you’re here just reading and following along, I see you, and thank you for your support! This project has been so rewarding. I hope that if you should have any questions, you won’t hesitate to reach out.
Q: But, Chels, where are the loofahs?! I came for the loofah content!
A: In the next week or two, I *should* have loofah blooms!
As always, stay tuned, love bugs! Take good care.


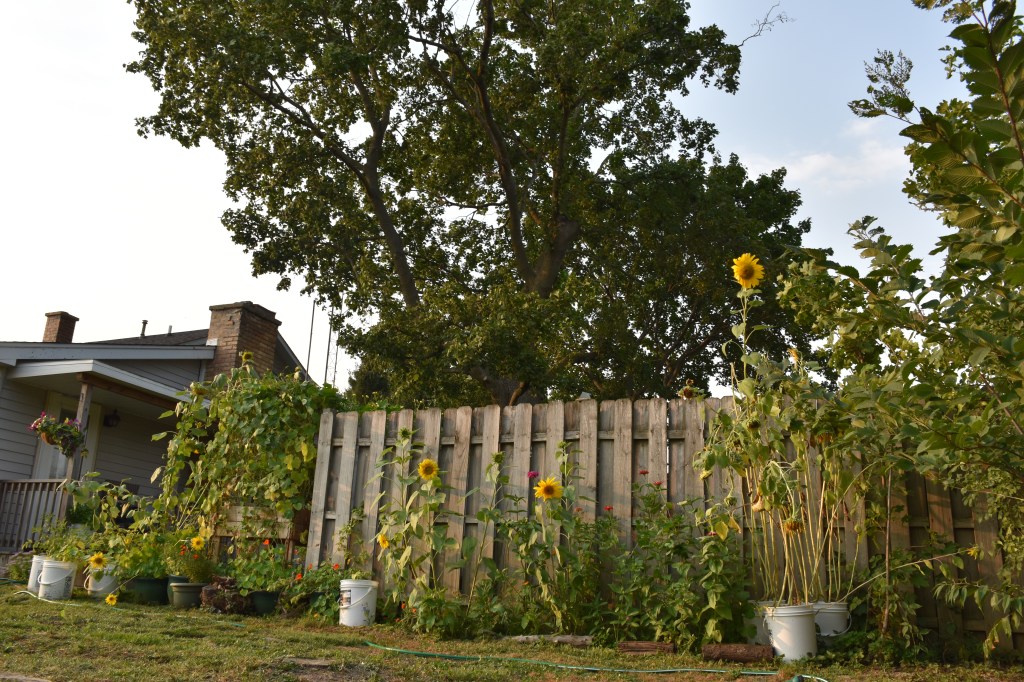
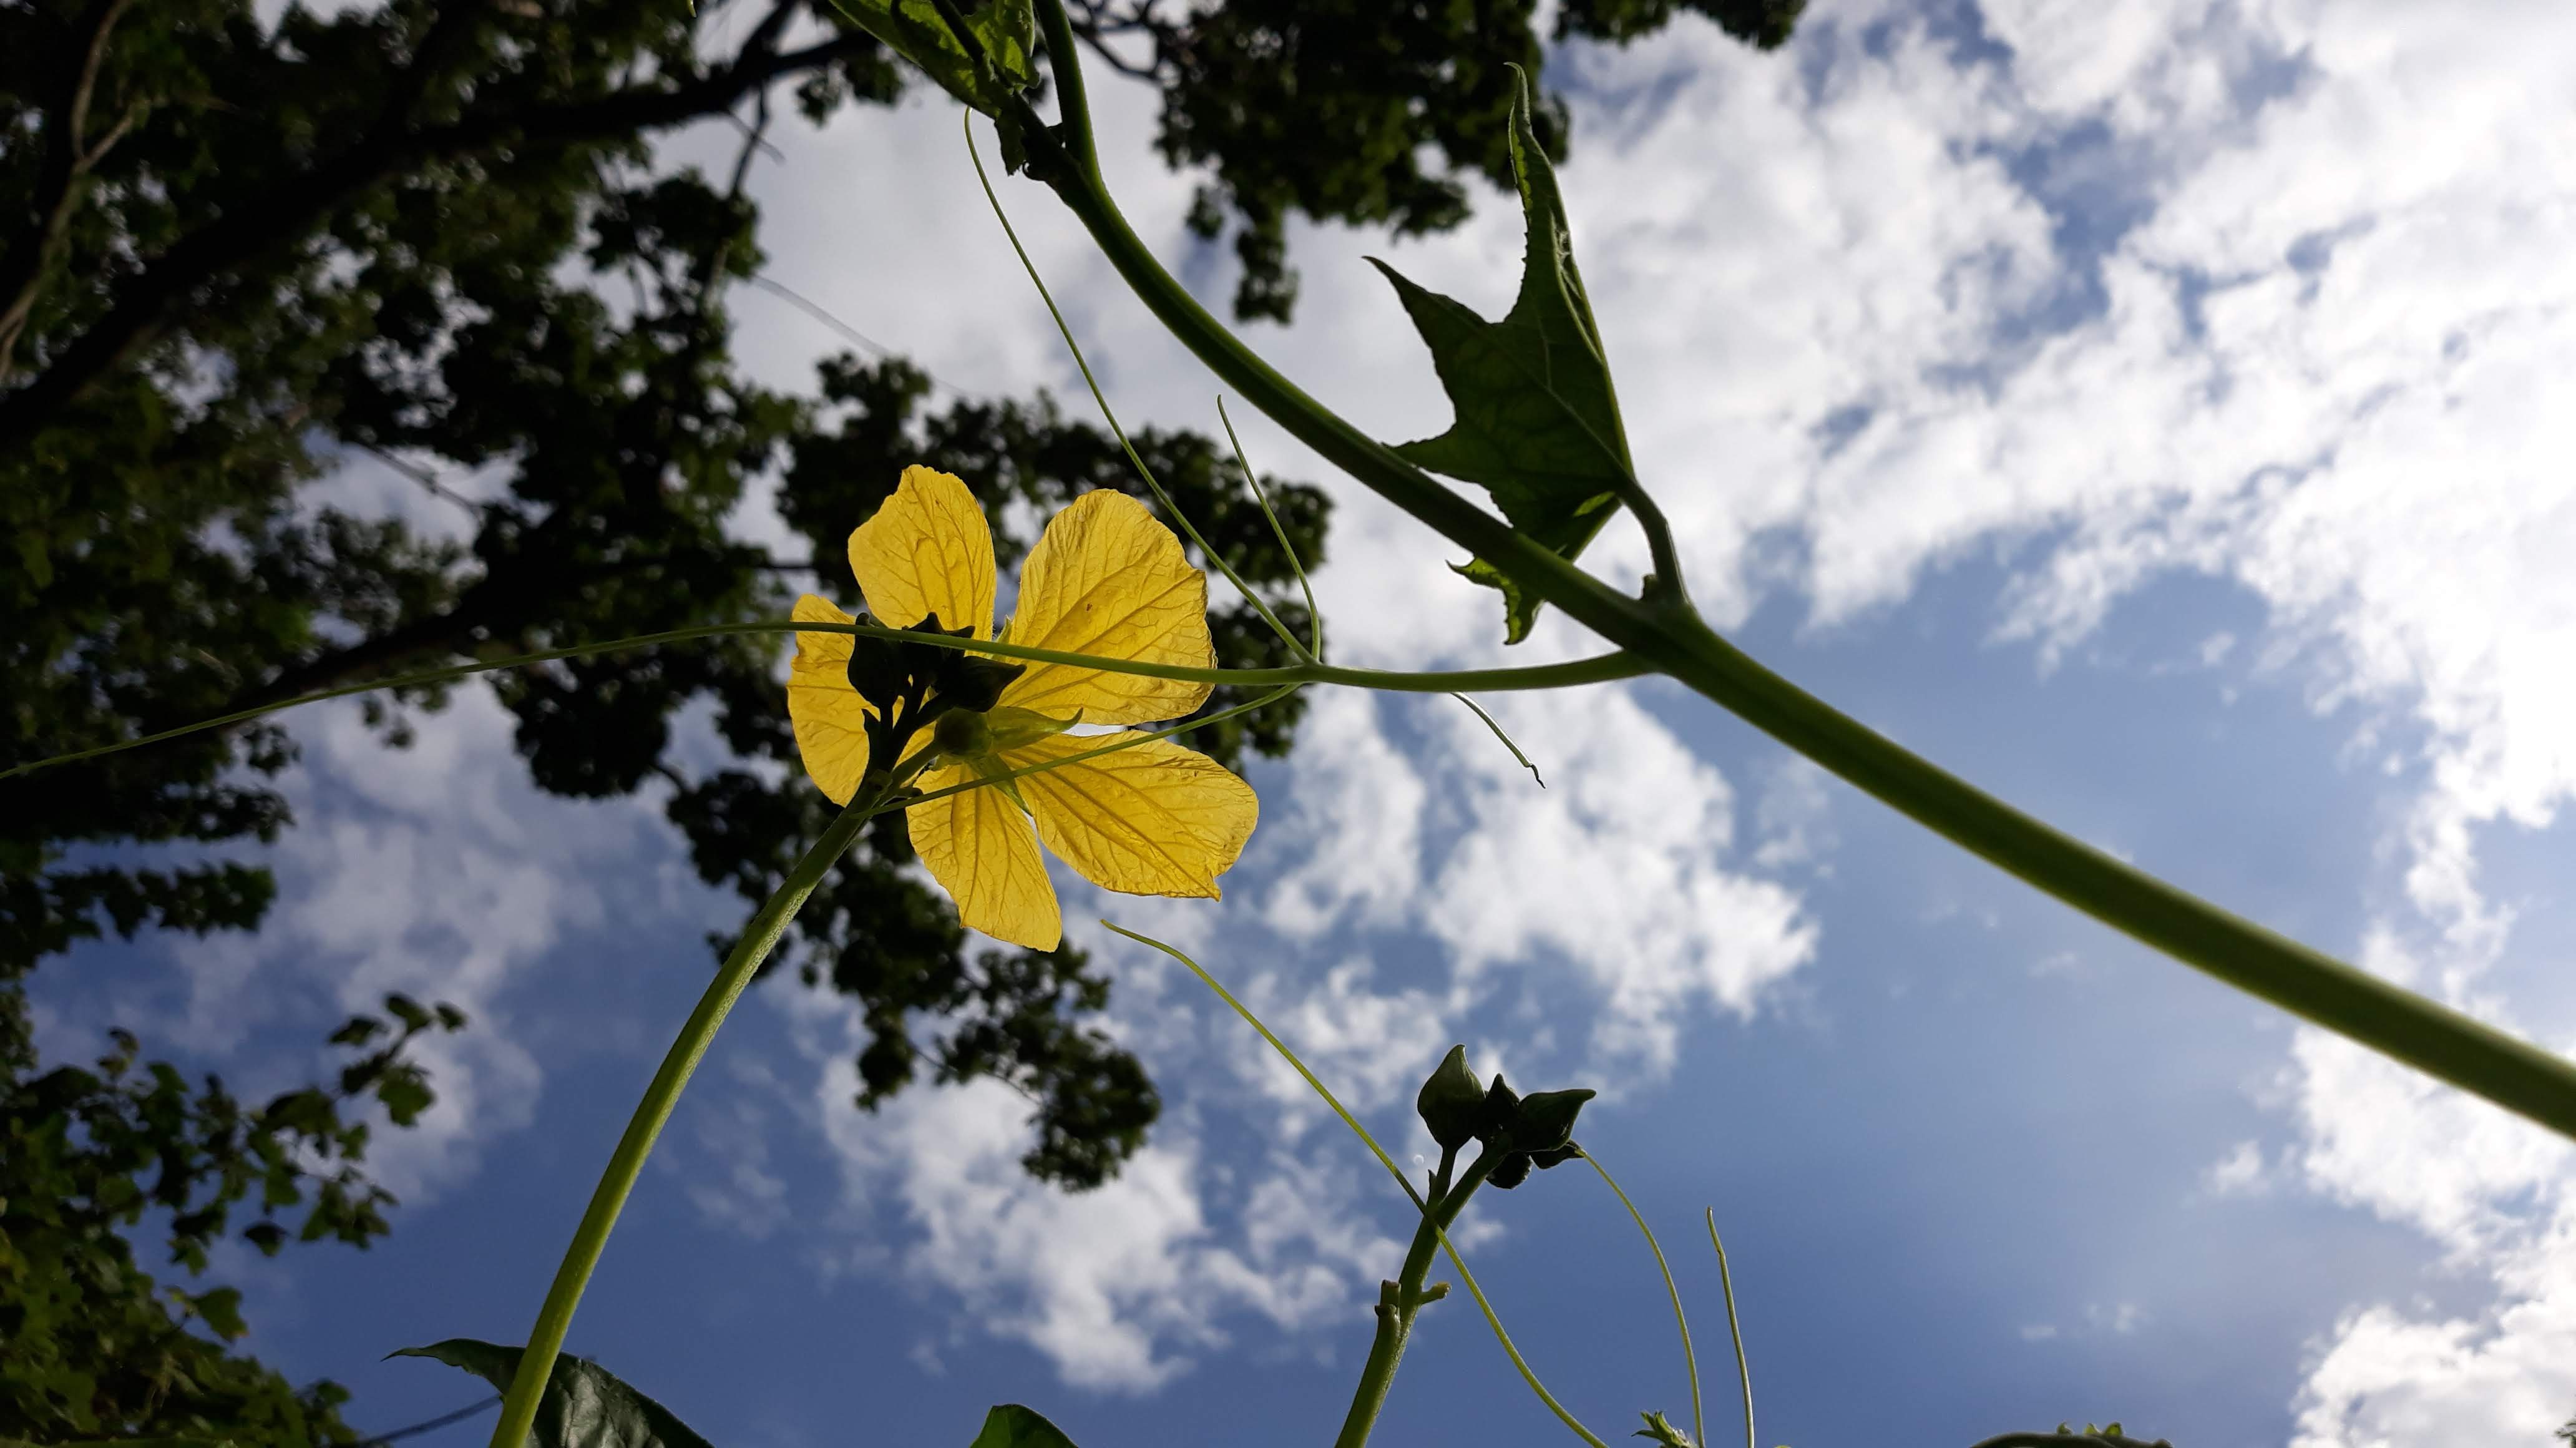
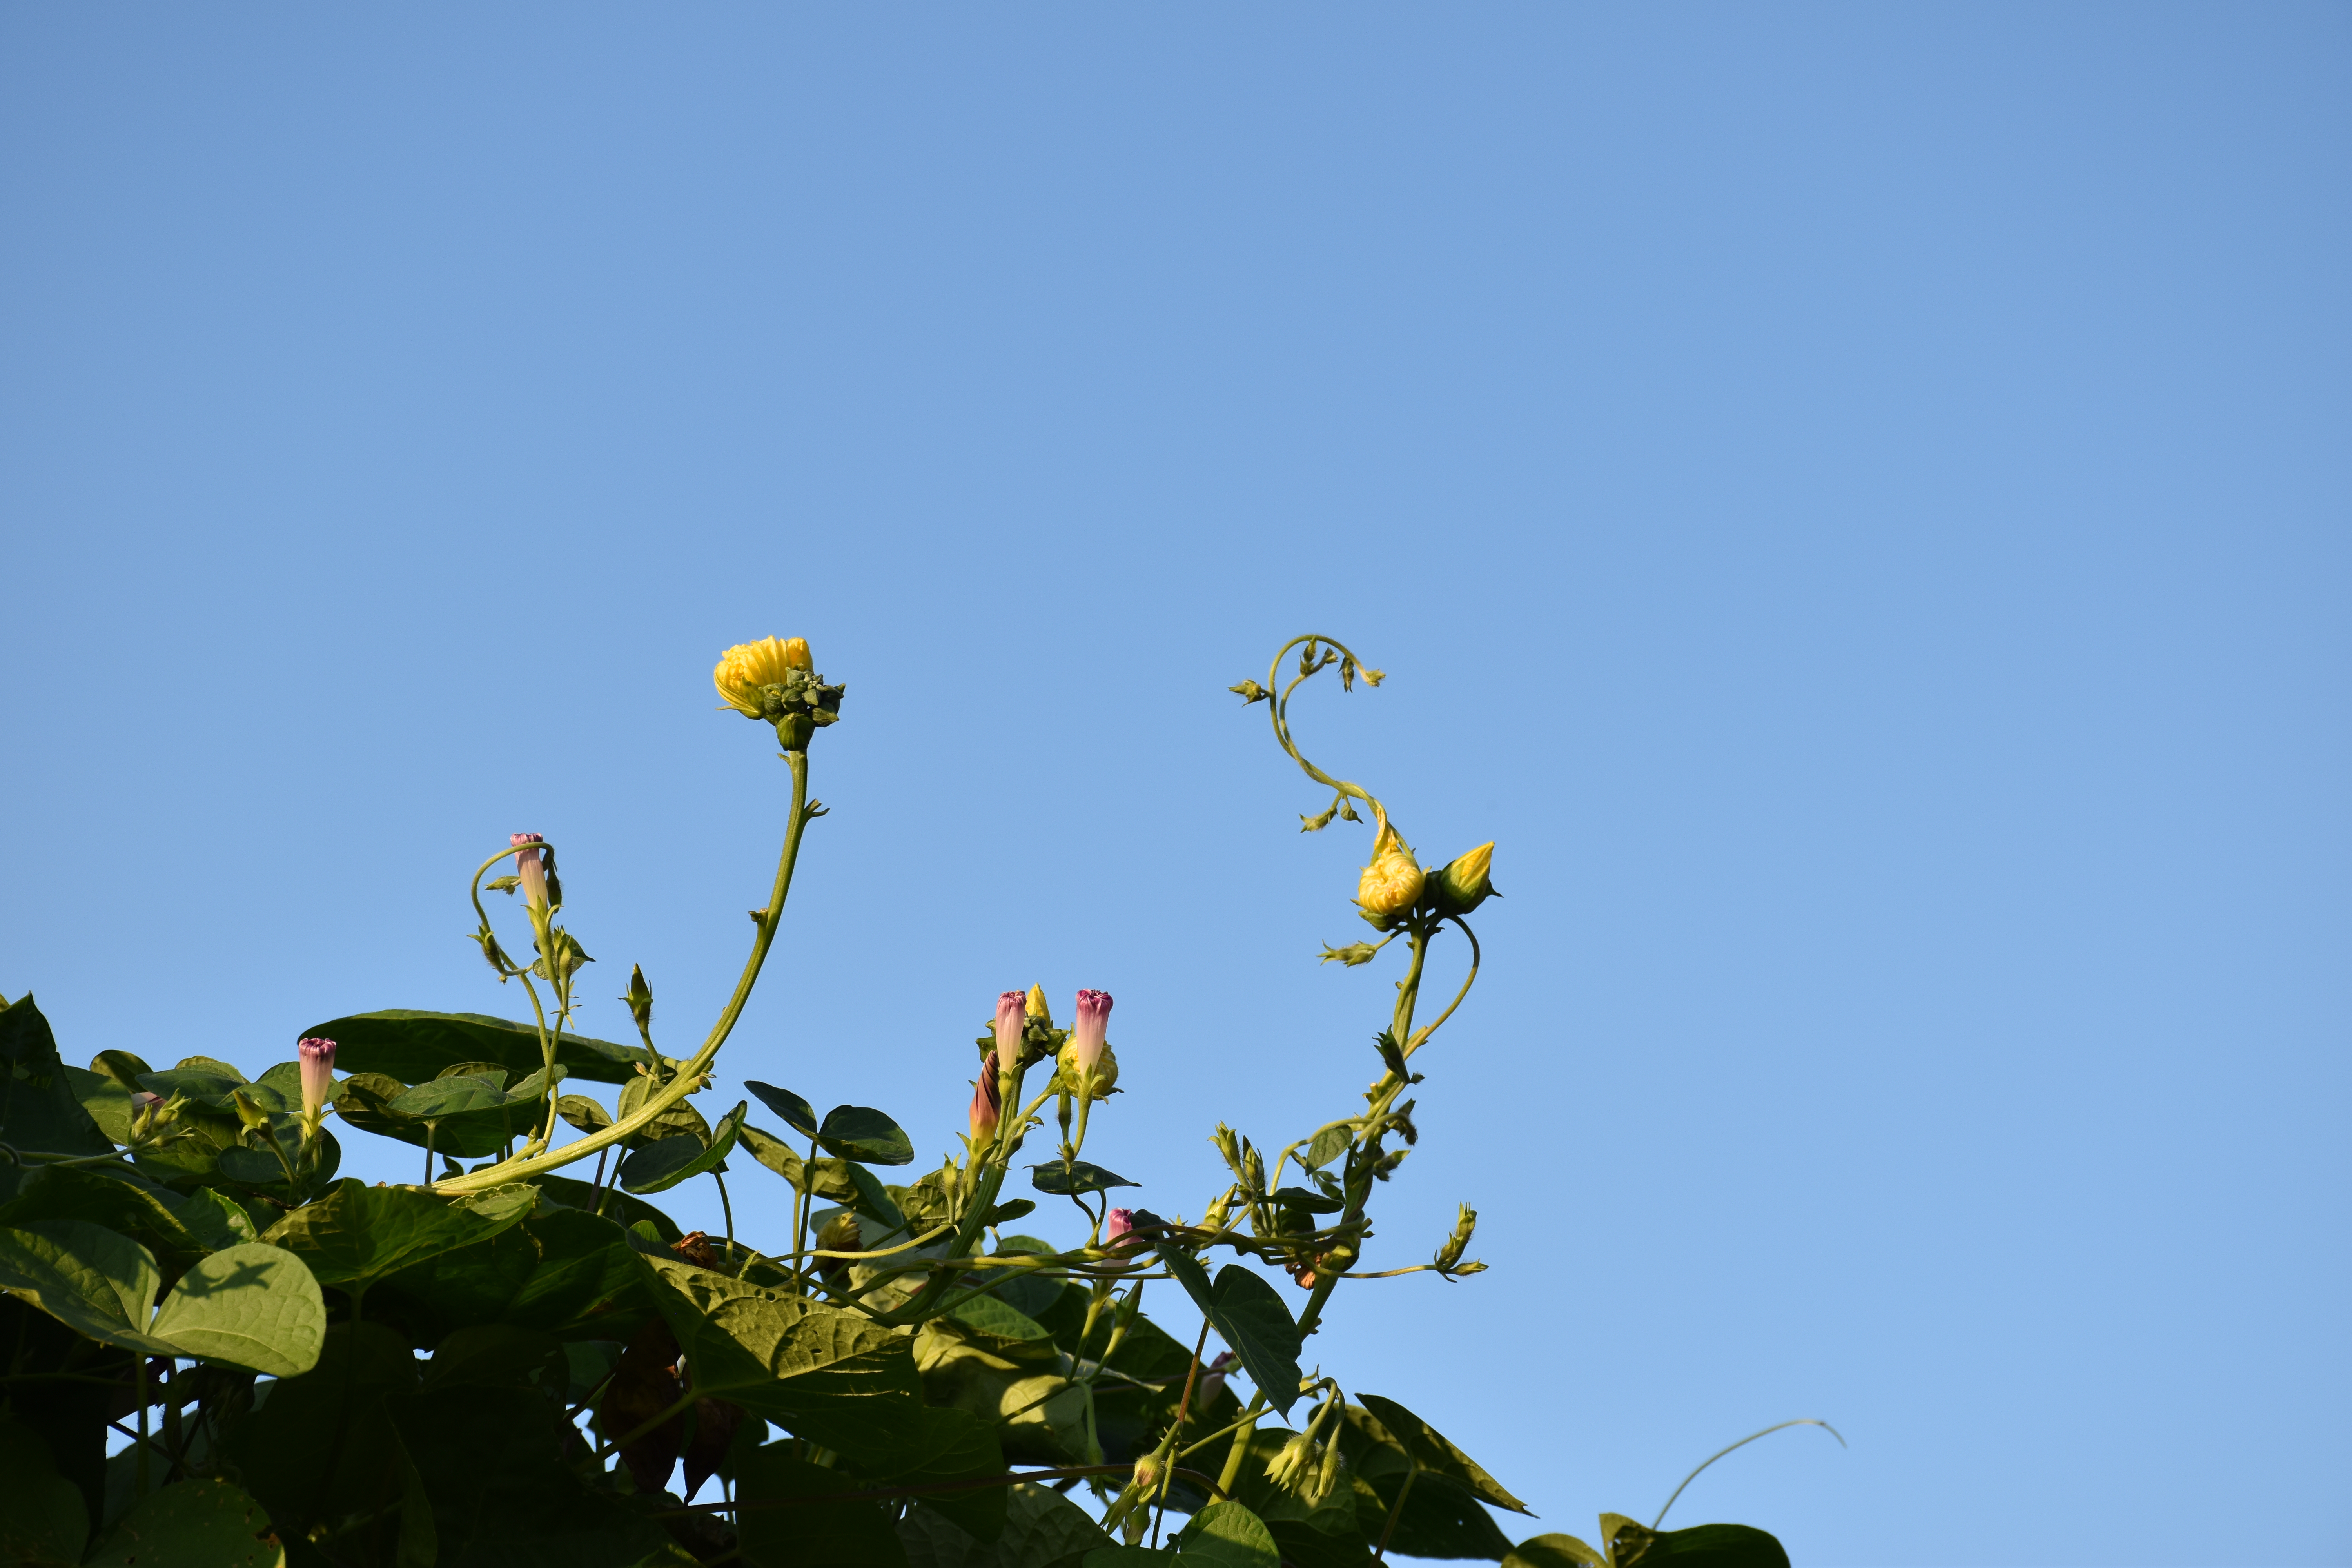
{9/12/21} ••• LOOFAH UPDATE #13: Good evening, pretty plant people! I promised a loofah update a while ago, but I didn’t really have too much to report on, aside from some beautiful photos (of which I will share a few at the end of this entry) and a lot of waiting.
Waiting, watering, weaving, fertilizing, waiting some more…
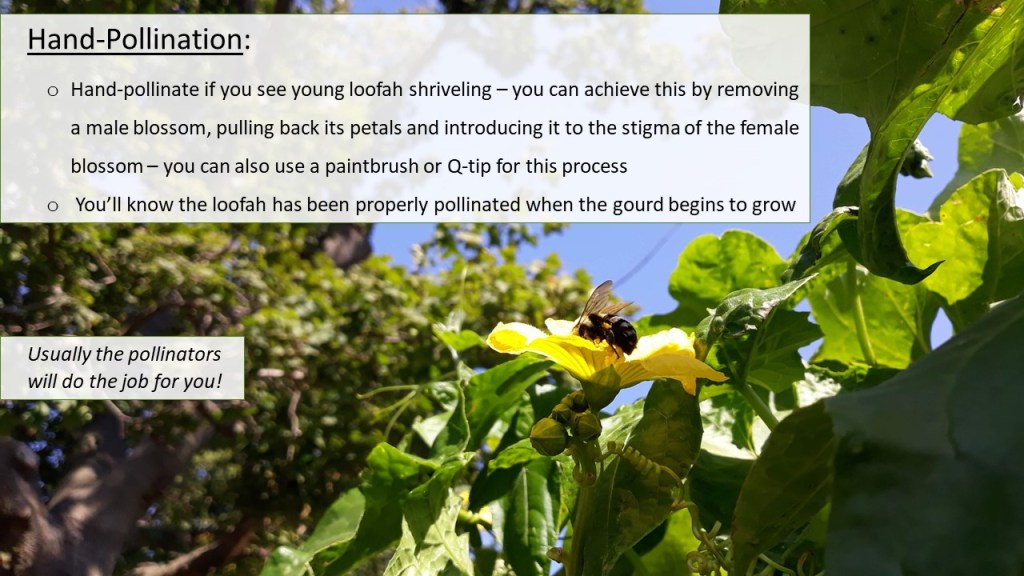
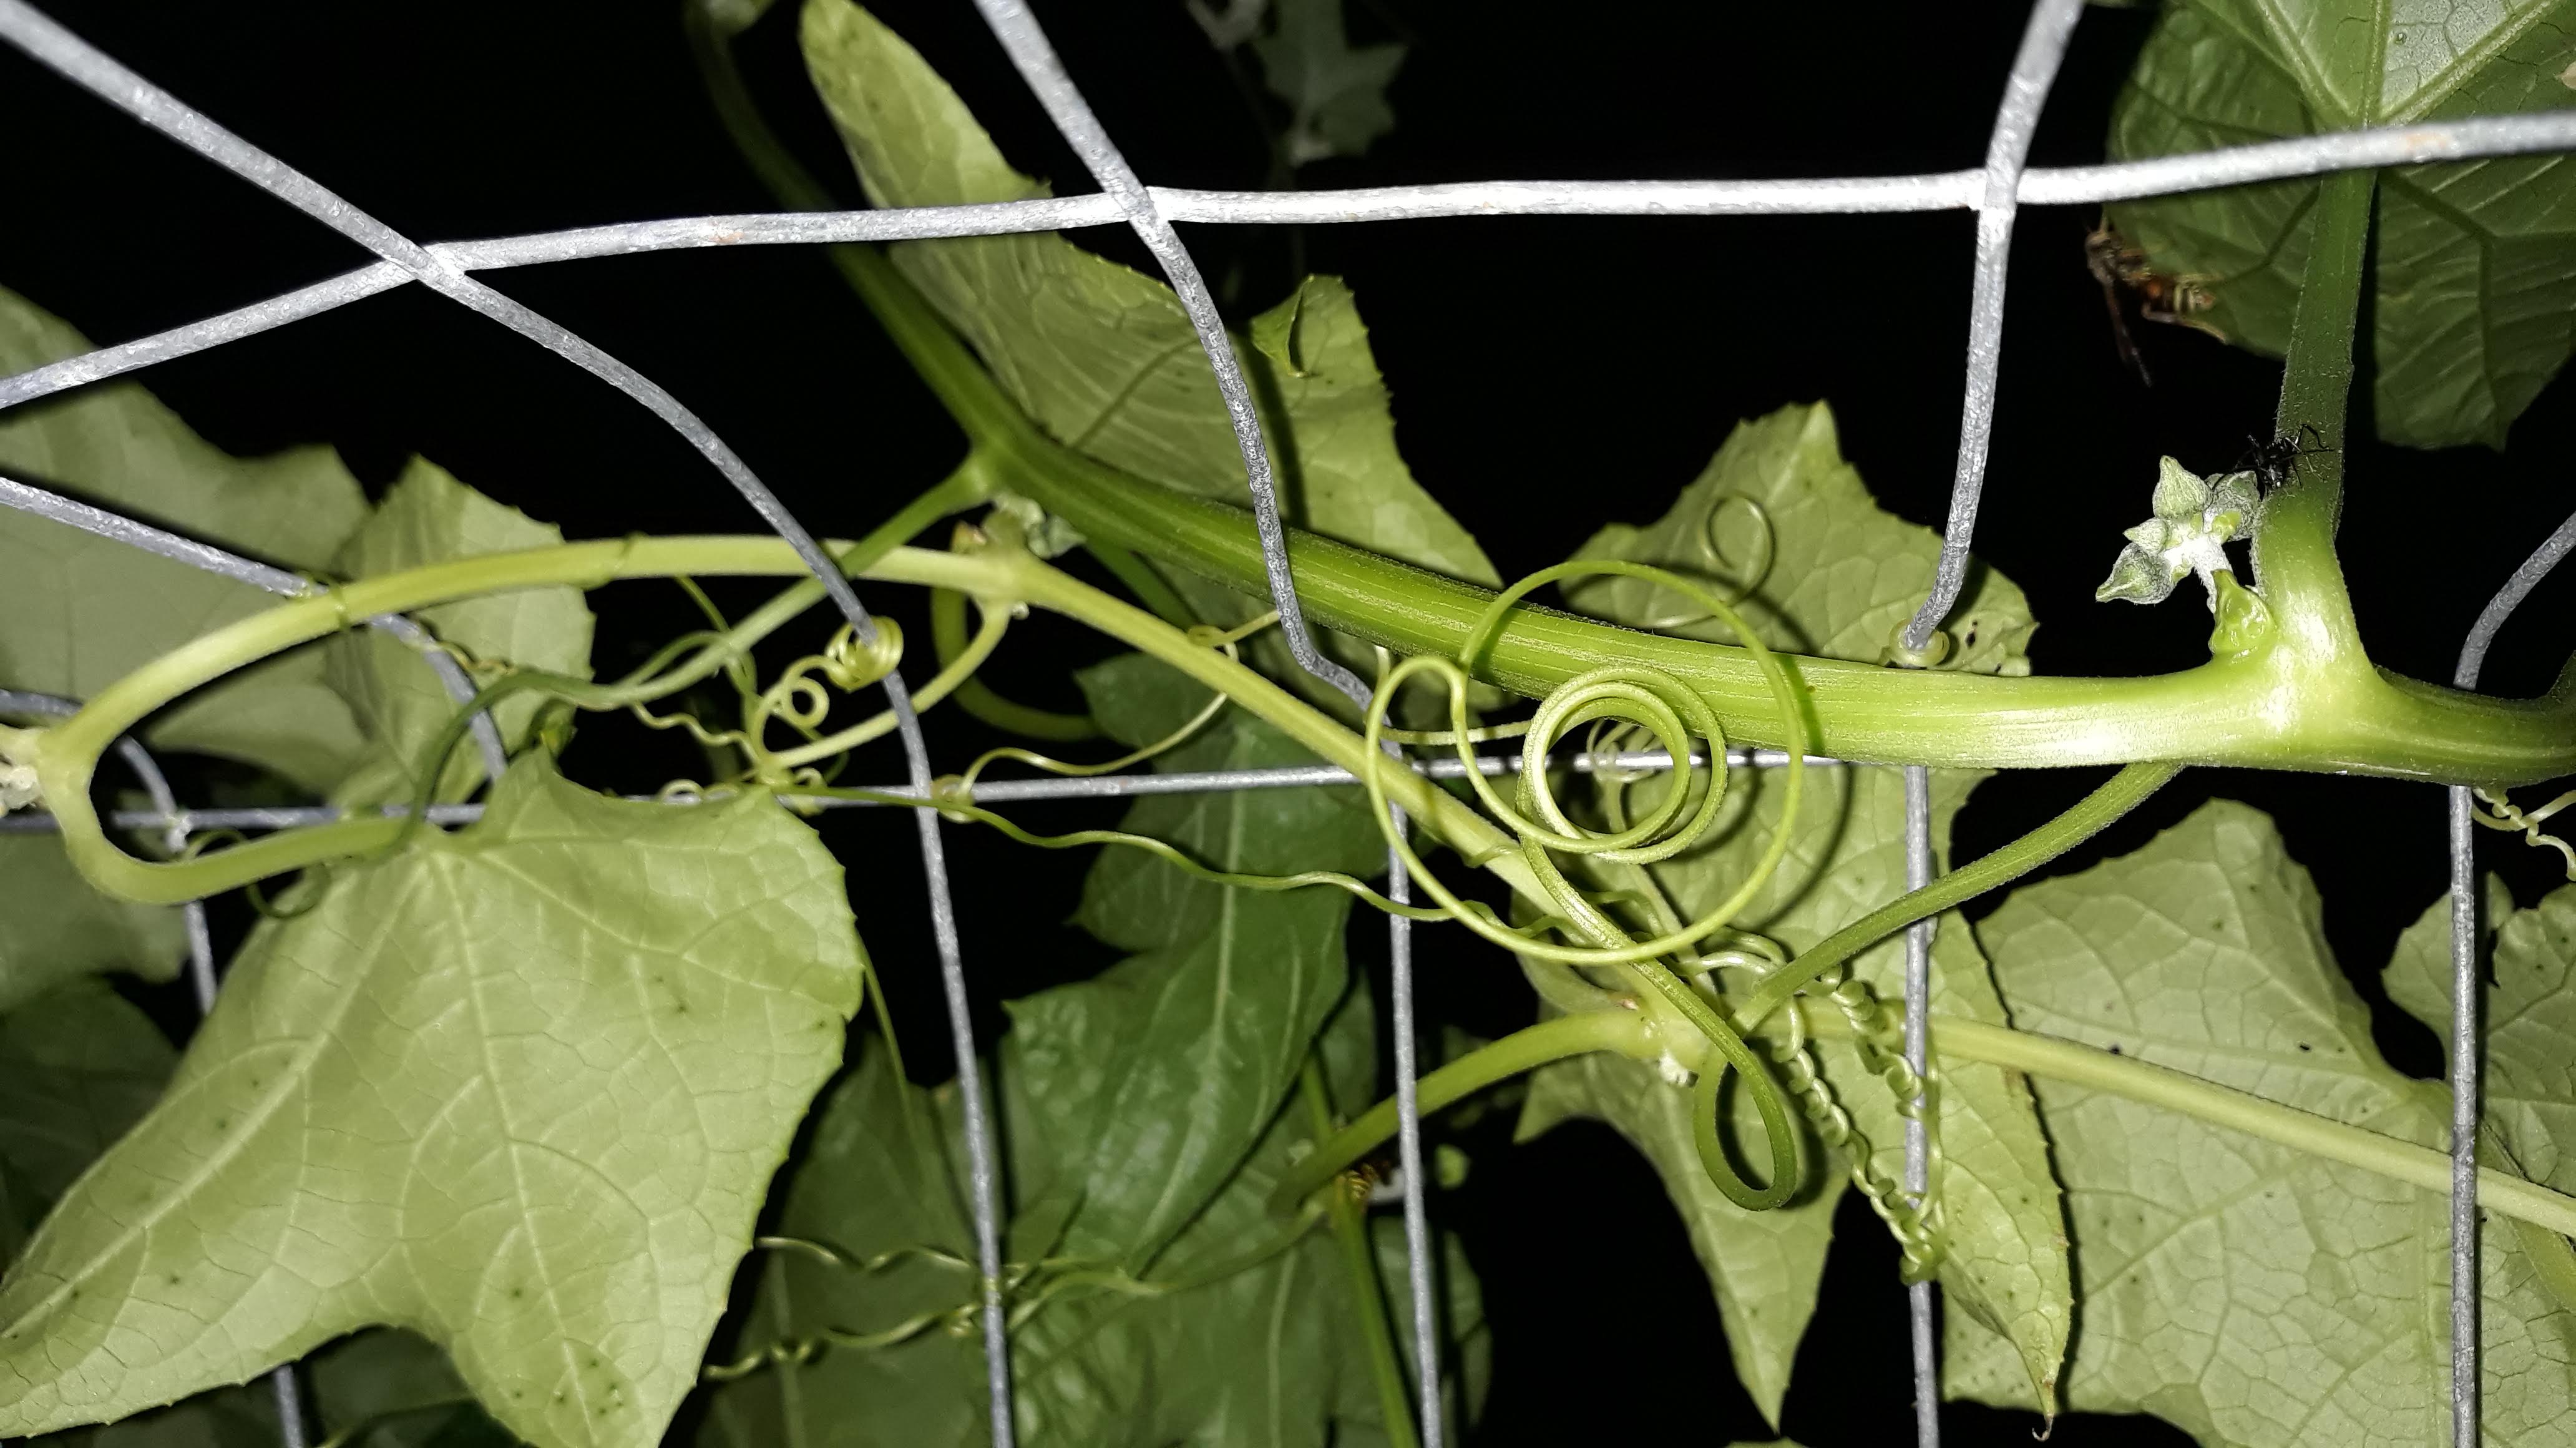
Fortunately, as of yesterday, I counted five properly pollinated loofah gourds growing from the trellis. The vines of at least two plants have stretched across the entire 14′ span of trellis, and are teasing the neighbor’s fence. Talking with another local loofah lady, she wondered if I would be taking off the flowers or smaller gourds to put all the energy the plant has into the already-growing gourds. It’s a really great idea, and I may experiment with that next year; this year, however, I’m letting them do their thing!
It has been such a joy to watch the pollinators at work. Hummingbirds, paper wasps, ants, beetles, honey bees, Monarch butterflies, dragonflies… truly a wonder to behold, especially as I work from home and can take time to work from the garden. Best “office” to date.
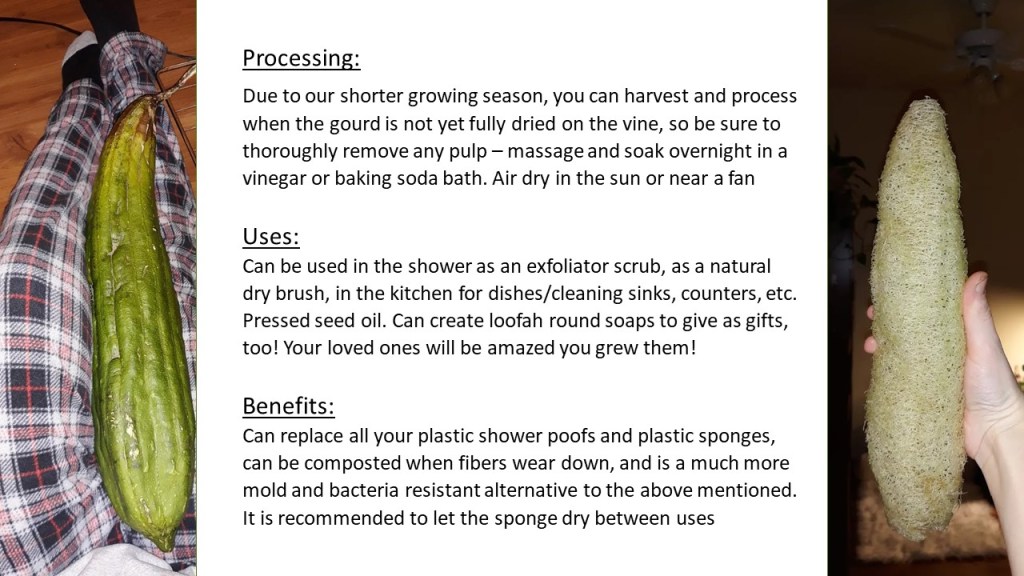
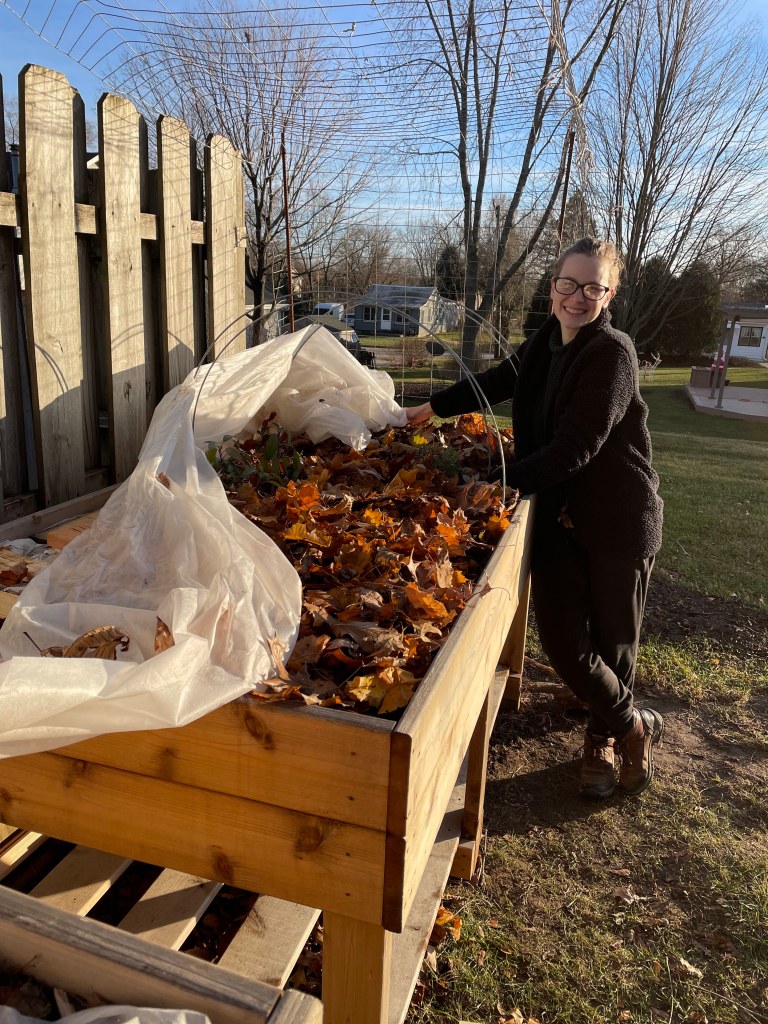
I am very curious if my loofahs will “size up” and get to a mature enough stage to harvest before frost. I am in a few loofah groups on Facebook, where I learned you can harvest loofahs for sponges before the gourds are fully dry and brown and easy to shake the seeds around – that’s the ideal stage to pick! Apparently many gardeners will pick the loofah when it’s a bit more yellow, even yellow-green still. Overall, just by appearance, they almost looked softer? I bet that feels amazing, but also brings up the question: do the fibers break down easier on the softer sponges? Another grower found success wrapping her loofah in a sock when temps dipped below average. I’ll be sure to utilize my *floating row cover wherever I can. Of course, all the coolest cats know the best course of action is to frantically check the weather every night after mid-September, lol! From my research, I’m finding a lot of statements expressing that it takes about eight weeks from the time you see the gourd forming, to a harvestable maturity. It’s going to be close! *Bites nails!* Gardening subtropical cucumber cousins near the IL/WI border (garden zone 5b/5a) is always going to be an anxiously fun experiment!
* Floating row cover, such as Agribon, is a super lightweight material that goes over your plants to help with a few different things, like shielding against pests, protecting from frost and creating just the right microclimate for certain crops. If you haven’t experimented with row cover, I highly recommend giving it a shot. It’s an easily accessible and low-cost way to incorporate season extension into your gardening/landscaping plan.


{10/7/21} ••• LOOFAH UPDATE #14: Hello, plant babies! This might be my most exciting update yet, so I’ve been carefully planning out what I want to say in a clean, concise way. And I want to take a moment to say: I really do hope this blog serves as a teaching piece and a fun reflection for years to come. I plan to use what I’ve shared as stepping stones to what I’ll learn and how I’ll grow each season forward.
Frequently Asked Questions I’m Just Going to Answer Here:
Q: Do I need to pluck off the small loofahs and blooms now that frost is coming?
A: That’s up to you entirely! I have gone ahead and plucked the tiny loofahs to promote the plant to send all its energy to the gourds already on the vine. I haven’t, however, plucked any male flower stems. They’re too beautiful and too beneficial for our pollinators. I’d love to hear what works for you!
Q: When do I know to harvest the loofah? When it’s brown? Yellow? Still green?
A: A question I’d say is most frequently asked in all the loofah forums I’m a part of, and I have to say, almost everyone has a slightly different answer. For this one, I would say: USE YOUR SENSES! No, really, listen to the seeds: do they shake? Is your loofah feeling lighter? Is the color changing from dark green to a lighter green, then yellow? What are nighttime temperatures? Be an investigator! If it’s a bit chilly, under 50°F, I’ve seen folks clad their loofahs in leg warmers and knee socks. I believe they can tolerate temps above 45°F quite nicely. At this point in the season, there won’t be too much growing happening; your loofah knows it’s time to start the process of drying, to cure the seeds, ultimately leading to higher chances of the plant reproducing as intended. Letting your loofah dry on the vine is one way to harvest, but since most of my readers are here in the Midwest, unless you had a greenhouse this year, or got extra lucky, you’re going to be harvesting your loofah a bit premature. If you harvest too young, the insides will not dry and you’ll get a rotten mess. So, use your senses to feel the loofah fibers inside (the future sponge!) beginning to separate from the gourd itself. This outer peel will ideally separate easily from your dried loofah. It’s up for debate on whether you should let the premature loofahs dry inside the gourd, or outside the gourd, after peeling, hanging on a clothesline somewhere dry and breezy or on a sunny table. Leaving inside a damp, dark garage will promote mold, trust me. I’m still quite new to growing and harvesting/processing loofahs, but I’ve been growing and failing and succeeding and note-taking and doing research and watching others for a while, and even I can get a bit overwhelmed when it comes to knowing exactly when to harvest. Just relax, use your senses and intuition, and for the love of All Things Green and Good, be sure to harvest your loofah crop if a freeze comes.
P.s. know the difference between a freeze and a frost. According to The Old Farmer’s Almanac:
A frost refers to the conditions that allow a layer of ice crystals to form when water vapor condenses and freezes without first becoming dew. Frost may happen when the “surface” air temperature (officially measured at 4 or so feet above ground) is below 36°F. (Ground temperature, meanwhile, may be below 32°F, and below frost point.) Various factors must be present, such as clear skies, moisture, and calm or light winds.
The Old Farmer’s Almanac
A freeze can happen when the surface air temperature falls to 32°F or below; frost may or may not form. A light freeze (between 32 and 29°F) can kill tender plants. A moderate freeze (between 28 and 25°F), sometimes called a hard freeze, can cause wide destruction to most plants. A severe freeze (24°F and below), sometimes called a killing freeze, causes heavy damage to most plants. Many plants can survive a brief frost, but very few can survive a severe freeze.
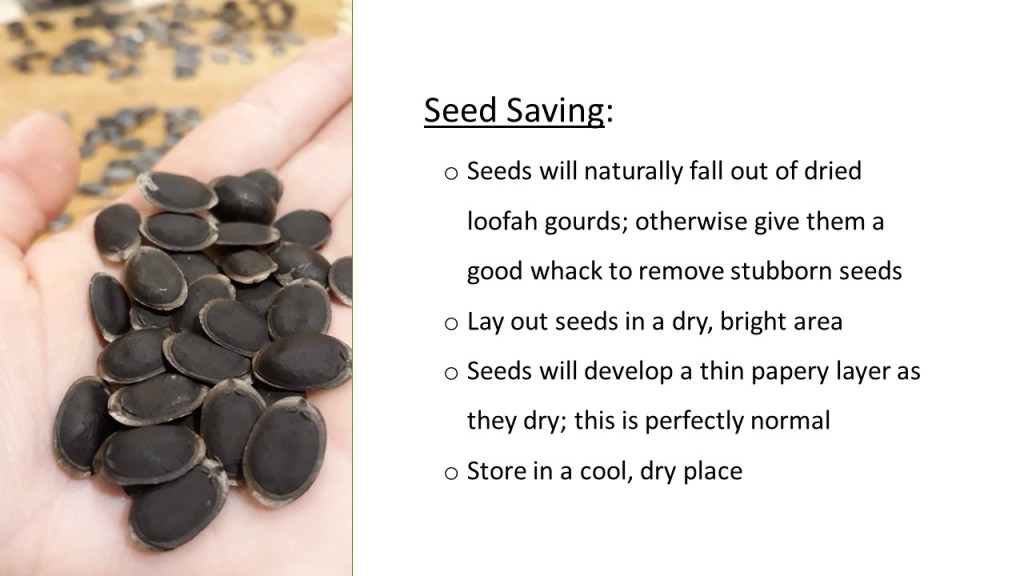
Q: How do I get the seeds out of my loofah?
A: Once your loofah is dry enough, you’ll be able to shake the seeds out pretty easily. It may take a few whacks, and you might give the sponge a soak and use tweezers on hard-to-excavate seeds. Have fun!
Q: How do I store my loofah seeds?
A: I store my loofah seeds in the refrigerator, sealed. I’ve also read and tried leaving them in a cool, dark storage space. Experiment with what works best for you year-to-year.
Q: Why are my loofah seeds white and deflated??
A: While some loofah varieties produce white seeds, if you find a white, deflated, “empty” seed, those seeds are not viable and you can compost them.
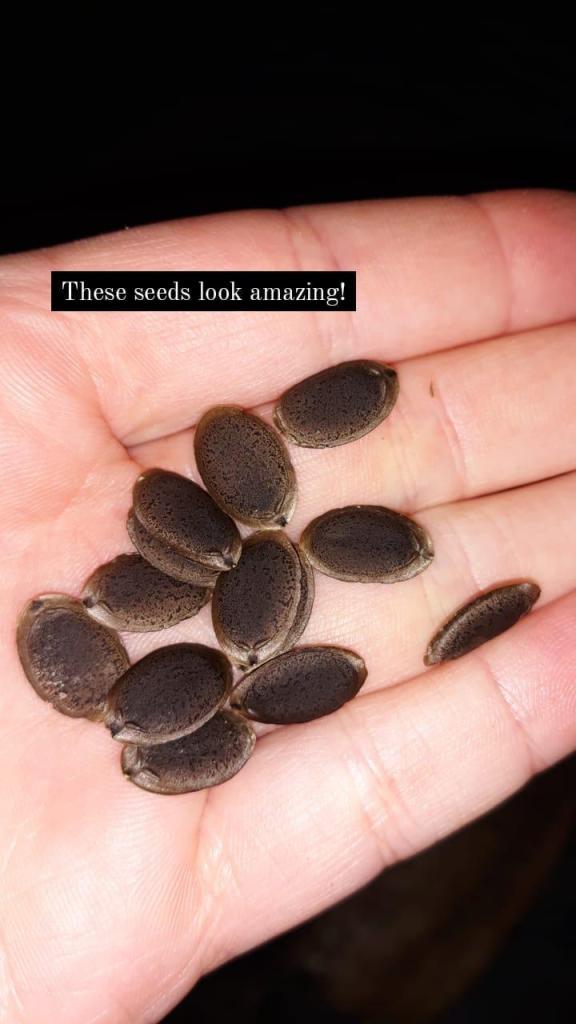
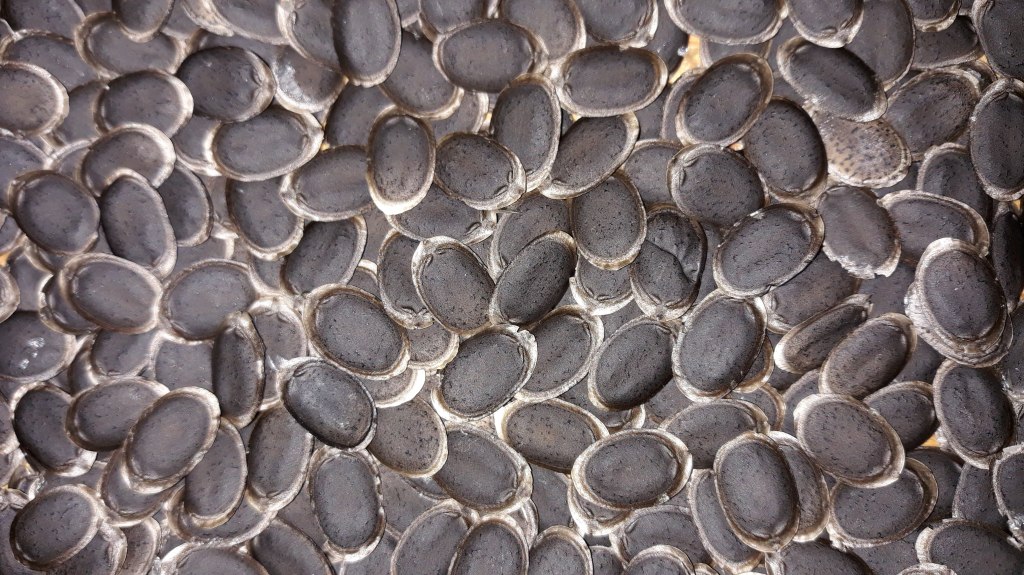
Q: What am I looking for in a solid, viable loofah seed?
A: What you’re looking for (in most cases, especially if you’re harvesting loofah from the seed I’ve shared) are dark, plump seeds. While I’ve read the lighter color seeds can still germinate if they are plump, I would make sure to always save the most dark, plump seeds for next season germination’s sake.
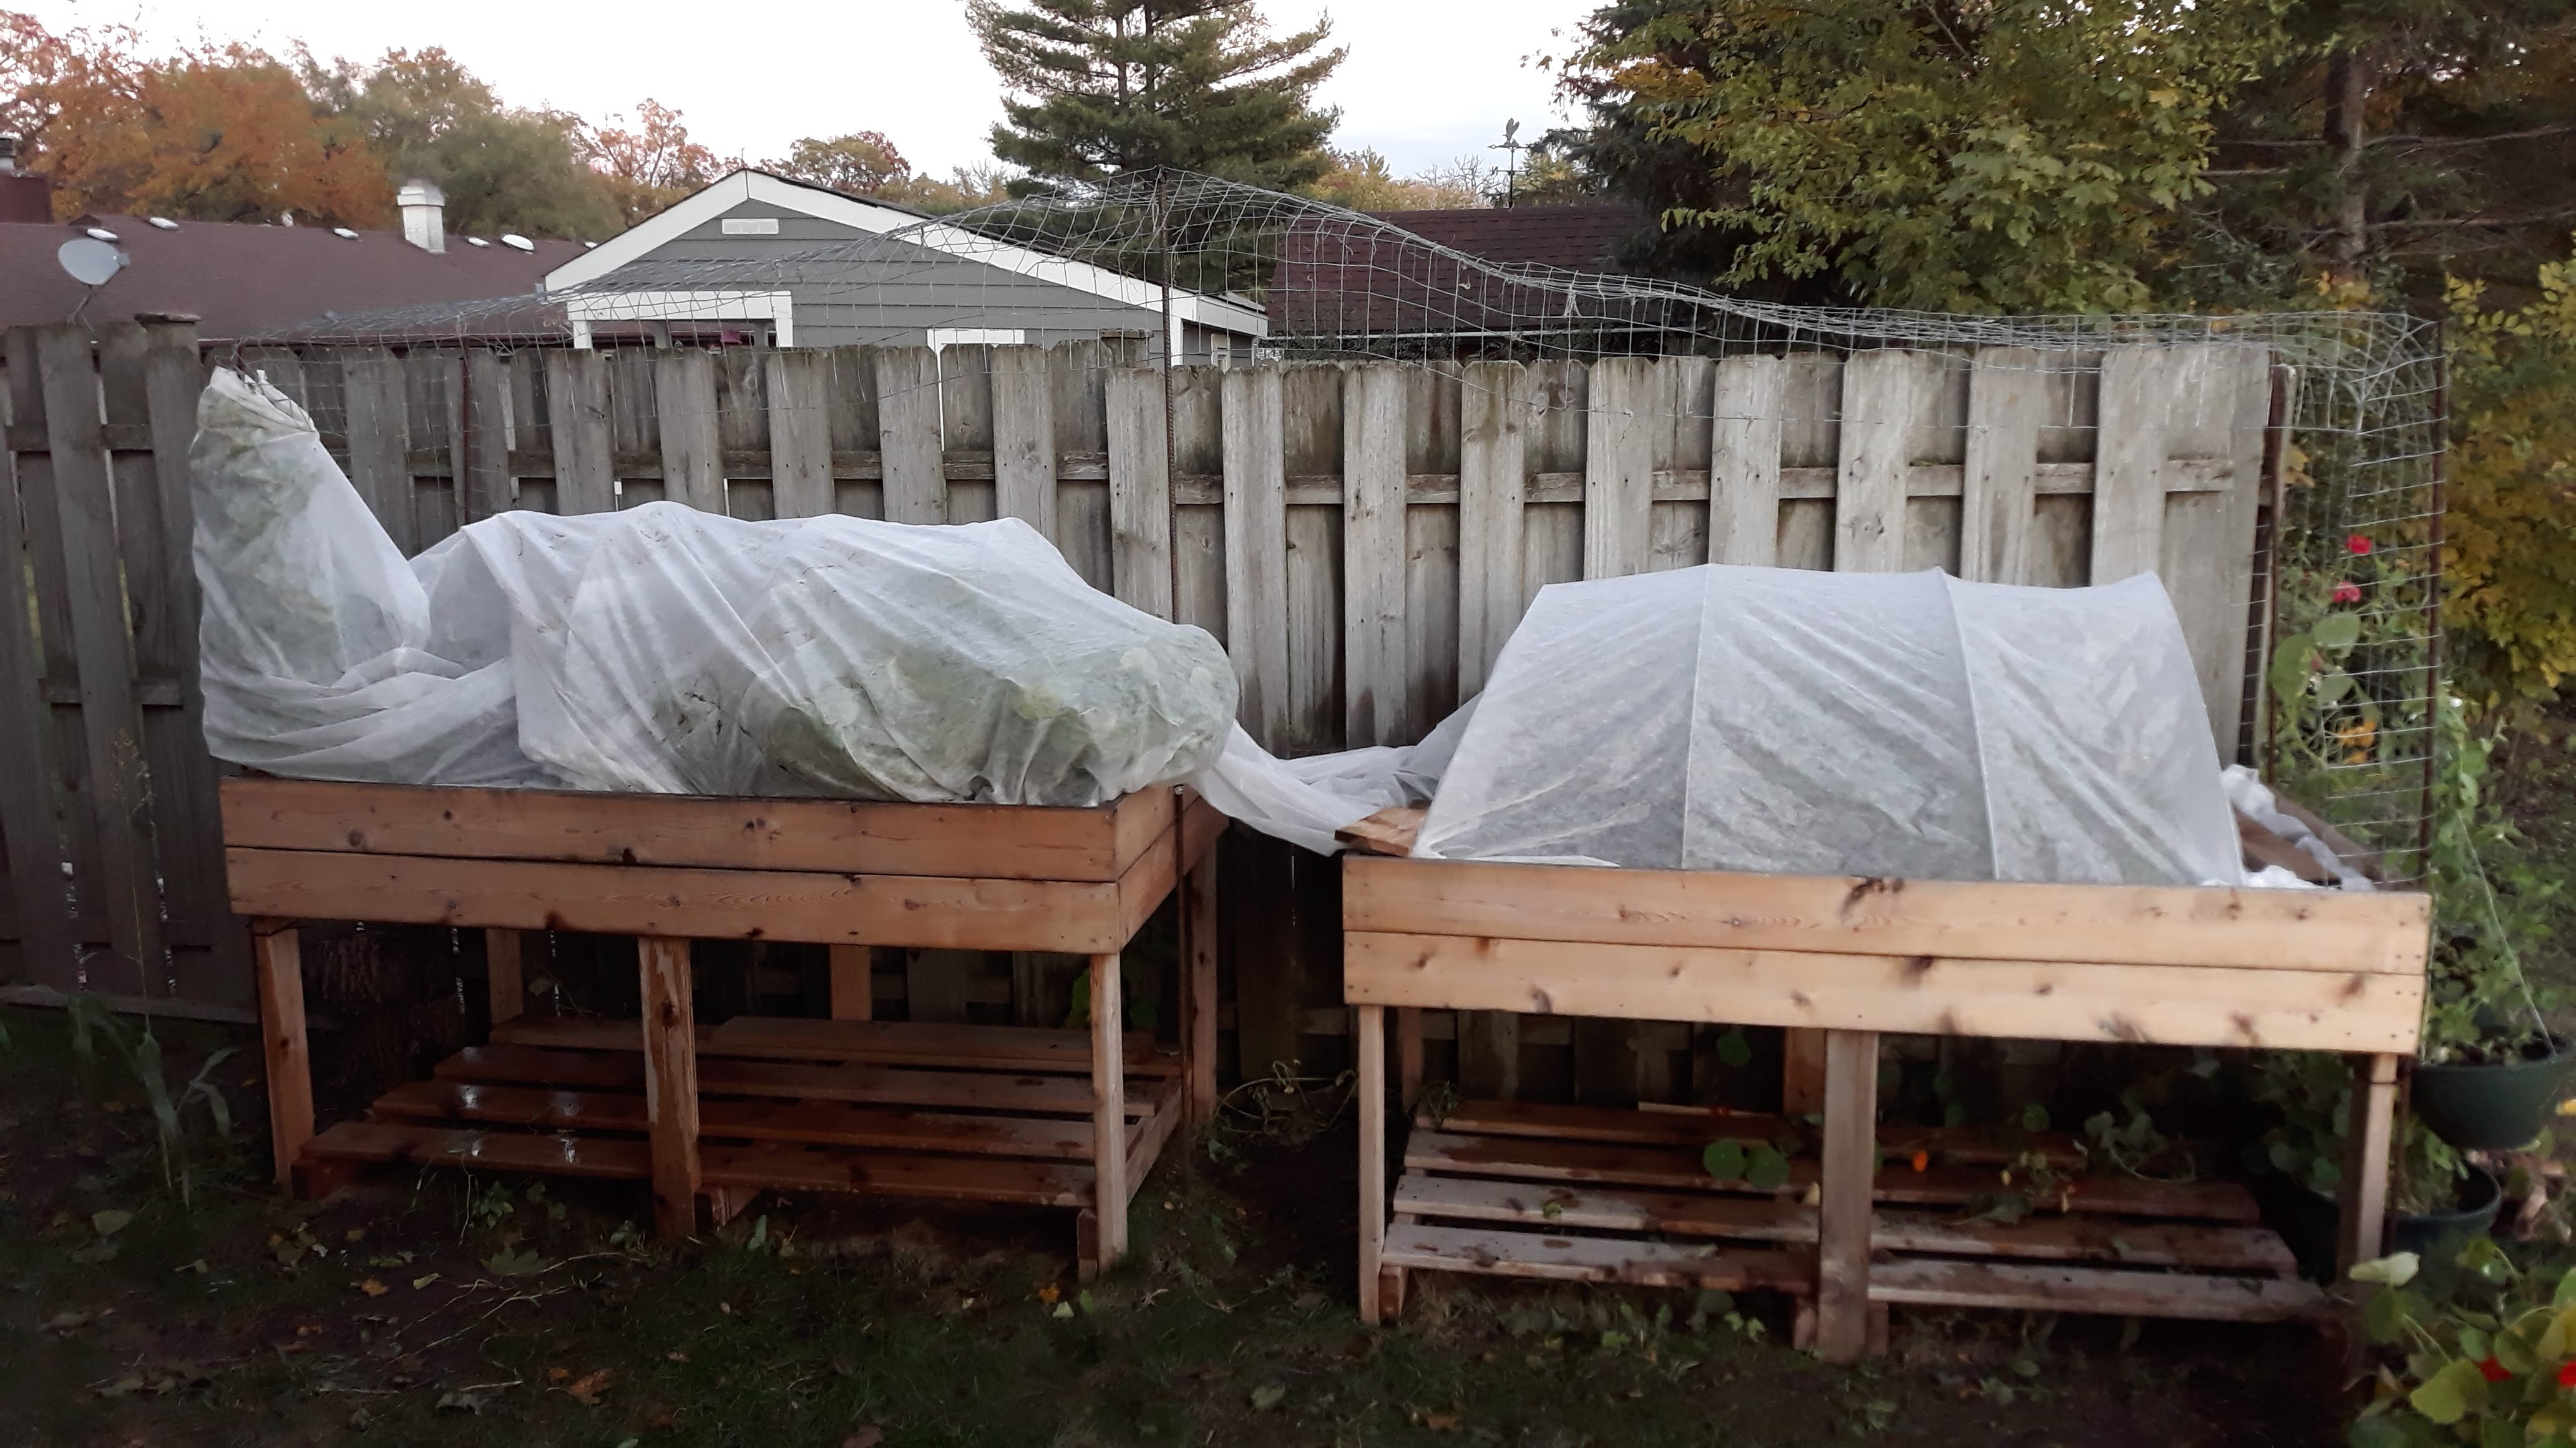
{10/16/21} ••• LOOFAH UPDATE #15: We gave the loofahs a blanket this evening, as temps are looking to be as low as 39°F. Luckily no frost warning, and higher temps the next five mornings! 🥒 I’ve also begun clipping any immature gourd I see forming, ensuring energy and nutrients go right to the large existing gourds. And tomorrow, for the same reason, I will sadly, but gratefuly, remove the long male flower stems, as well. The season is truly winding down, and it’s bittersweet, but exciting. I can’t wait to peel the dried loofahs to discover if I succeeded in growing natural sponges with hundreds of viable seeds, ideally, in each gourd! And I’ve already begun “planning for planning” during winter! I have good stuff in the works!! Thank you for all your support. Truly, it means a lot! Anyone covering their loofahs tonight? Anyone running out now after seeing this?
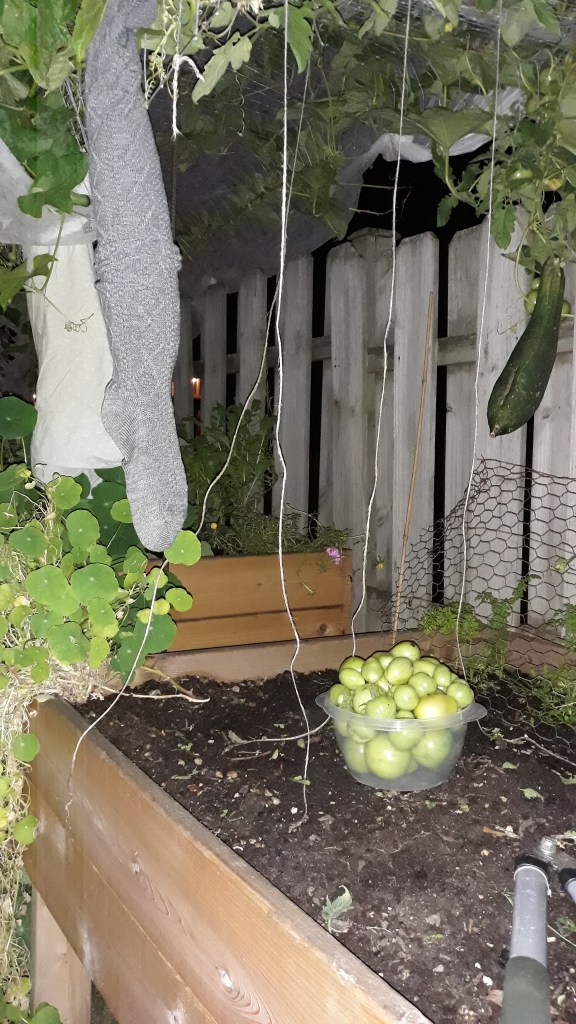
{10/22/21} ••• LOOFAH UPDATE #16: Loofahs in my pillowcase and thigh high socks! Patchy frost in the forecast, but I’ve been growing them all summer and they’re not ready to harvest, so I risked it!! I’ve given them some cozy threads, row cover and blankets. My babies!! We shall see.
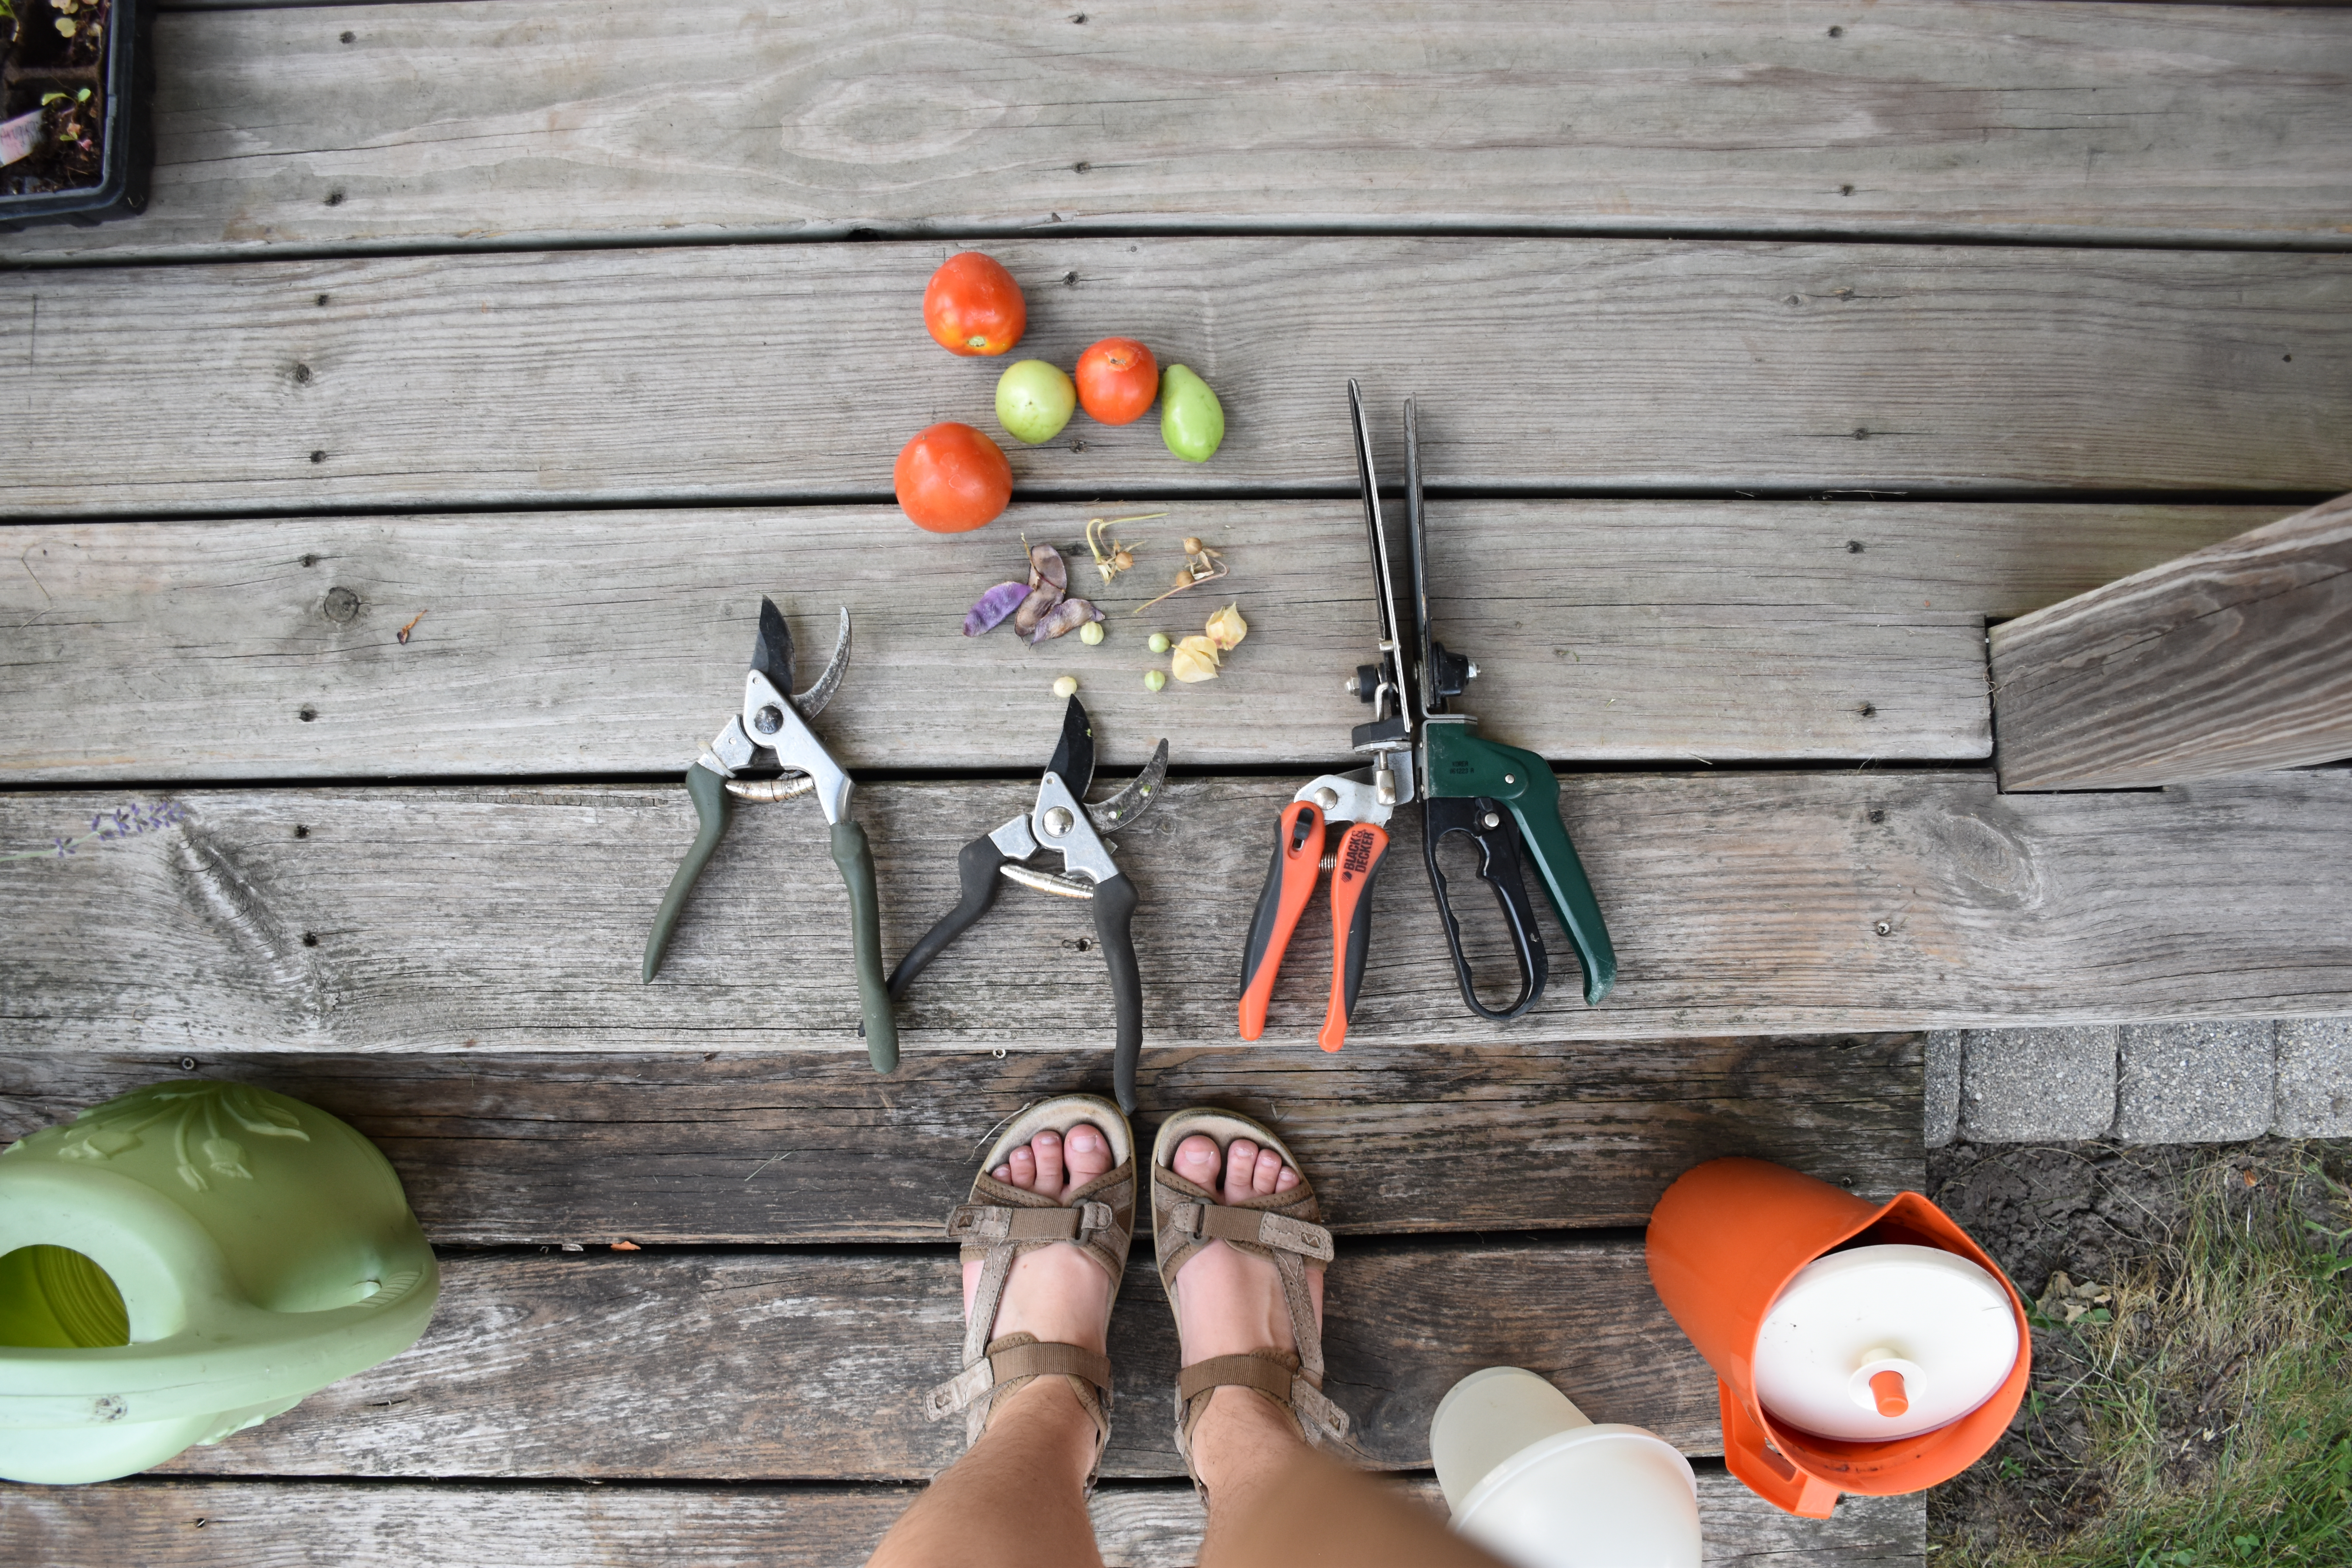
P.s. harvested more nasturtium seeds and rip harvested the remaining (green) tomatoes, then cleaned the bed ~ I’ll add new soil into the mix and let it lay with some leaf mulch for a few more weeks before planting garlic cloves here.
In all my years of gardening I never once planted my own homegrown garlic. (2017/2018 garlic spiral was for fun and the rest was for market/CSA)
Planting garlic, generally, means you plan to stay.
This knowing makes my heart happy.
{10/23/21} ••• LOOFAH UPDATE #17: It got below 35°F morning in the garden, but blankets, row cover, tarps and old thigh high socks {oooo ![]()
![]() } provided a cozy shelter for the gourds and garden – and by golly it just might work again tonight! Higher temps for the next few mornings at least! Collecting a lot of seeds at this point and cleaning out the garden, bucket by bucket.
} provided a cozy shelter for the gourds and garden – and by golly it just might work again tonight! Higher temps for the next few mornings at least! Collecting a lot of seeds at this point and cleaning out the garden, bucket by bucket.


Q: Okay, I’ve got the loofah! I did the thing! Now what the heck am I to do with them?
A: There are a few popular options, but I’d encourage you to try something new! And let me know!
- Exfoliating sponge for your face, hands, feet, elbows, etc. I use mine like a wet brush in the shower.
- Cleaning scrub. I use mine in the kitchen on pots and pans and to clean the sink and countertops.
THE FARMER BEAT TIP: either in the washing machine or with a load of dishes in the dishwasher, be sure to periodically clean your loofah. Everyone has a different method, but you can use dish soap, vinegar or even a little bleach. To each their own, just no mold! Be sure to compost your loofah when you see it is waning. The fibers may begin to come apart, or you might see some discoloration.
Q: I planted my loofahs too early/too late this year. Will you be here for us next year?
A: I absolutely will be here next year, with even more experience and expertise! I can’t wait!
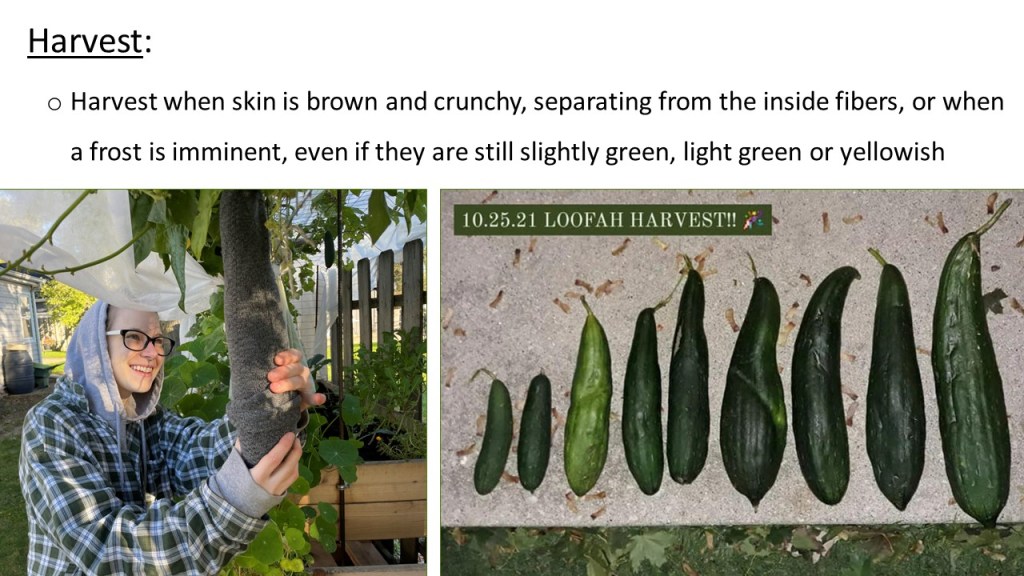
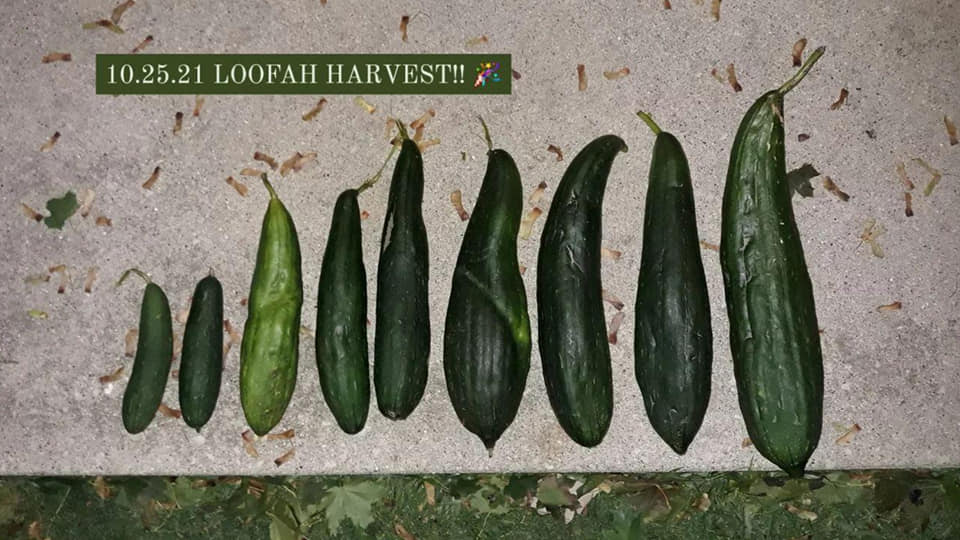
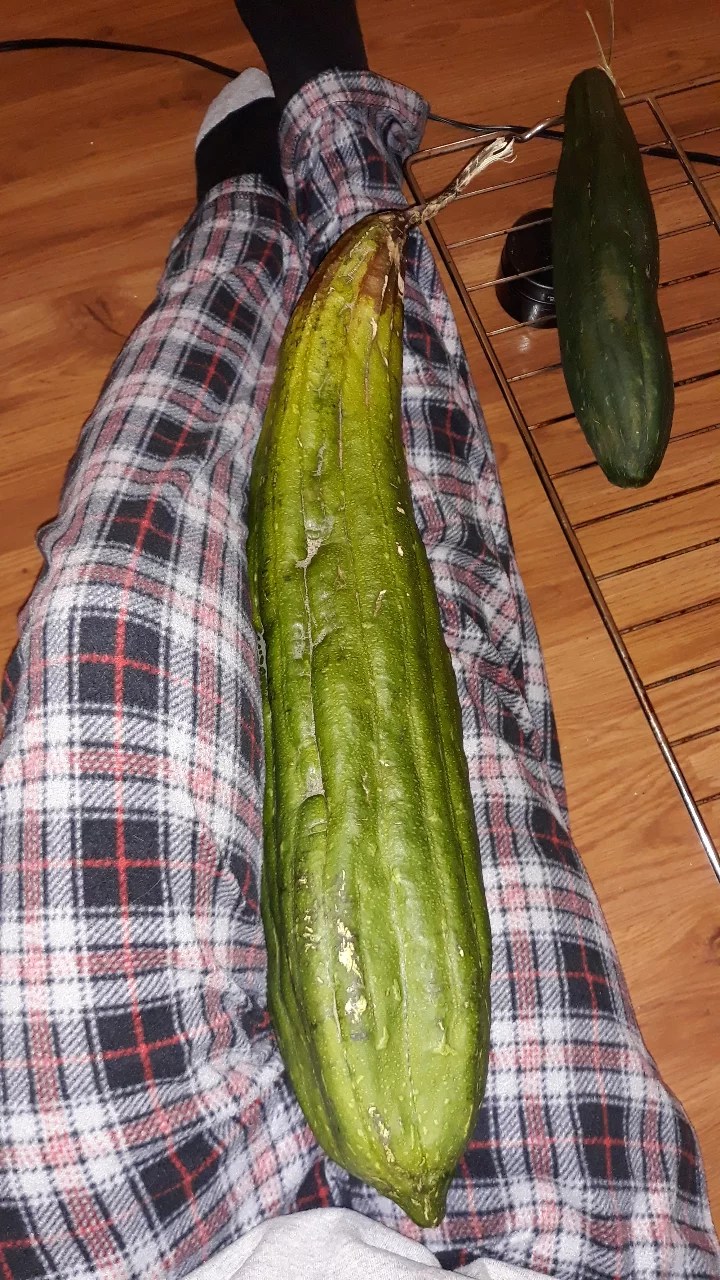
{10/26/21} ••• LOOFAH UPDATE #18: with more frosty mornings approaching, and generally colder days I made the choice to harvest my loofahs! I had already harvested one a few days prior, and I dropped one (that was not even close to drying and it snapped in half like a sad zucchini lol), so that leaves nine healthy loofah gourds. Obviously I would’ve LOVED to see the skins more yellow to brown, but growing subtropical plants that need a long growing season can be tricky in the Midwest. Remember, we had a frost on May 25th this year that cut the growing season by at least 10 days. We got super lucky with about 10 extra days this fall without frost. All in all, I cannot wait to see how they’ve all fared! The skins are hard and beginning to lighten up. I have them in my office with two fans going to promote the best drying. Fingers are still crossed for viable seed and lots of sponges!

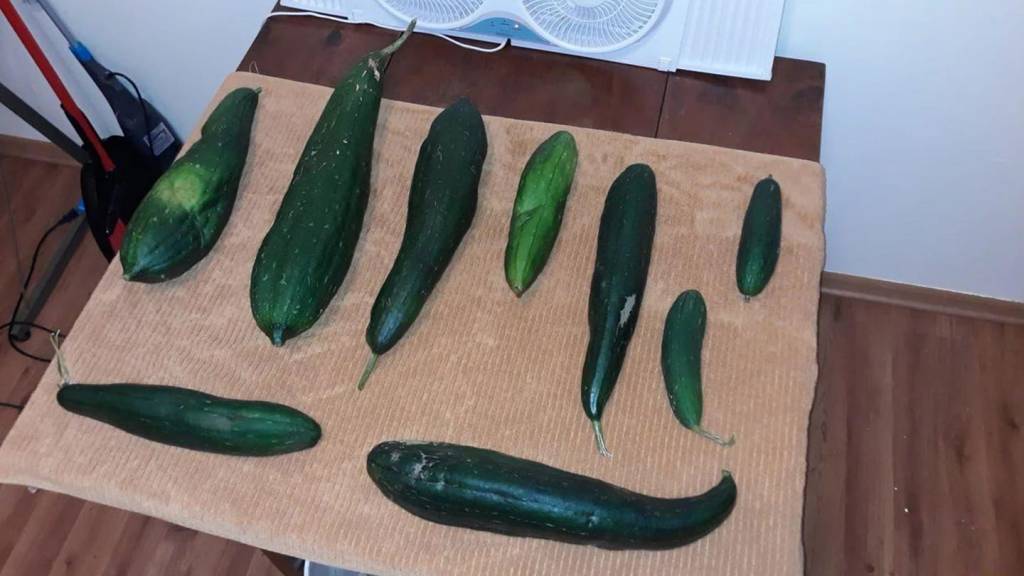
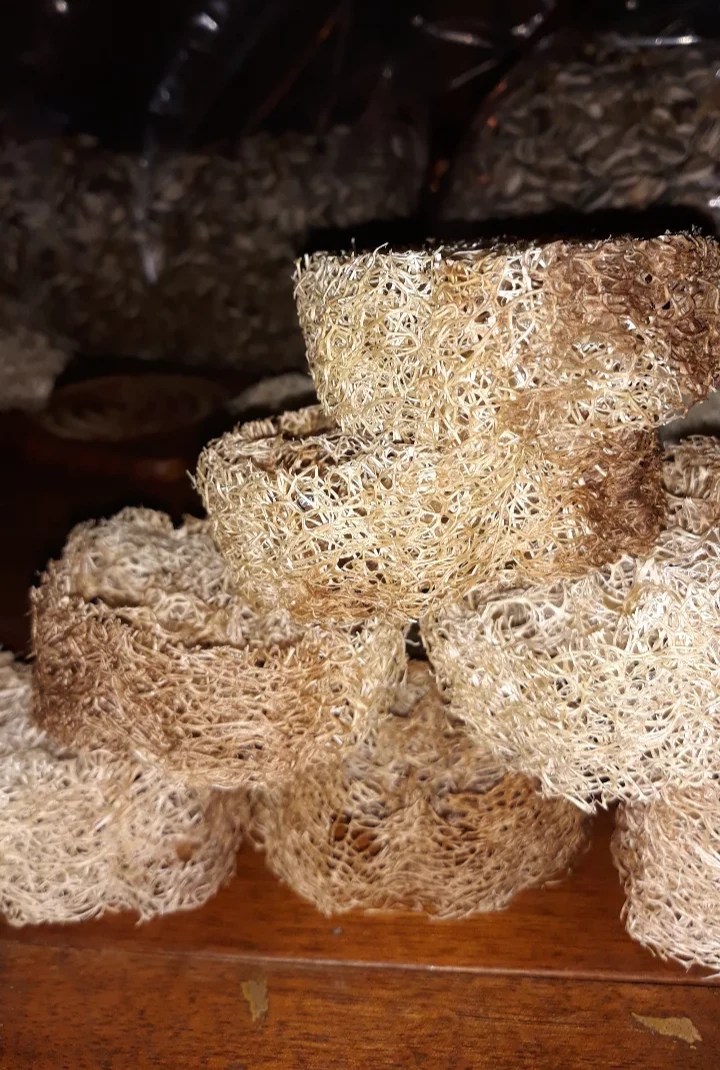
{1/30/22} ••• LOOFAH UPDATE #19: It has been a while, plant friends! This will be my last blog update for the 2021 season, and I couldn’t be more thrilled with the results I get to share! Given the space allowed to grow, along with the spring frost on May 25th, pushing back our fruiting date, these loofahs surprised and delighted me. Below I’ll share photos of the end process, which basically just included a lot of waiting (getting the idea with these gourds – patience, patience, patience), turning the gourds on their racks and giving them daily squeezes. I will explain!
First of all, I want to mention that I removed the loofah vines and stems after I cut the gourds for harvest. I left the roots to decompose in the soil over the winter months as an effort to always garden using a more sustainable, regenerative approach; thus, aerating the soil in spring, feeding it healthy compost and keeping it covered and warm now for the life below the surface. I even got a late autumn harvest of carrots, greens and herbs. As I write this, I wonder how my little “winter garden” is faring in these super cold, down to single digit nights? I image the garlic bulbs are warm and cozy under the six inches of leaf compost I spread; but also, kind of wondering if the entire bed is frozen solid. I’m still a bit of a novice when it comes to raised beds. I can’t wait to feel a warm-up here in Northern Illinois. It’ll be over 30° for a few days this week, so I anticipate checking in on the babies. Eeek!


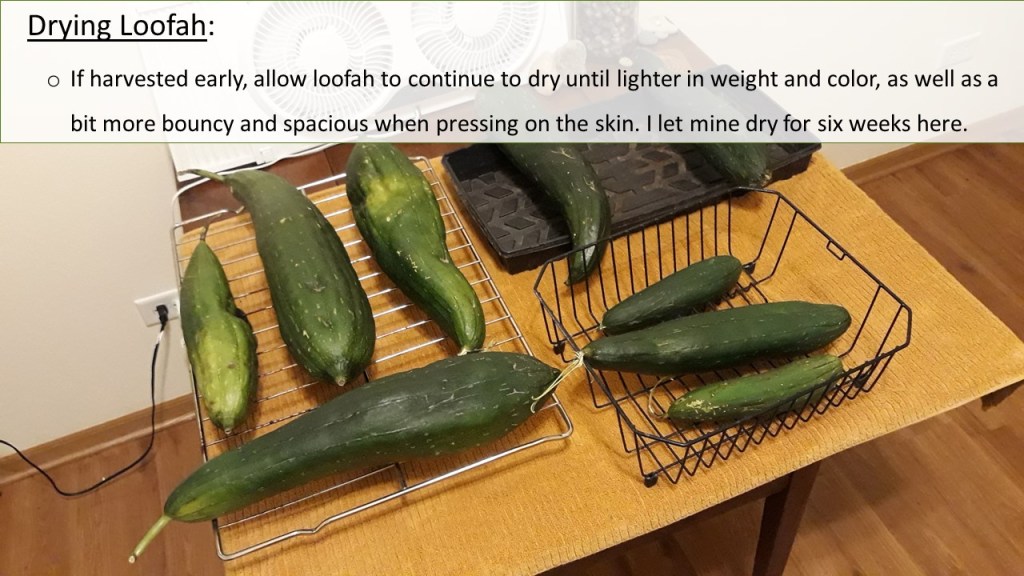
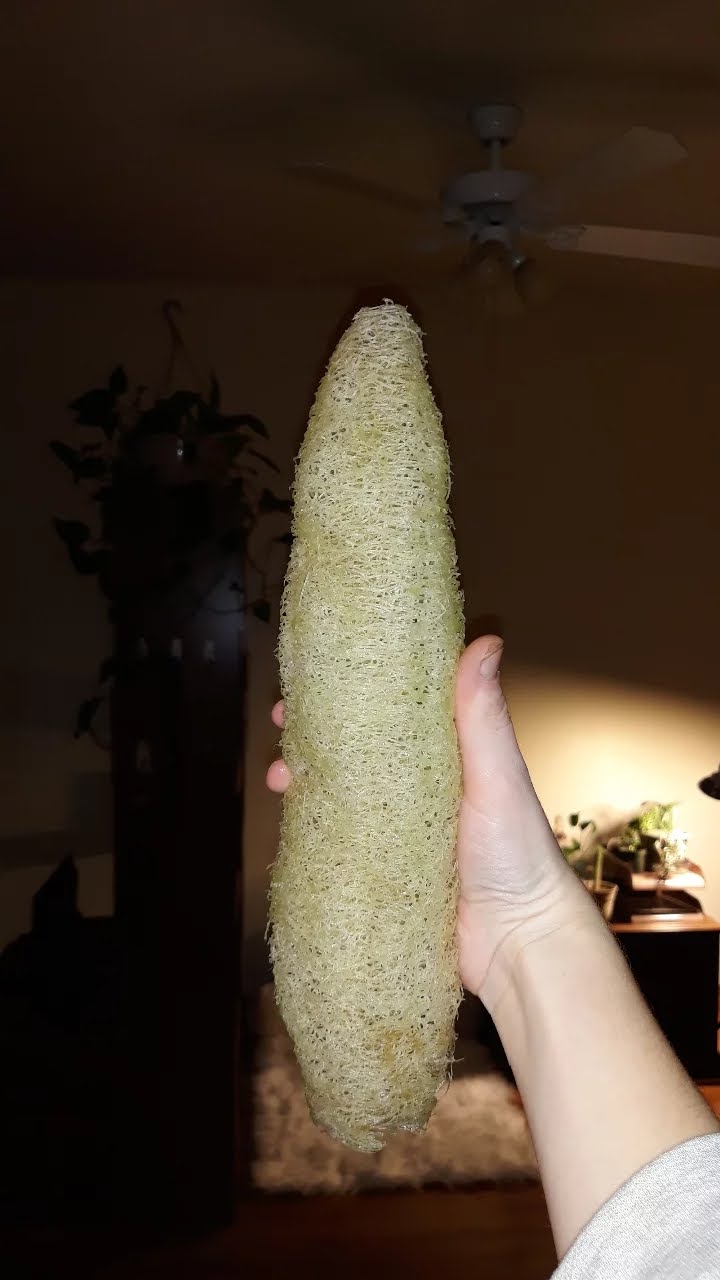
So, as I was saying, for about six weeks, I had fans going all the time, and would periodically check the loofahs to see if the skin was turning lighter green, yellow, brown. Because I had to harvest most of the loofah sooner than I would have liked, I couldn’t base when I peeled my loofah on the color. I had to use other clues, like when I heard the loofah become hollower when I knocked on it, and when I could feel the skin separating from the fibrous, sponge like insides when I squeezed the loofah a bit.
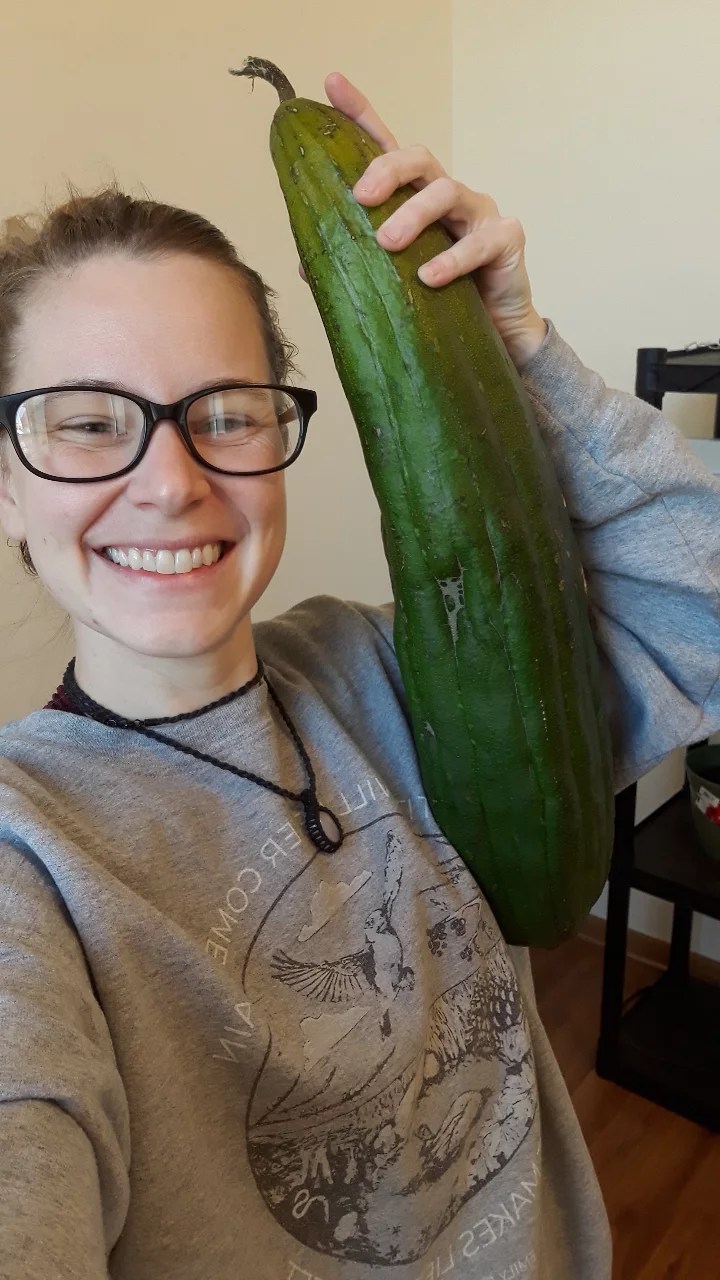
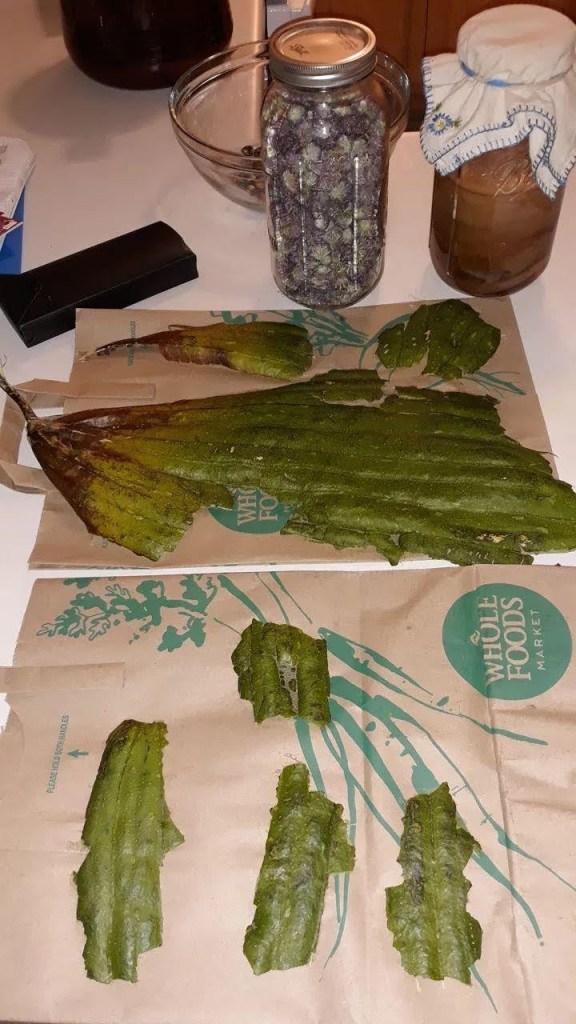
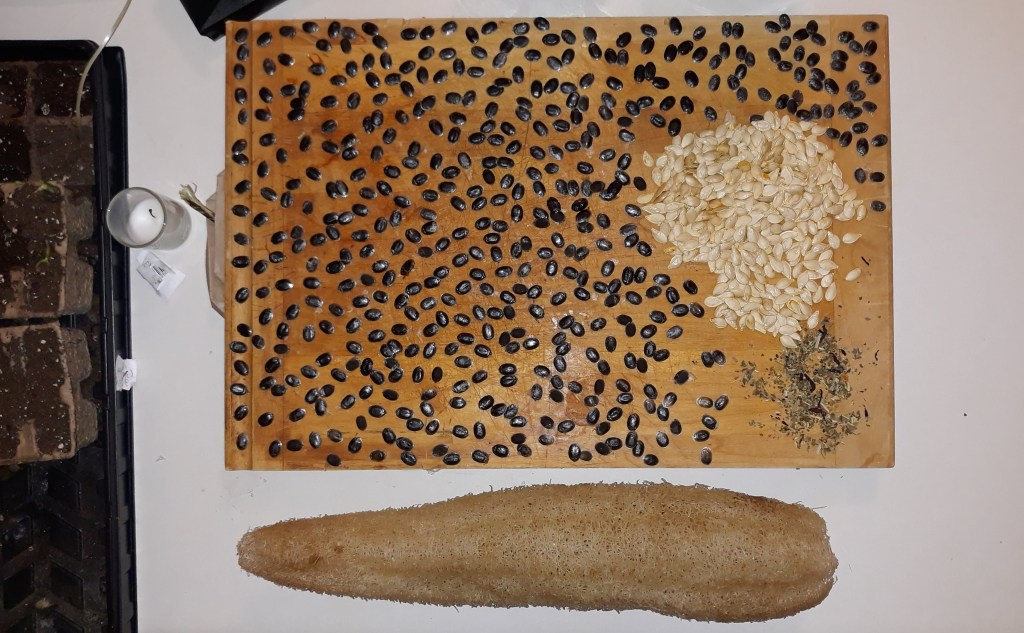
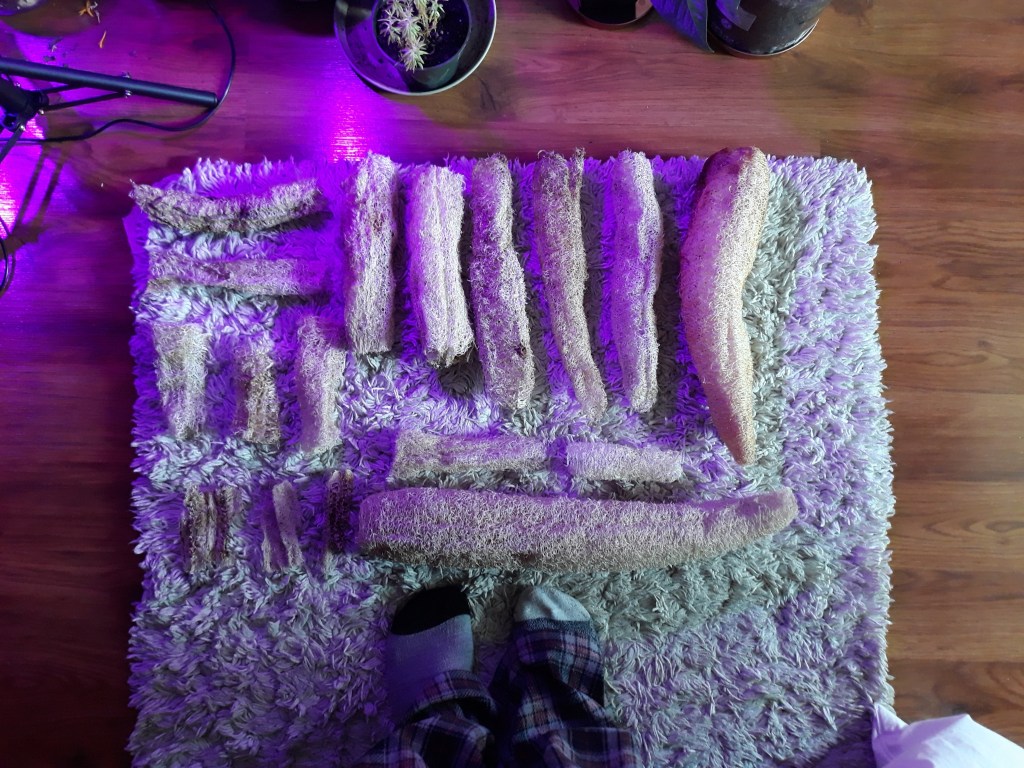
In the end, I came out with nine solid loofah sponges, and about fifteen or more scrap pieces. The largest loofah, which became known as “The Honker,” produced close to 100% of the viable seed from the entire harvest. That loofah gave me 450+ plump, black seed to share this year!
THE FARMER BEAT TIP: don’t be afraid to harvest your loofah at various stages to get a feel for when it’s right for your process. This is what the skin looked like on “The Honker” when I harvested it.
Some observations:
- A few of the very small loofahs became moldy and never fully dried out. So, with that said, toward the end of the season if your loofah must be harvested soon, and it feels more like a cucumber, or even a fresh zucchini, you might be better off not counting on that loofah. Loofah do their own thing at the end of the day! Get a jump start by sowing seeds indoors, and plant a few successions to avoid this.
- Cutting the loofah at either end did not benefit the drying process, but rather increased molding.
- Harvesting loofah when they’re green and only a bit hardened, or even still soft, might not produce viable seed, but there is still potential, under the right drying conditions, to create a soft, luxurious sponge for bathing or cookware. Don’t give up!
- The seeds often need to be jostled loose. Your loofah fibers are usually pretty tough, unless it’s a green, immature loofah that you’ve peeled. You can be pretty aggressive with the sponges, even submerging them in water and giving them a whack on the side of the sink. Some use toothpicks, but I find that if it’s that tucked, I let it be until it naturally falls out.
- To dry the seeds, I laid them out on my cutting board until they developed a very specific film that coats their entire outer shell. This coating is very thin and wispy. You know your seeds are processed fully when this film is present. Then I knew I could package them in something sealed and move them to a cool, dark place.


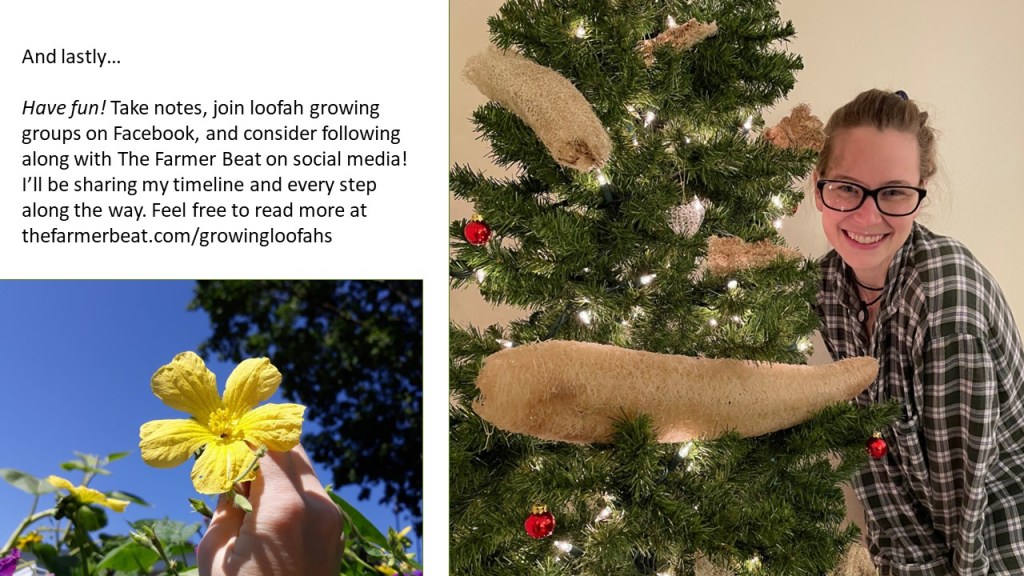
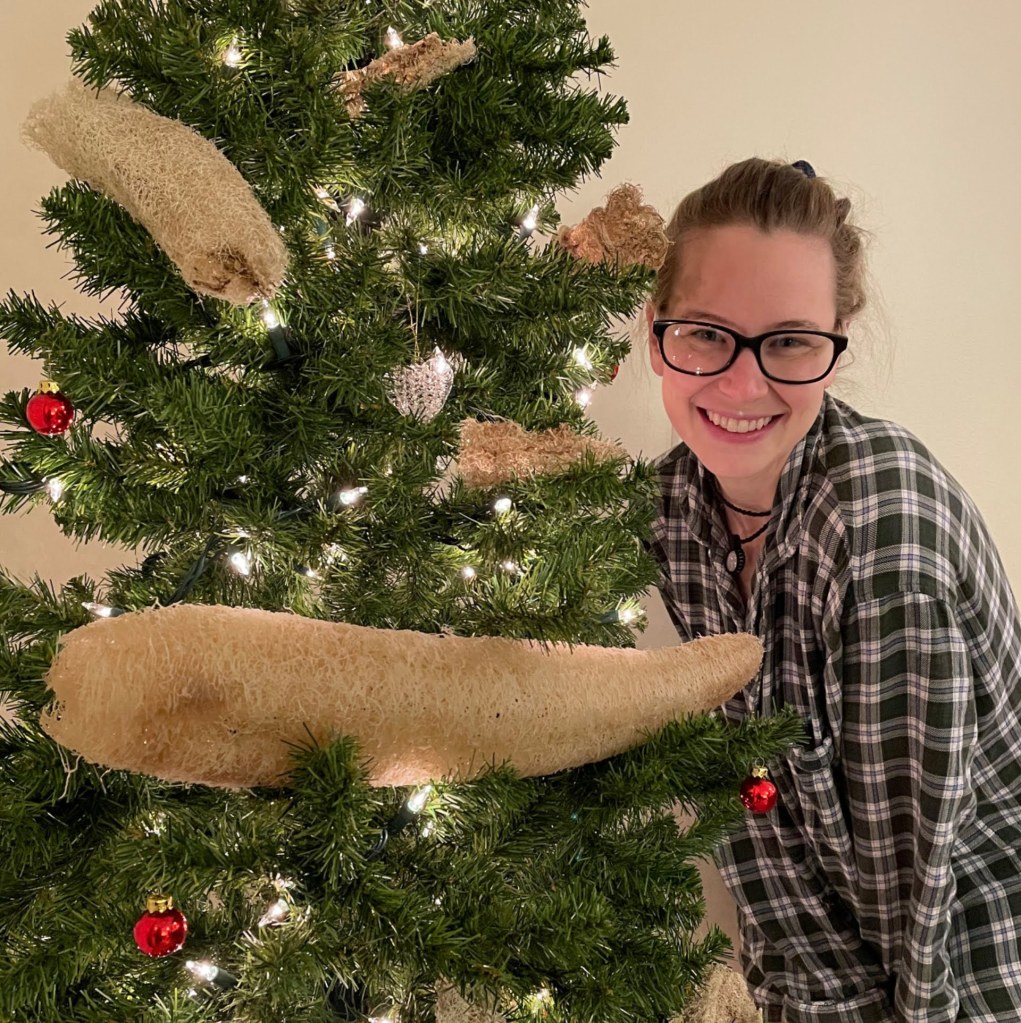
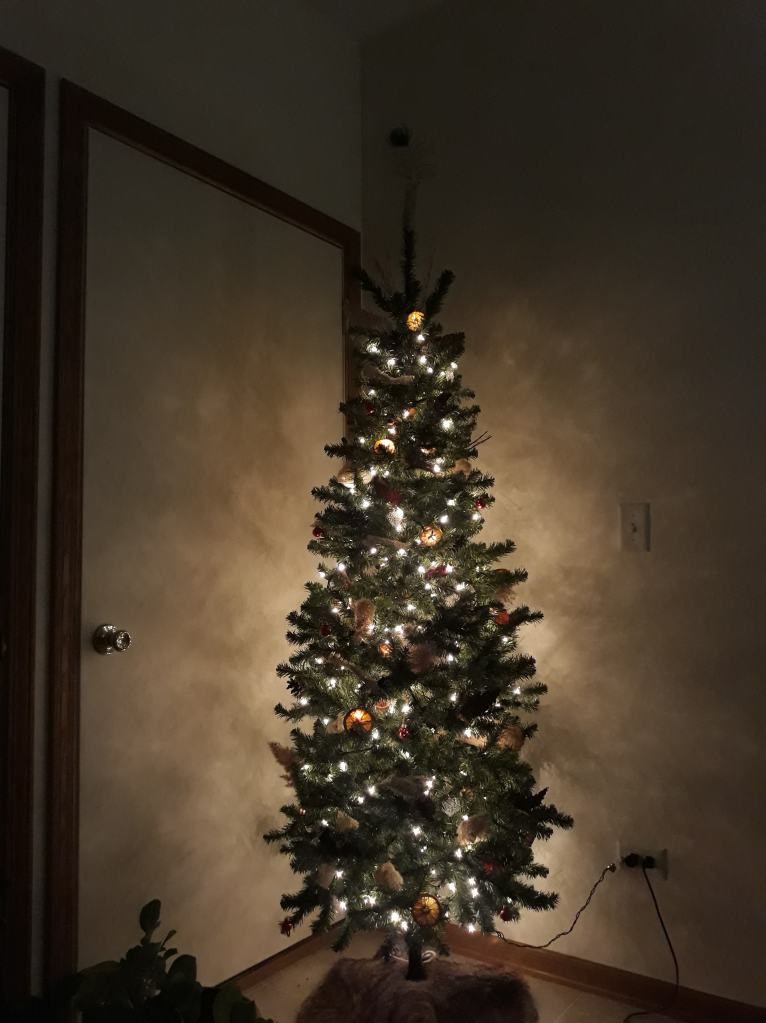
I got really excited and threw the dried loofahs onto my Christmas tree. I laughed and snapped photos, but then realized I thought it actually did look neat, so I went all in and adorned the tree in all sorts of naturally and respectably-foraged natural ornaments (sumac, wild bergamot seed heads, twisty vining twigs, prairie grass heads, and more.)

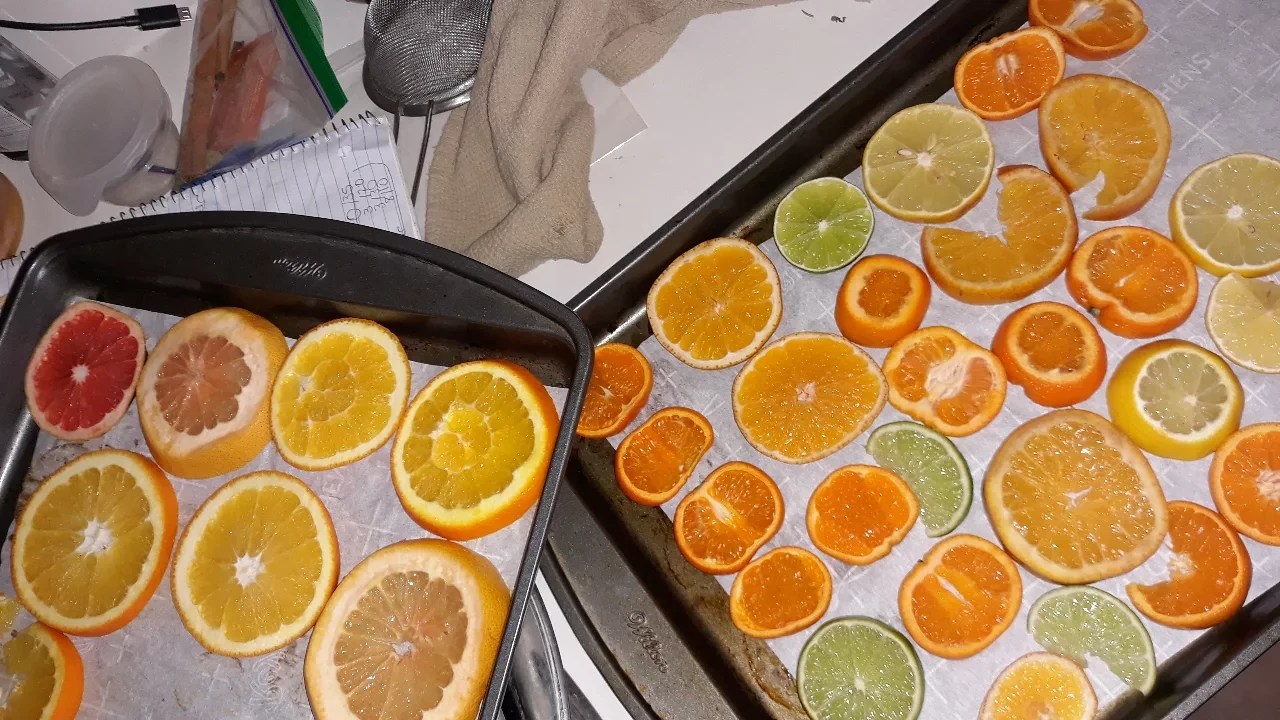
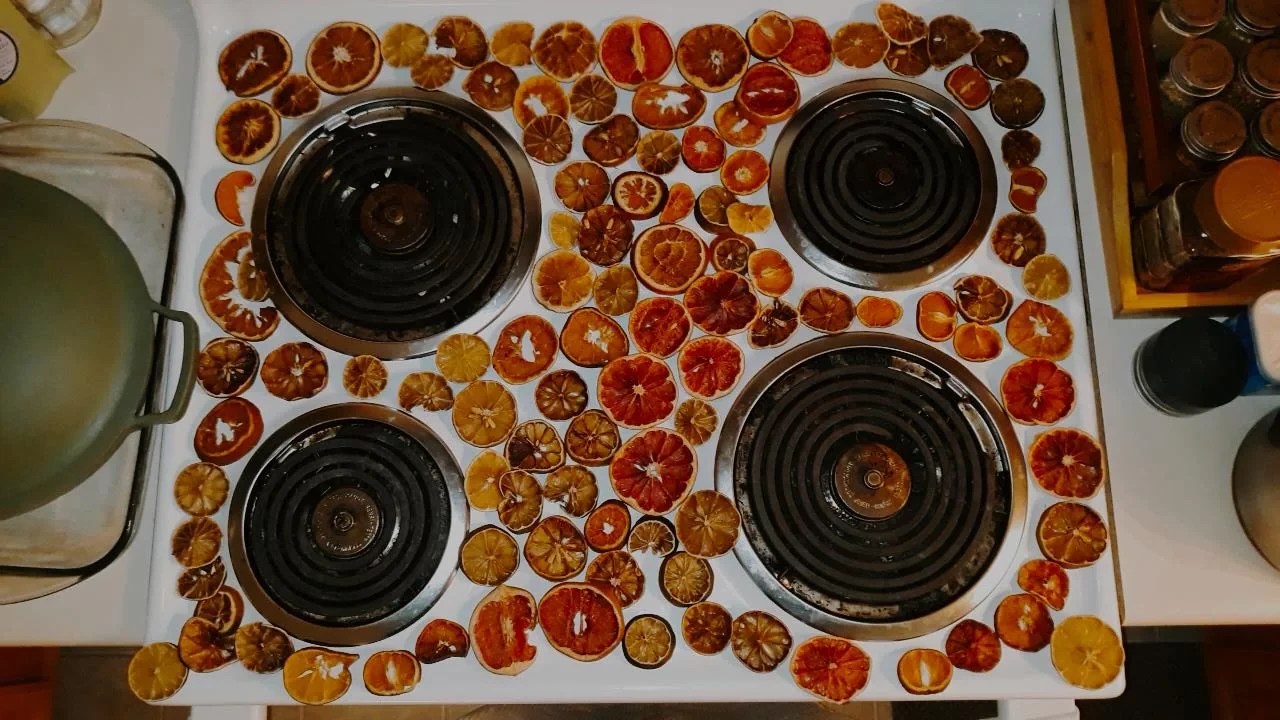
I dehydrated citrus (oranges, tangelos, lemons, limes, grapefruit) and propped them up in front of the string lights, illuminating their beautiful, warm colors. Not to mention, my entire apartment building smelled like an orange hot toddy for weeks! It was all so cozy and inviting during the dark season.

I’ve compiled results from last year’s seed share, and will make a separate post on it, but I can’t help share that in 2021 I sent 117 loofah seed packets alone across the United States to those who were interested! I had about a dozen dedicated locals who kept me updated on their journey, and I’m so curious to hear how everyone else’s loofahs fared? If you feel called, please send me photos and let me know how it went.
Thank you for following along and supporting me on this journey! I hope you’ve all enjoyed reading these updates as much as I have enjoyed writing them.
Until this new season, cheers!
With so much love and gratitude,
The Farmer Beat
